AWS Compute and Storage Setup for CartForge Application

Business Scenario
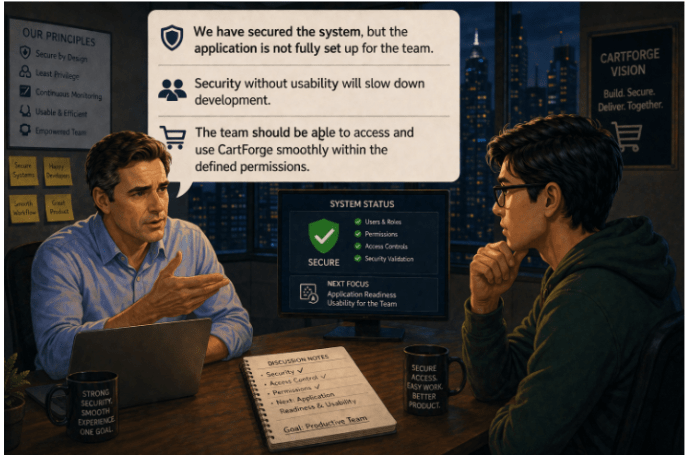
Permissions and access are secured, but CartForge still needs proper user setup, workflow organization, and team-ready configuration for full operational use.

The manager calls the Junior DevOps Engineer and explains:
“We have secured the system, but the application is not fully set up for the team.”
He continues:
“Security without usability will slow down development.”
“The team should be able to access and use CartForge smoothly within the defined permissions.”
Pre-Lab Preparation
-
What is EC2
-
Components of EC2
-
What is SSH
-
Explore the frequently used Port no
-
What is s3 and its Storage Classes
1
Go to AWS Console
a
Open AWS Console
b
Search for EC2
c
a
Click Launch Instance

2
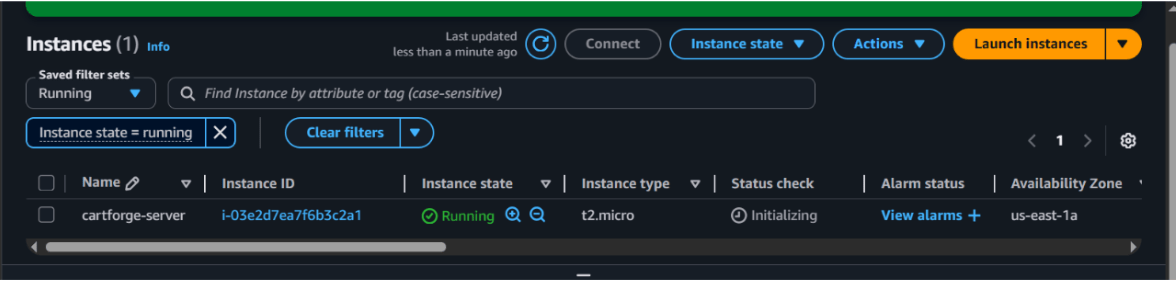
Configure Instance
-
Name: cartforge-server
-
AMI: Ubuntu (latest)
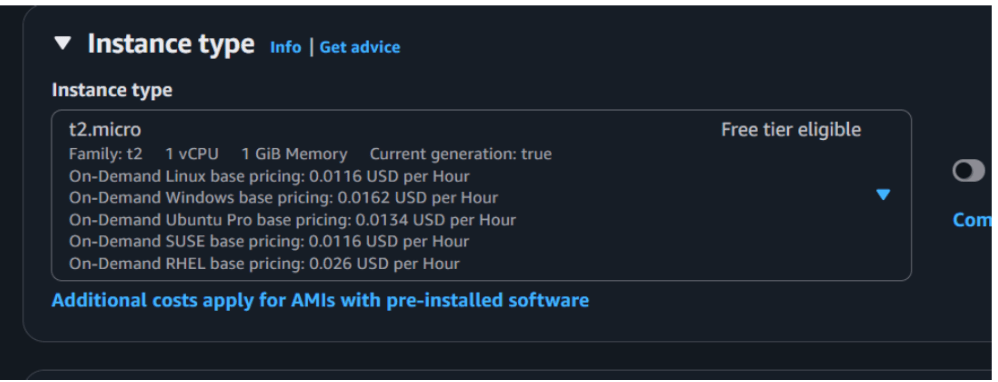
- Instance type: t2.micro (Free tier)
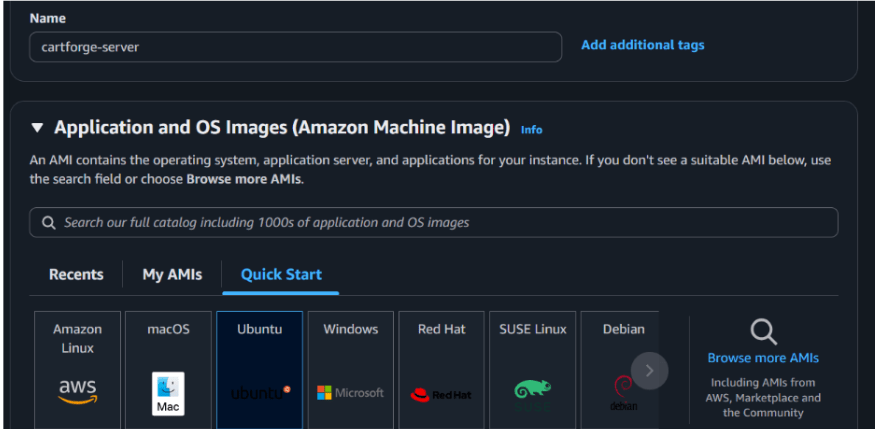
If you have new account so you have to choose t3.micro
3
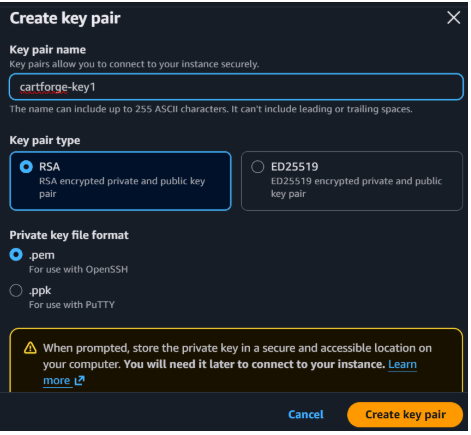
Create Key Pair
a
a
Click Create key pair
b
Name: cartforge-key
c
a
Download .pem file
4
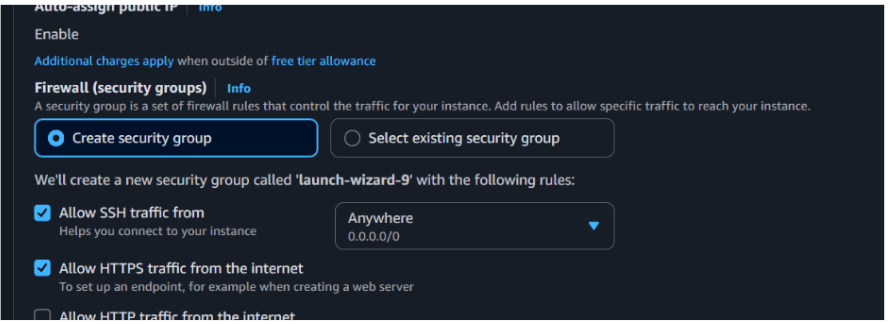
Network Settings
Allow these ports:
-
SSH (22) → for server access
-
HTTP (80) → for website
5
Launch Instance (Click Launch Instance)
6
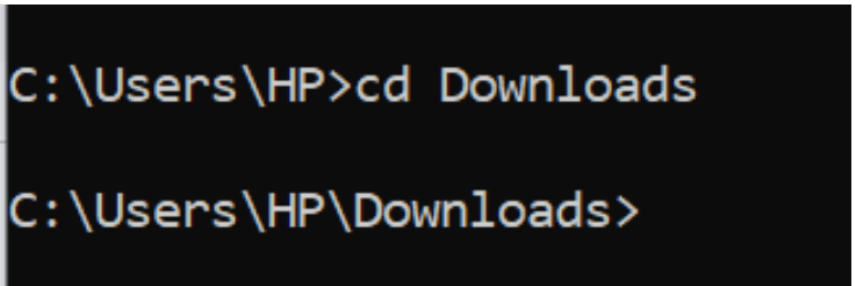
Connect Using SSH
- Open CMD
- cd downloads
7
ssh -i cartforge-key.pem ubuntu@your-public-ip

Now you are inside your server.

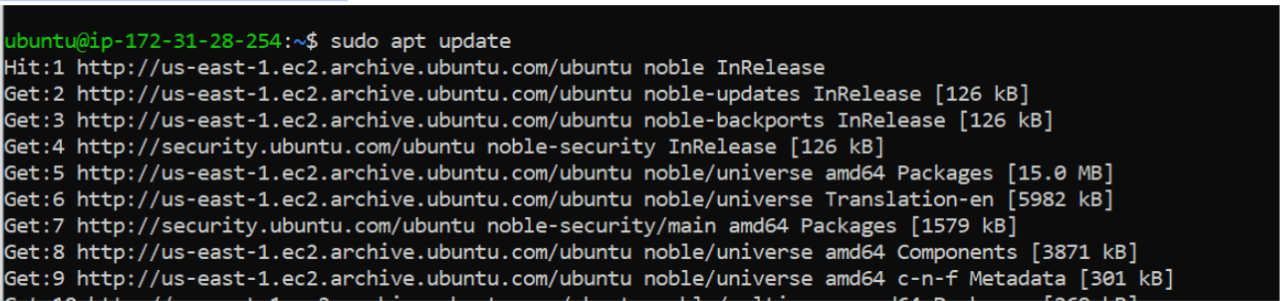
8
Update System
sudo apt update
sudo apt upgrade -y
9
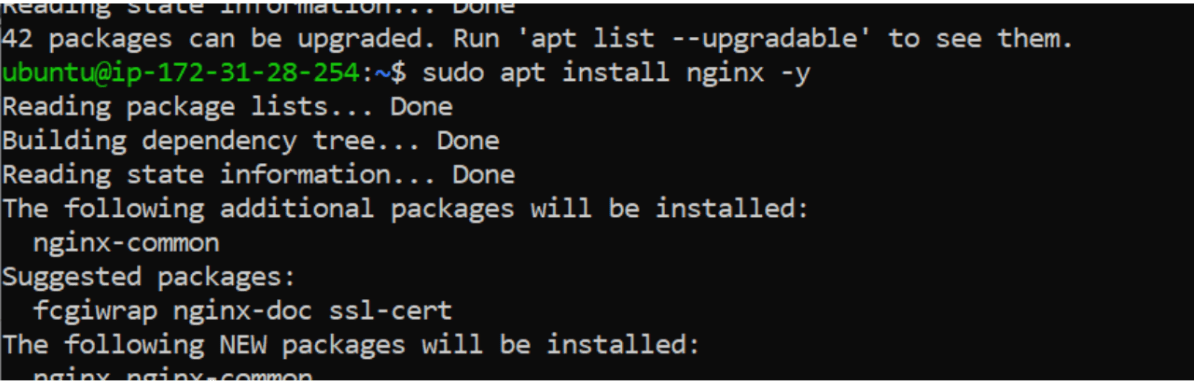
Install Web Server (Nginx)
sudo apt install nginx -y
10
Start Nginx
sudo systemctl start nginx
11
Enable Nginx
sudo systemctl enable nginx
12
Check Status
sudo systemctl status nginx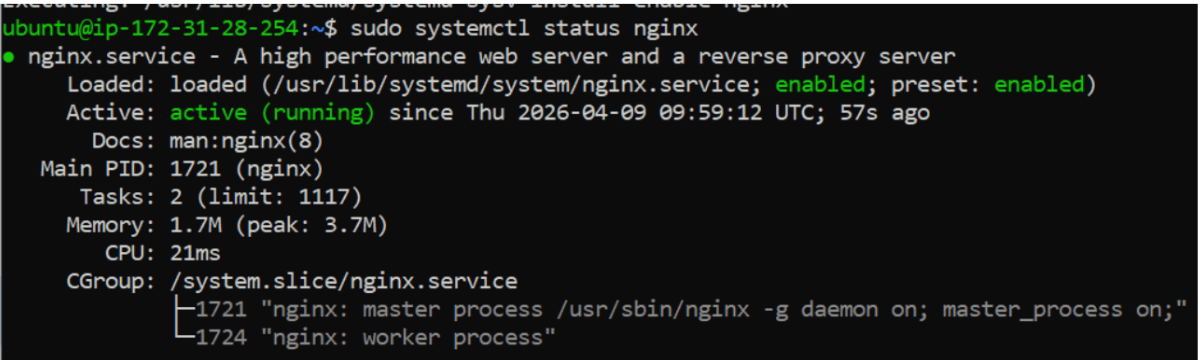
13
Verify Website
- Open browser:
- http://your-public-ip
- You should see the default Nginx page.

after successfully setting up the server and installing Nginx, the team encountered a new challenge.
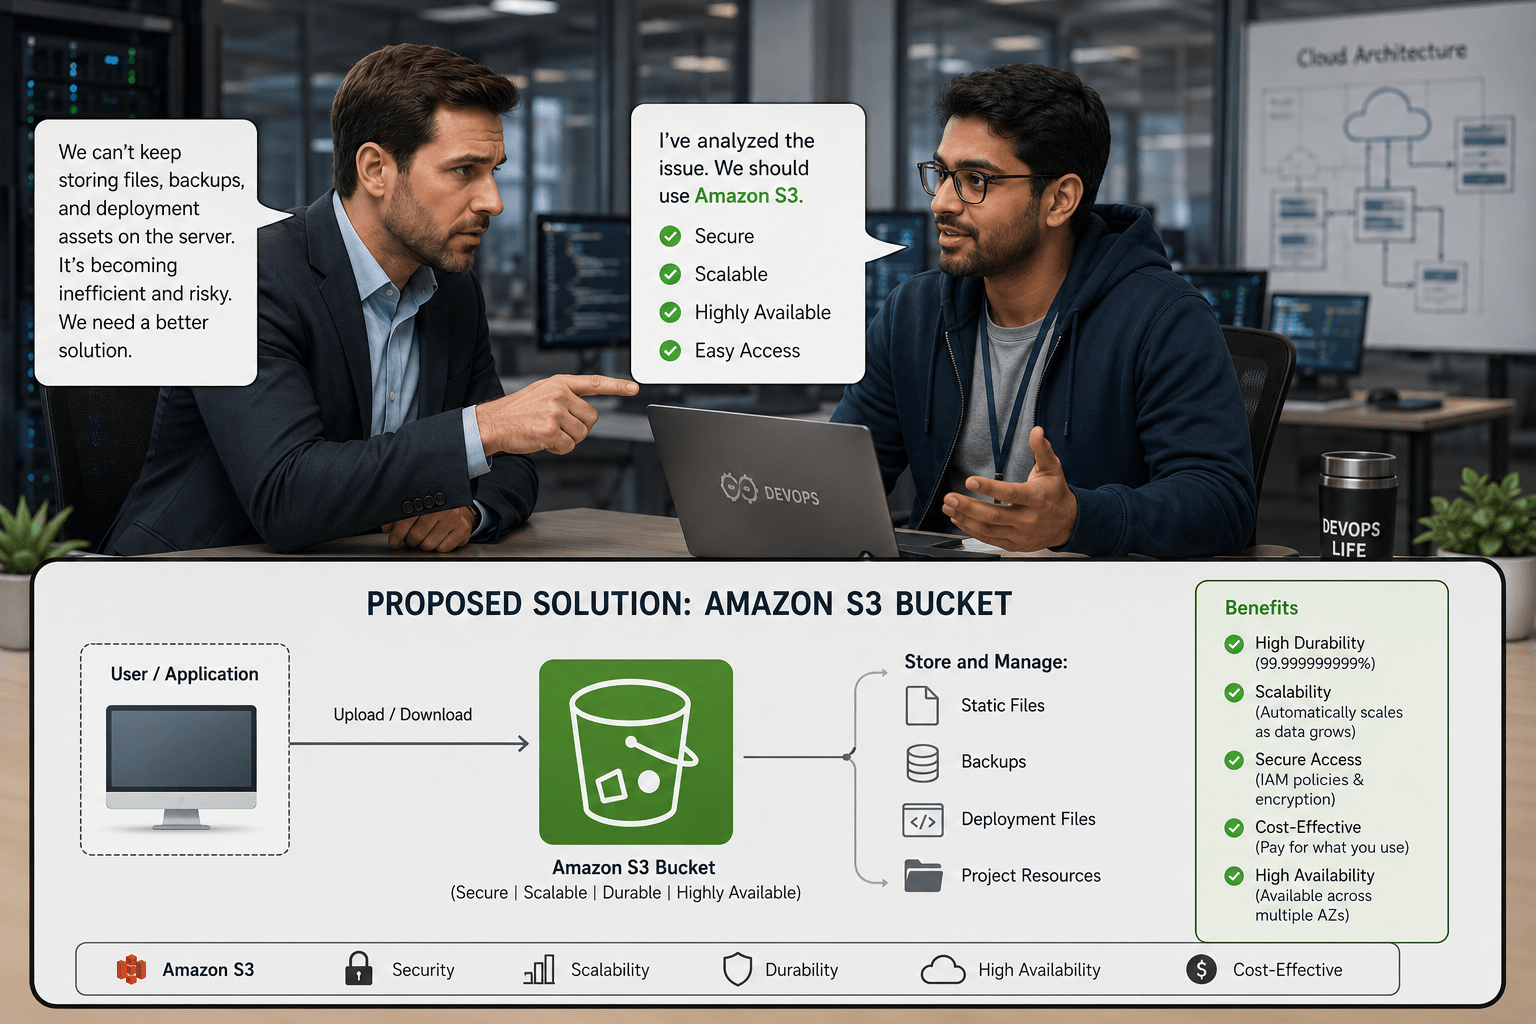
The manager noticed that storing application assets, backups, and deployment files directly on the server was becoming inefficient, risky, and difficult to manage.

He immediately informed the junior DevOps engineer about the issue.
The junior DevOps engineer analyzed the problem and proposed a scalable solution:
Create an Amazon Web Services S3 bucket to securely store static files, backups, and important project resources with high availability and easy access.
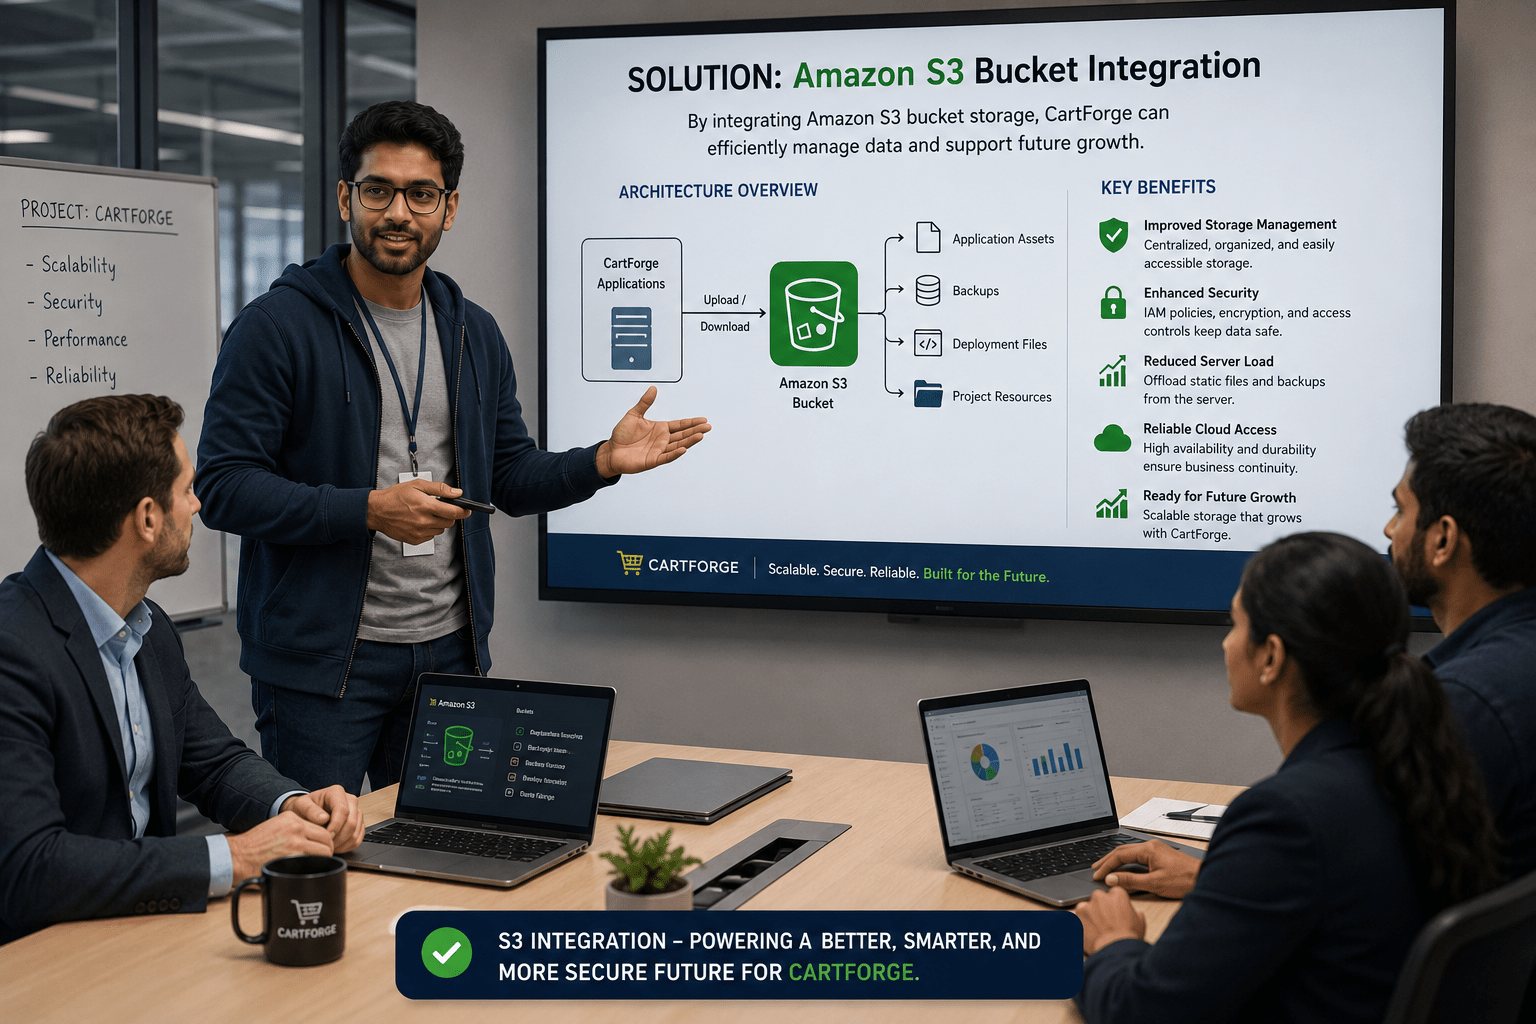
After identifying the right approach, the DevOps engineer presented the solution to the team:
By integrating S3 bucket storage, CartForge could improve storage management, enhance security, reduce server load, and ensure reliable cloud-based data access for future growth.
Task 2: Configure storage and verify server connectivity
1
Go to AWS Console
- Search for S3
- Click Create bucket
2
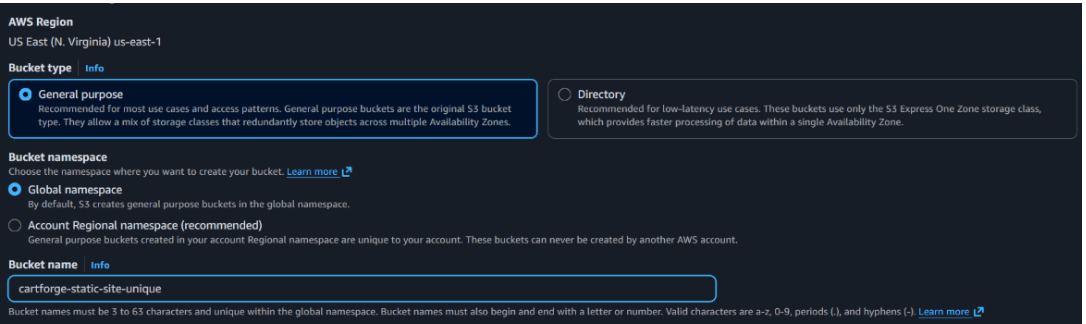
Configure Bucket
-
Bucket name: cartforge-static-site-unique
3
Important Settings
-
Uncheck Block all public access
-
Acknowledge warning
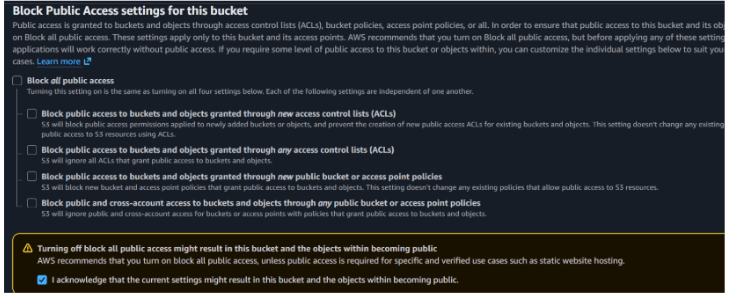
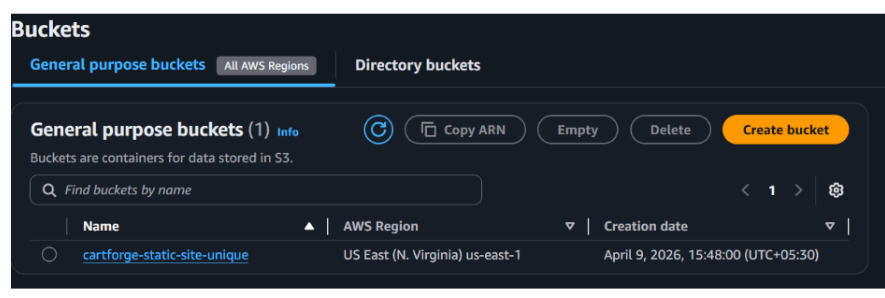
Click Create bucket

4
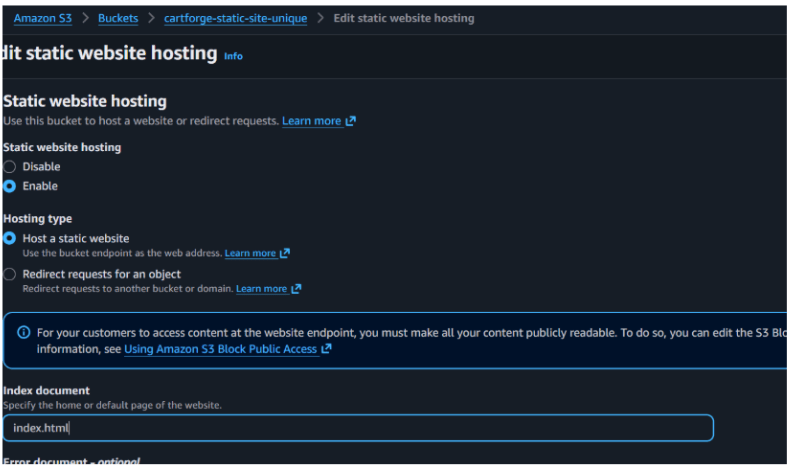
Enable Static Website Hosting
-
Open your bucket
-
Go to Properties
-
Scroll to Static website hosting
-
Click Enable
5
Configure
-
Index document: index.html
- Save changes
6
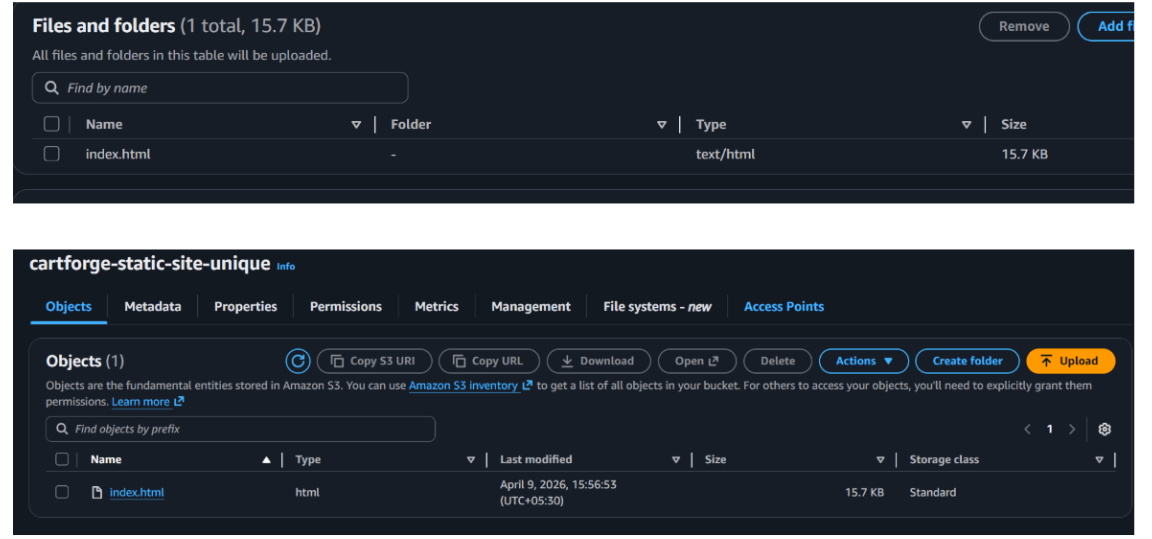
Upload Website Files
Option 1: From Local (Simple)
- Go to Objects → Upload
- Upload your index.html

Click on add files

Upload index.html file from your pc
Now lets set the policy
7
Go to S3 → Permissions → Bucket PolicyAdd this policy:

8
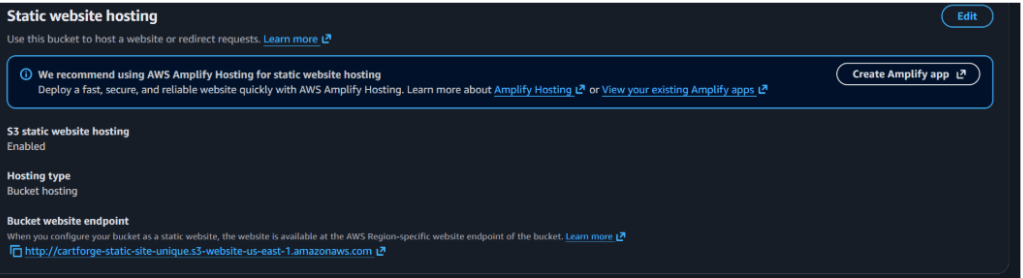
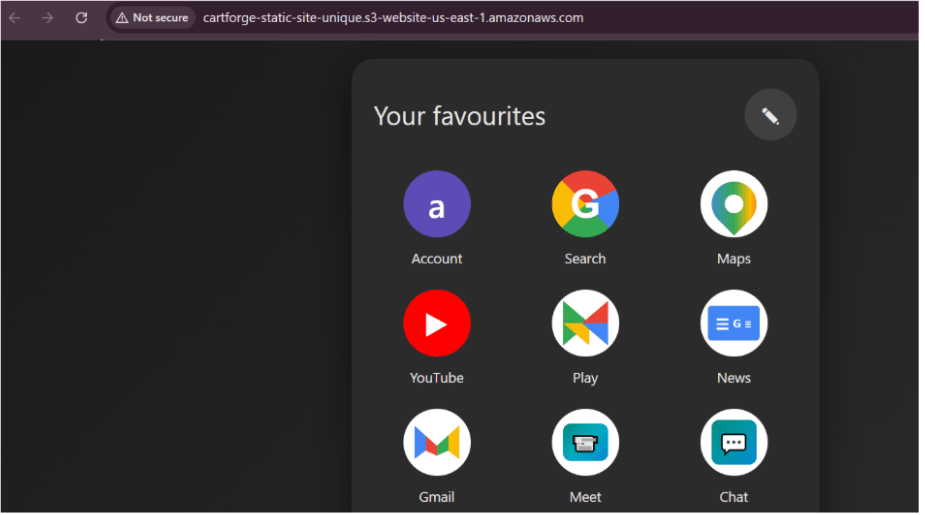
Access Static Website
Go to:
S3 → Properties → Static website hosting
You will get a URL like:
http://cartforge-static-site-unique.s3-website-<region>.amazonaws.com
9
Open it in browser
Your CartForge site is now live from S3
Great job!
With Nginx successfully deployed and S3 storage integrated, CartForge now has a secure, scalable, and production-ready cloud infrastructure.
Checkpoint
Next-Lab Preparation
-
What is VPC
-
Different between NAT AND IT / Public subnet vs Private SUbnet
-
What NACL and SG