Spring Boot Setup in Eclipse & Run Application

Business Scenario
In this lab, you will install Spring Tools in Eclipse, create a Spring Boot project, and run the application to verify the setup.

Pre-Lab Preparation
- Ensure JDK 17 and Eclipse IDE are installed and working properly on your system.
- Have a basic understanding of Java, Maven, and Spring Boot concepts.
- Verify that you have an active internet connection to download Spring Tools plugins and project dependencies.
Task 1: Install Spring Tools Plugin in Eclipse
1
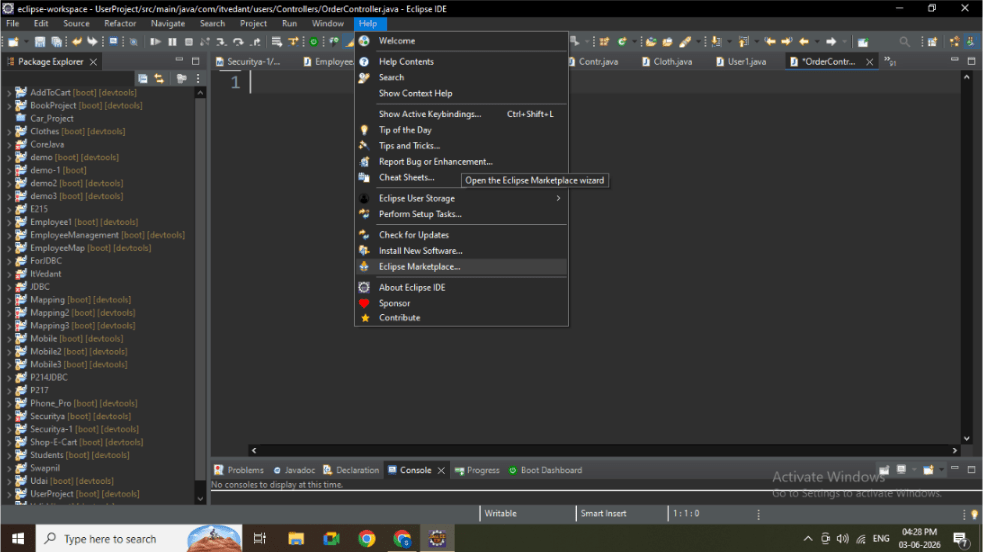
Open Eclipse IDE
2
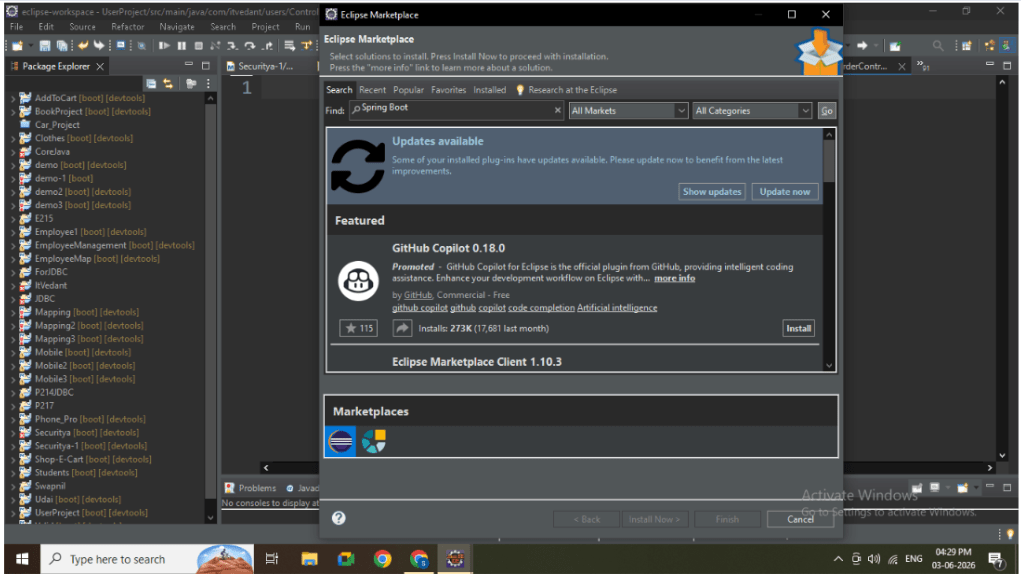
Go to: Help → Eclipse Marketplace
3
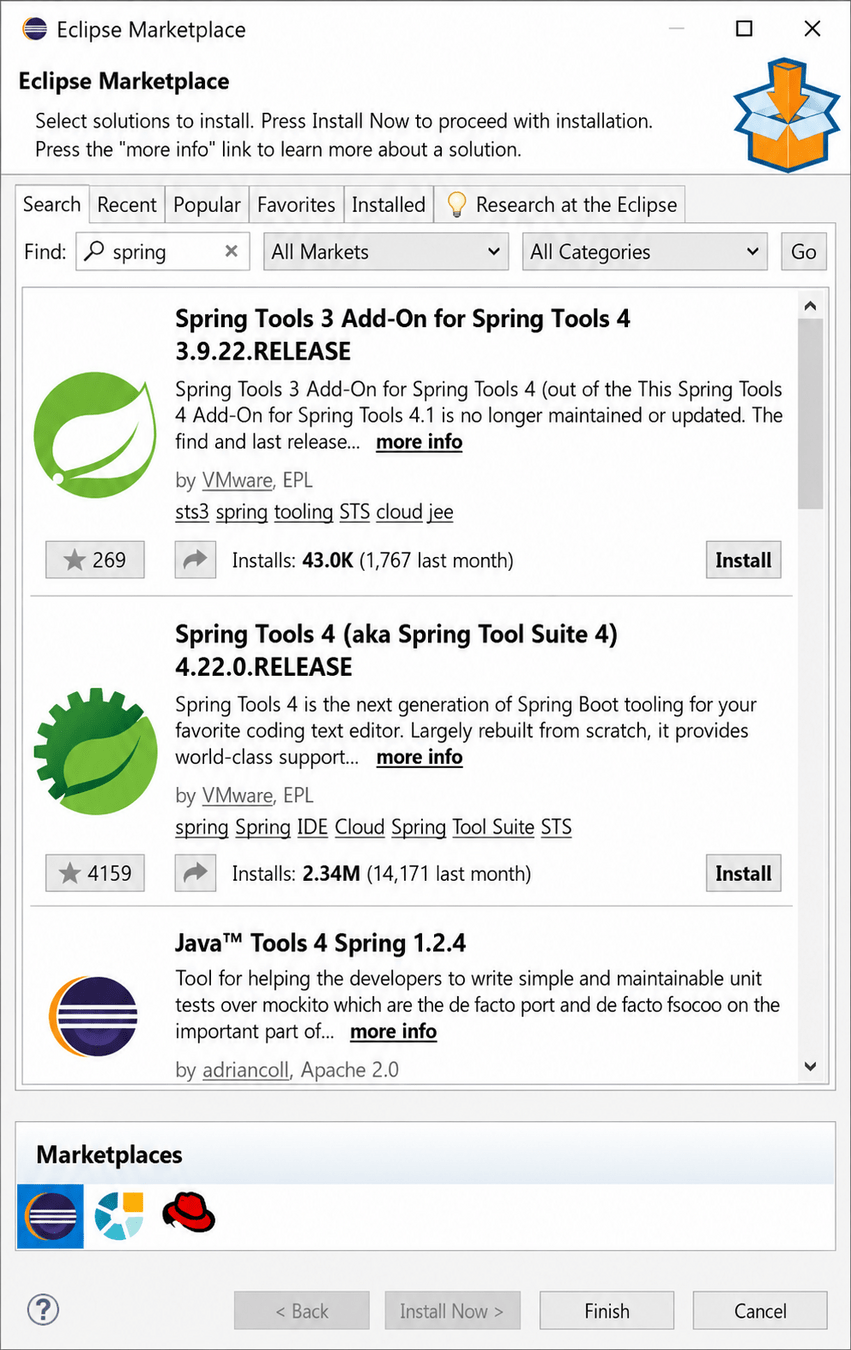
Search: Spring Tools
4
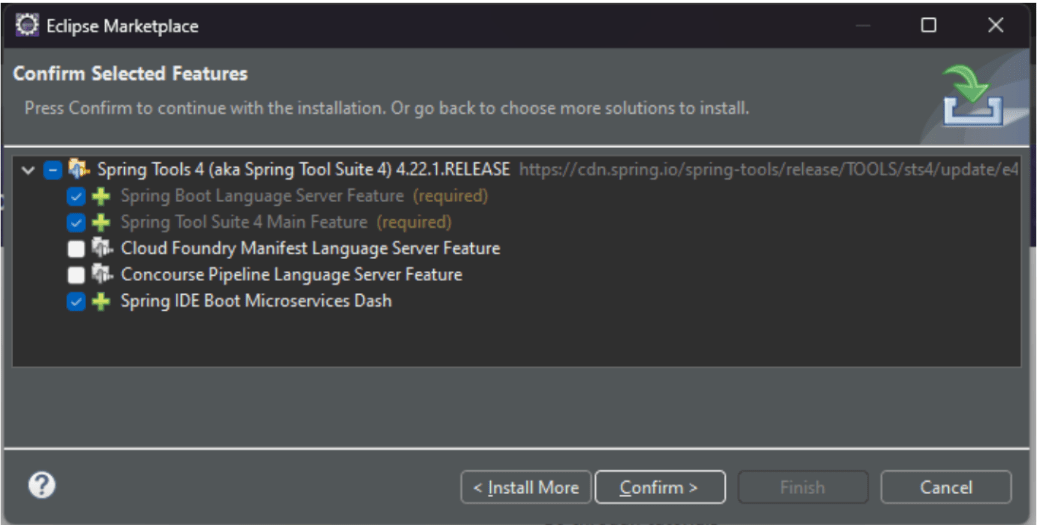
Click Install on: Spring Tools 4 (Spring Tool Suite)
5
Accept license and click Finish
6
Restart Eclipse after installation
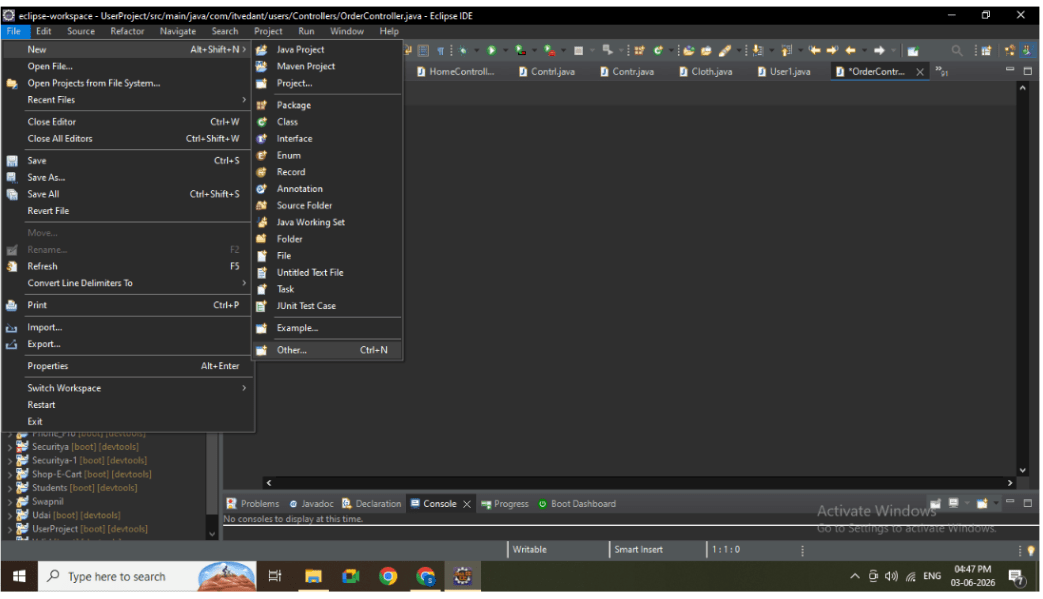
Task 2 : Create Spring Boot Project
1
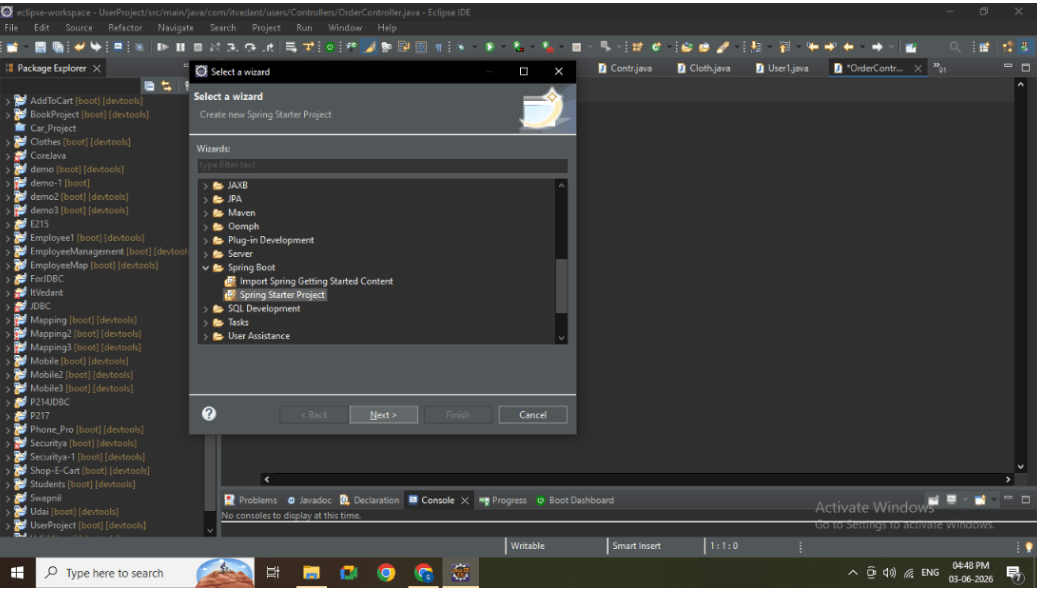
Go to:File → New → Other
2
Search and select: Spring Starter Project
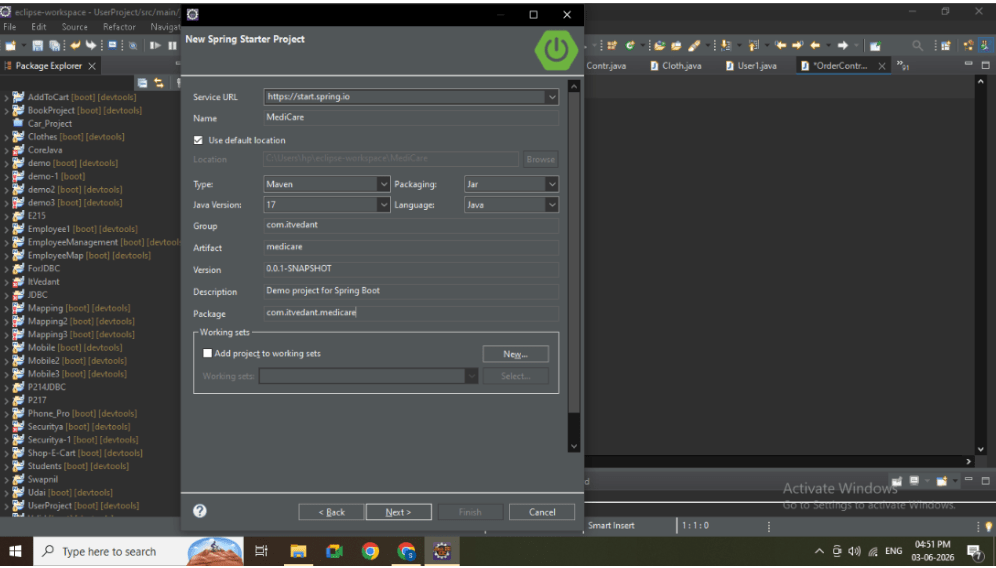
3
Enter project details:
-
Name: MediCare
-
Type: Maven
-
Packaging: Jar
-
Java Version: 17
4
Add dependencies:
-
Spring Web
-
Spring Data JPA
-
MySQL Driver
-
Spring DevTools

5
Click Finish
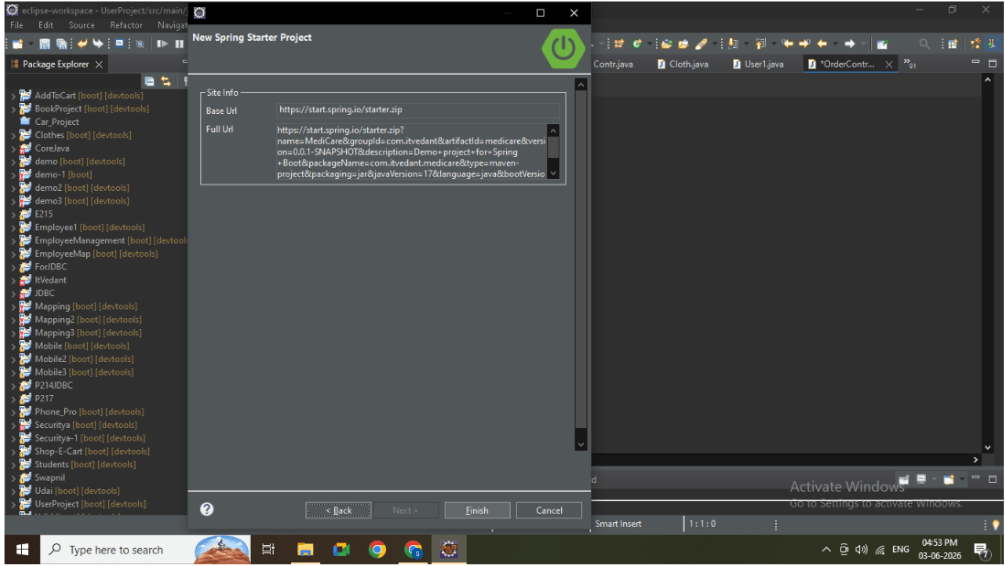
6
Wait for project build to complete
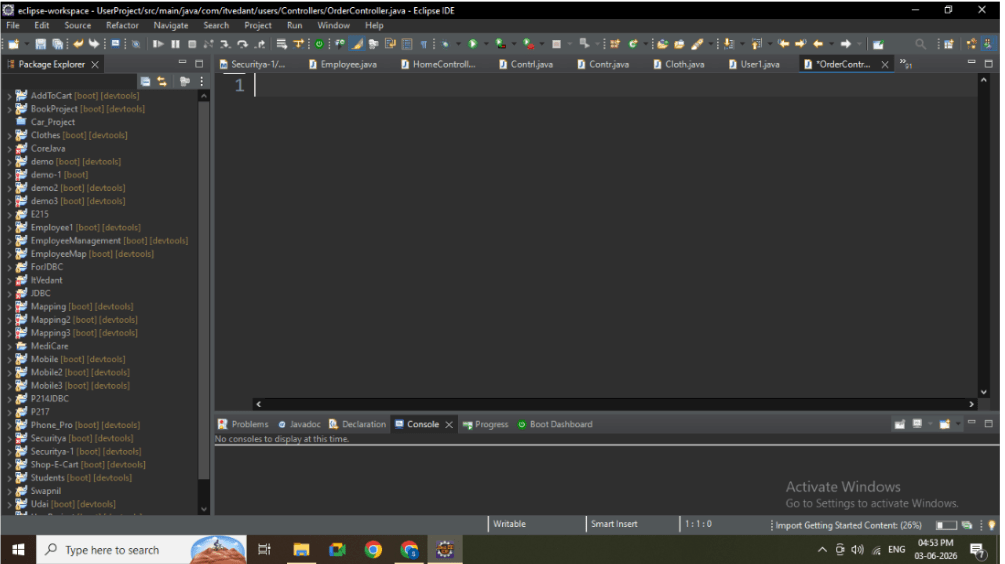
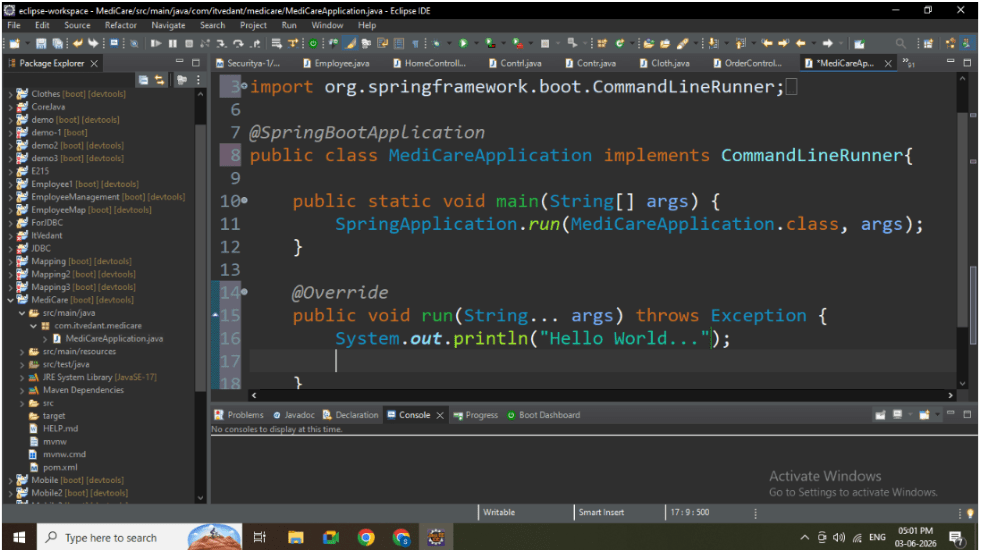
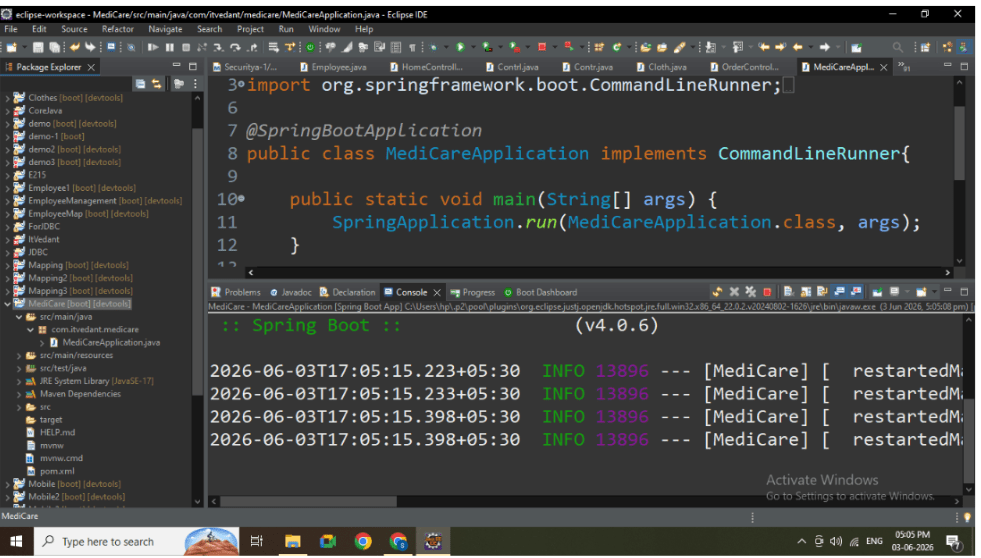
Task 3: Run Spring Boot Application
1
Open main class file
Write a code : Firstly Implements the CommandLineRunner.
@Override
	public void run(String... args) throws Exception {
		System.out.println("Hello World...");

	}
2
Right-click on main class
3
Click: Run As → Spring Boot App
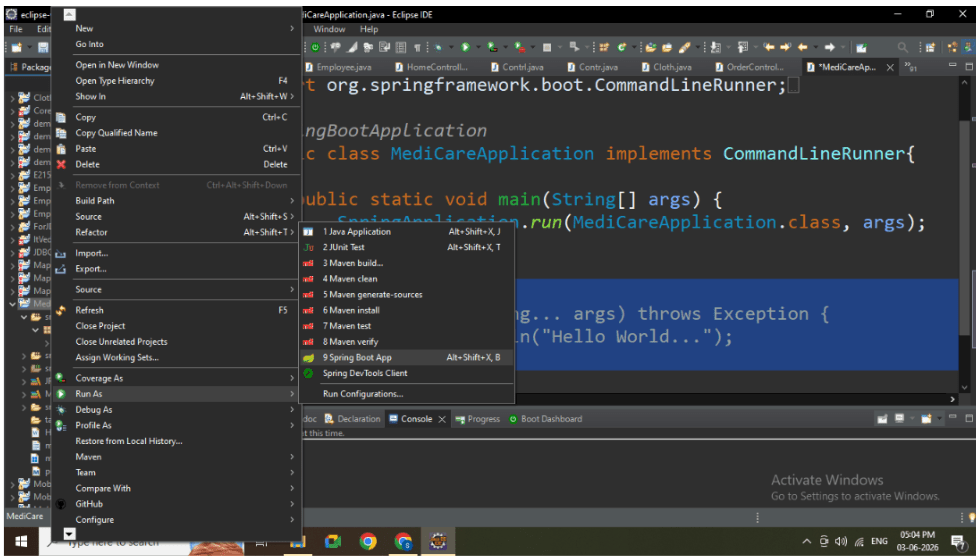
4
Wait for application to start
Task 4: Verify Application
1
Check console for message:
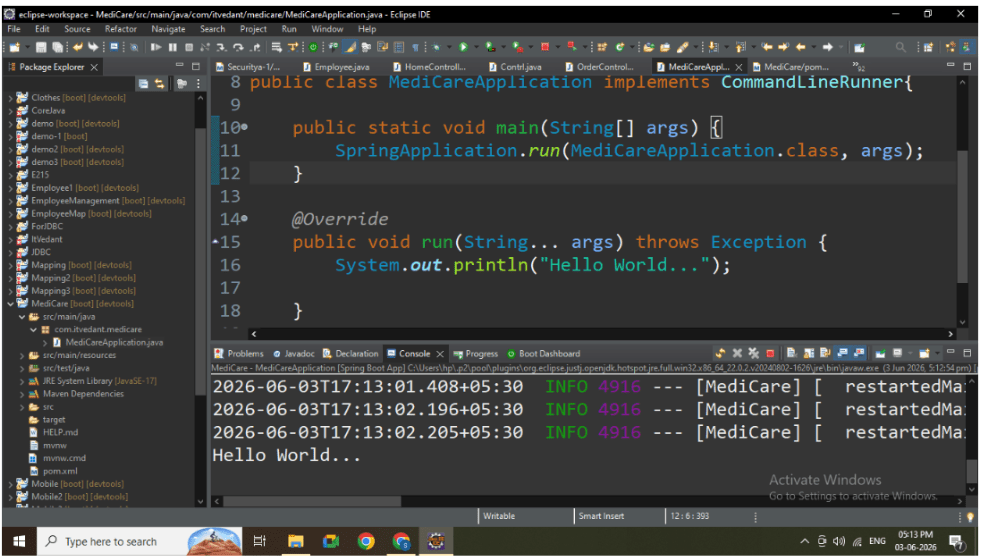
Great job!
-
Installed Spring Tools plugin in Eclipse
-
Created Spring Boot project using Spring Starter
-
Added required dependencies
-
Successfully ran the application
-
Verified server startup on localhost
Checkpoint
Next-Lab Preparation
Text