


Content ITV PRO
This is Itvedant Content department
Explore the setup and installation of Kali Linux in a simulated environment
Business Scenario
Welcome!
You are a cybersecurity trainee at RedCore Cyber Labs, assigned to set up a secure testing environment for ethical hacking. Your task is to install a virtual machine using VMware Workstation or Oracle VirtualBox and deploy Kali Linux. By completing the installation and exploring its tools, you create a safe lab environment to practice cybersecurity techniques without affecting real systems.
Pre-Lab Preparation
Topic : Linux & Kali Linux Environment
1) Introduction to Kali Linux and Installation using VirtualBox/VMware.
2) Understanding the Kali Linux environment.
3) Linux file system structure.
Task 1: Configure a virtual environment using VMware workstation / VirtualBox
1
Install VMware Workstation
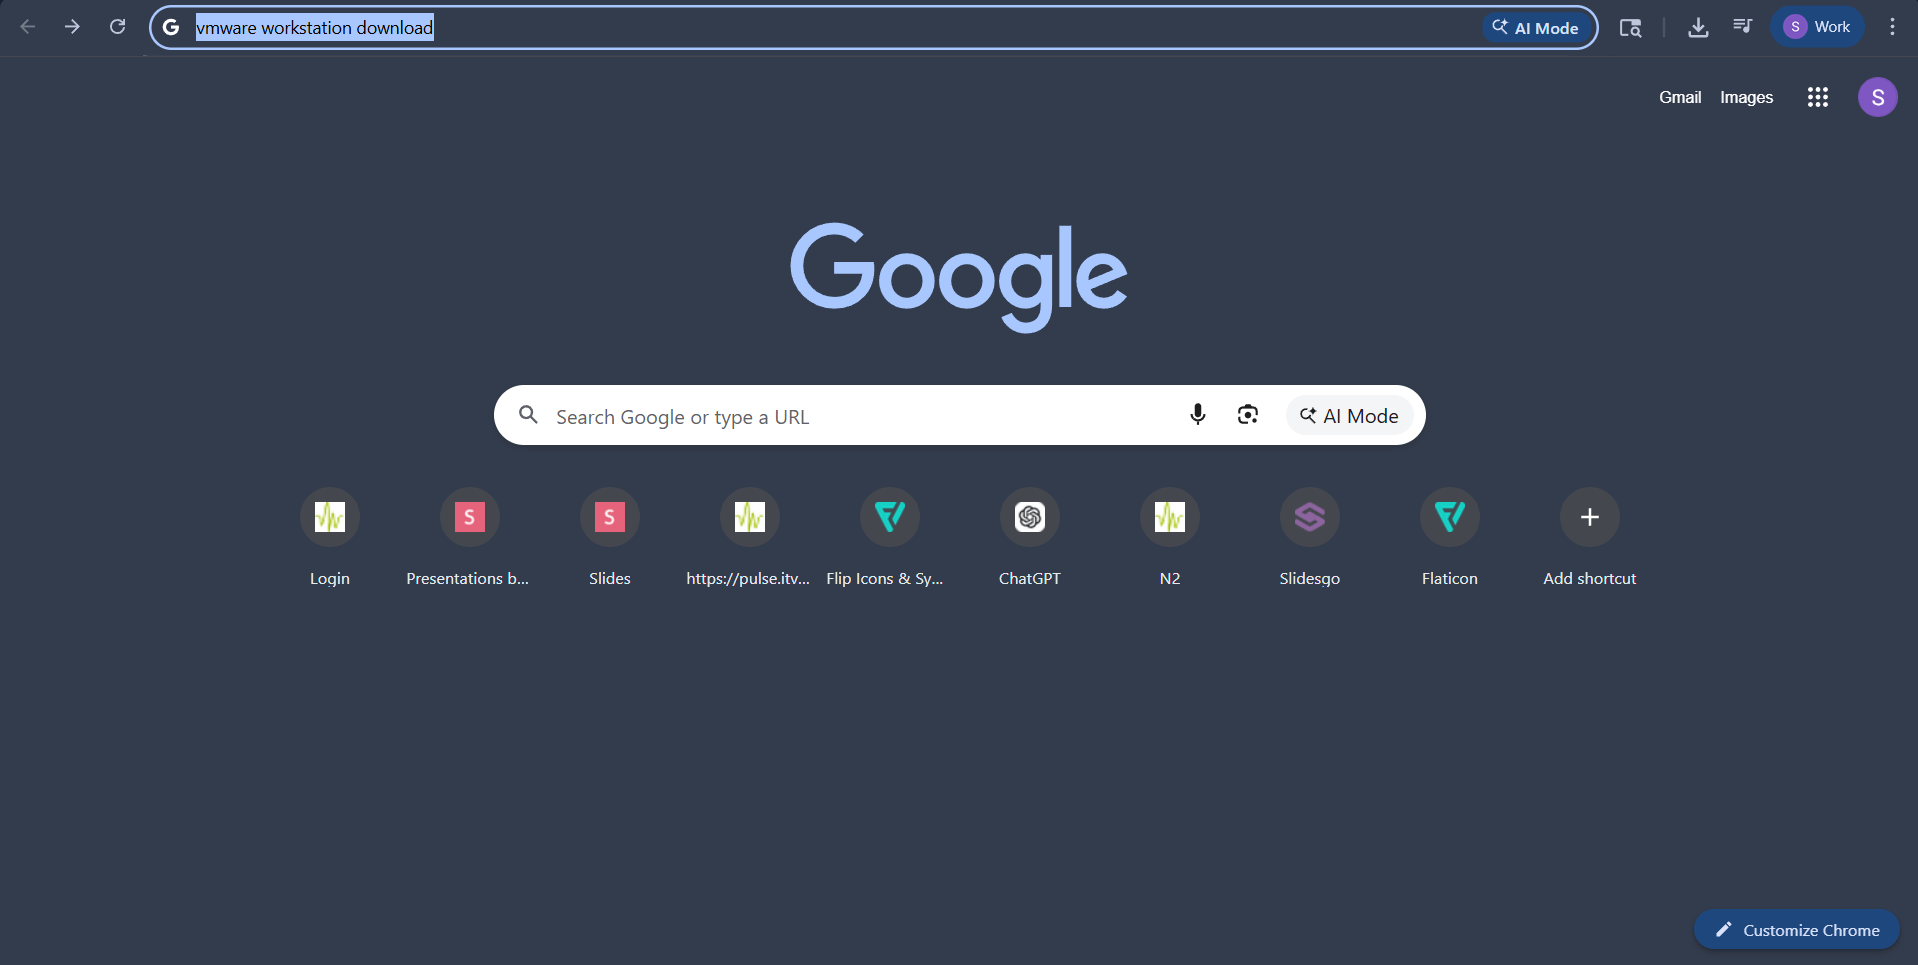
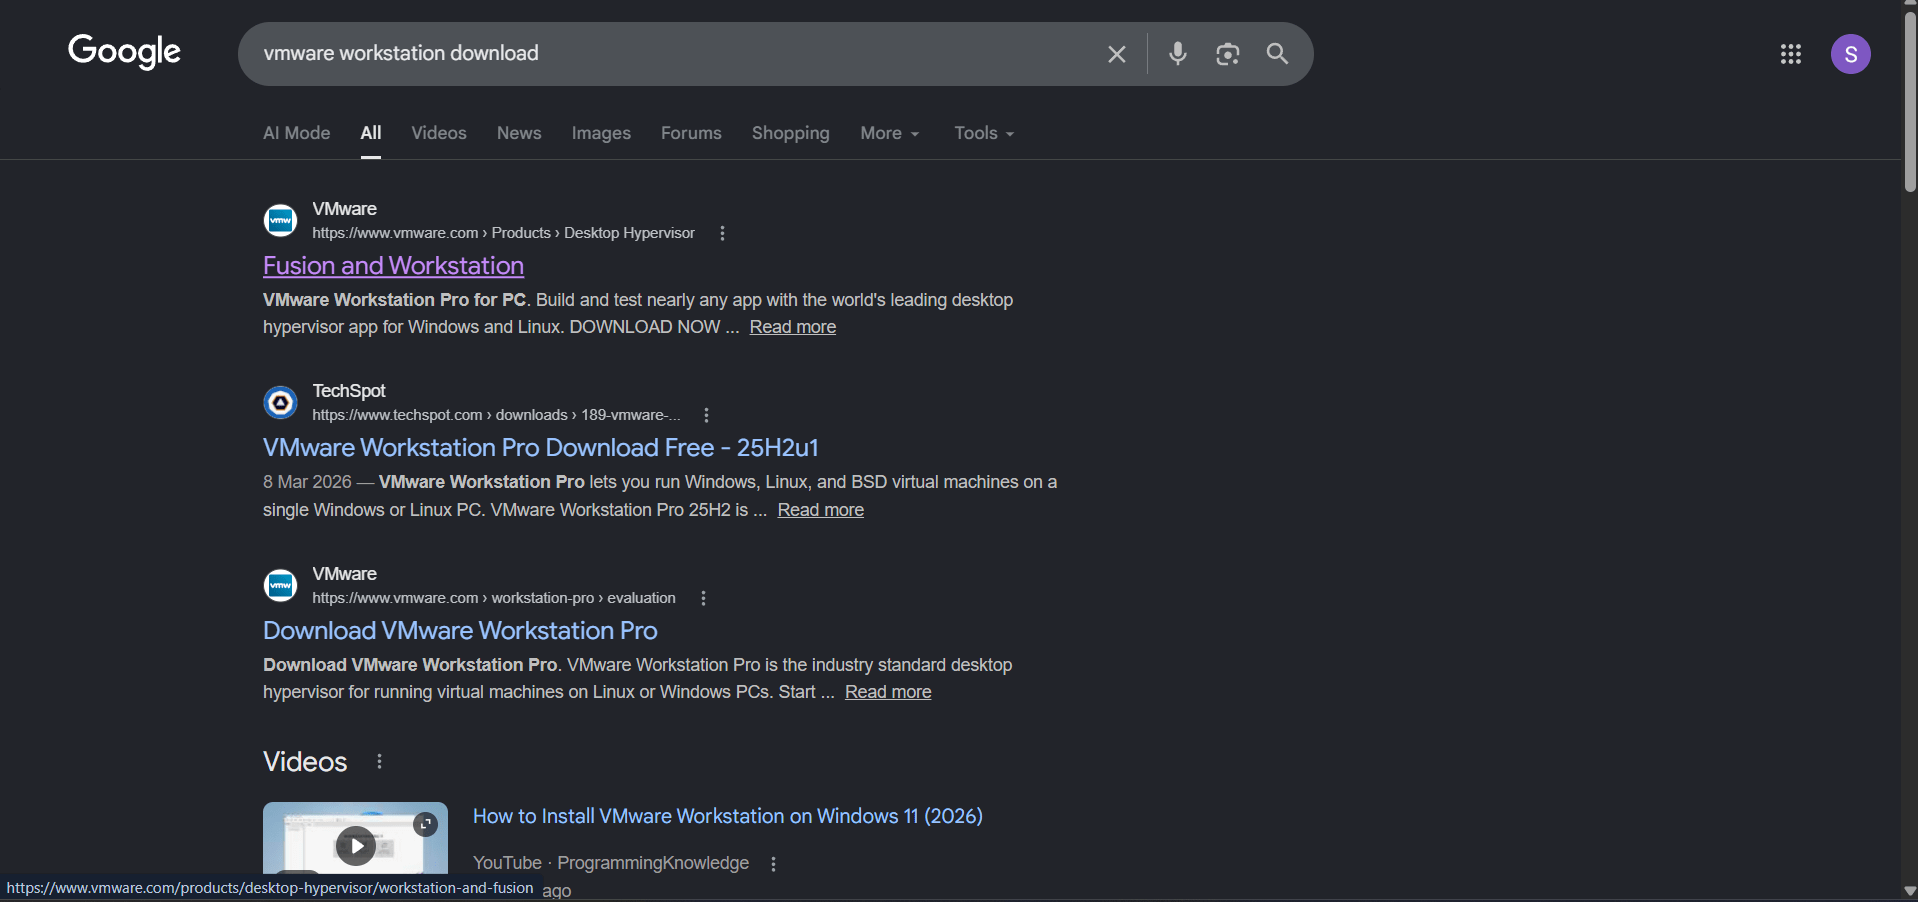
Go to google and Search VMware Workstation download.
a
Option: 1
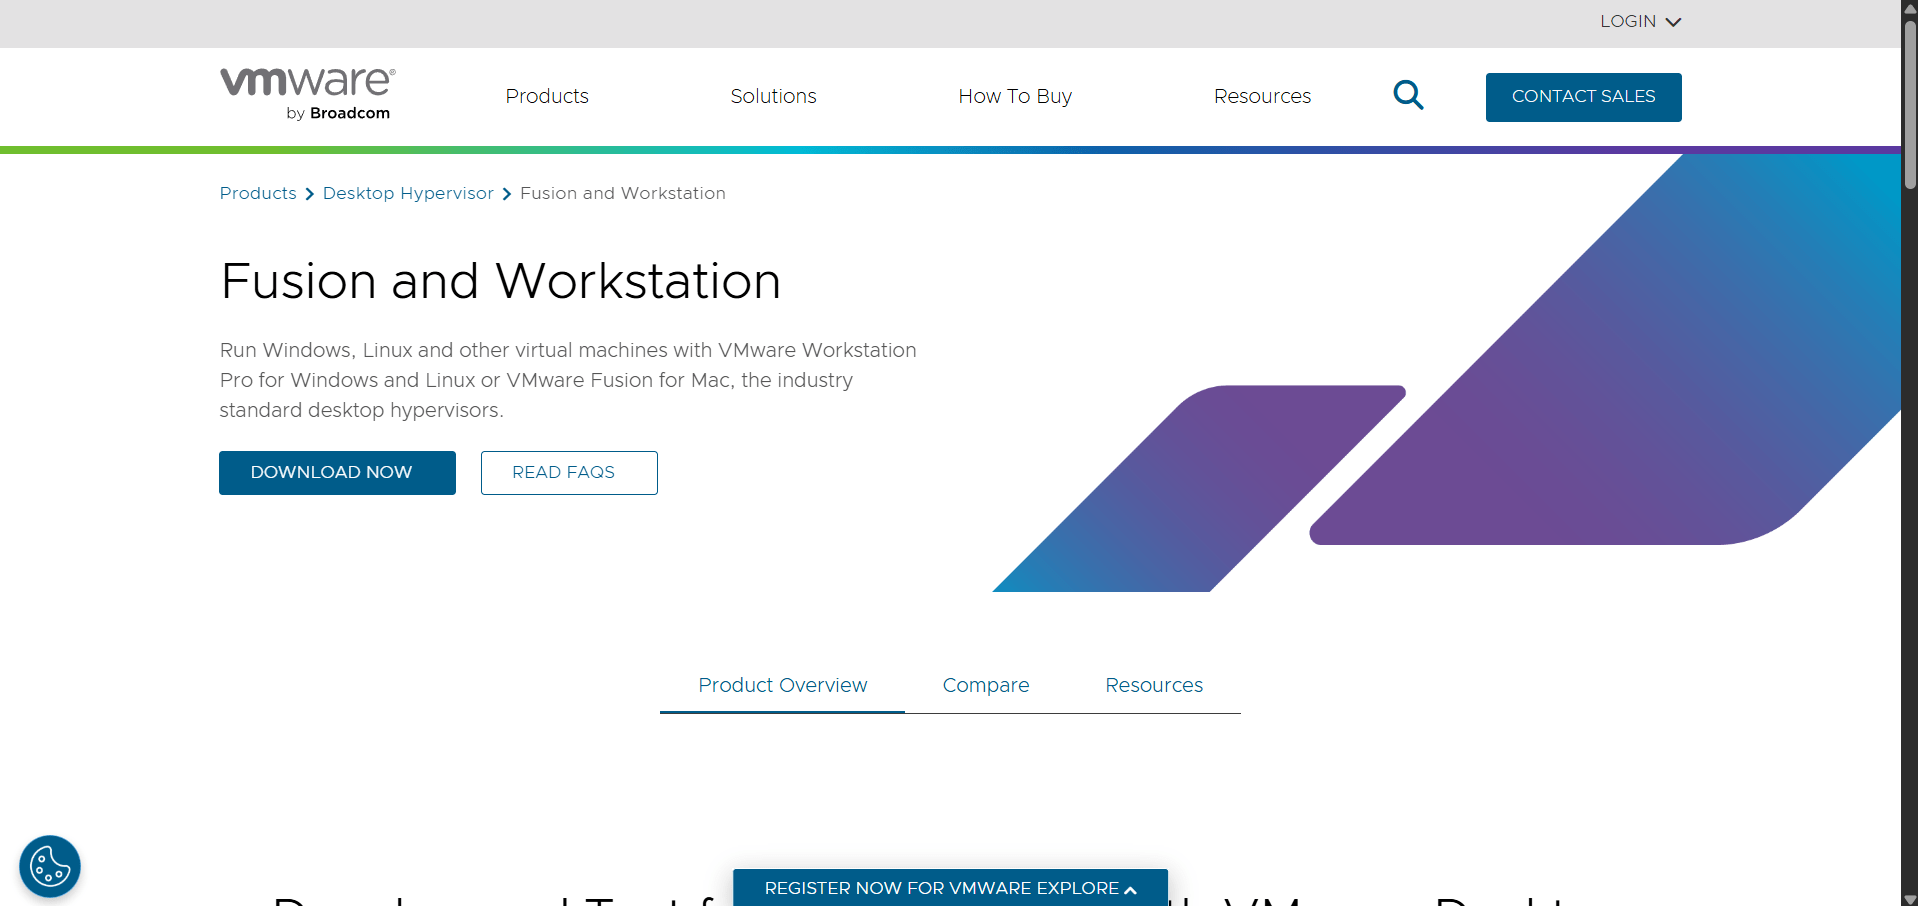
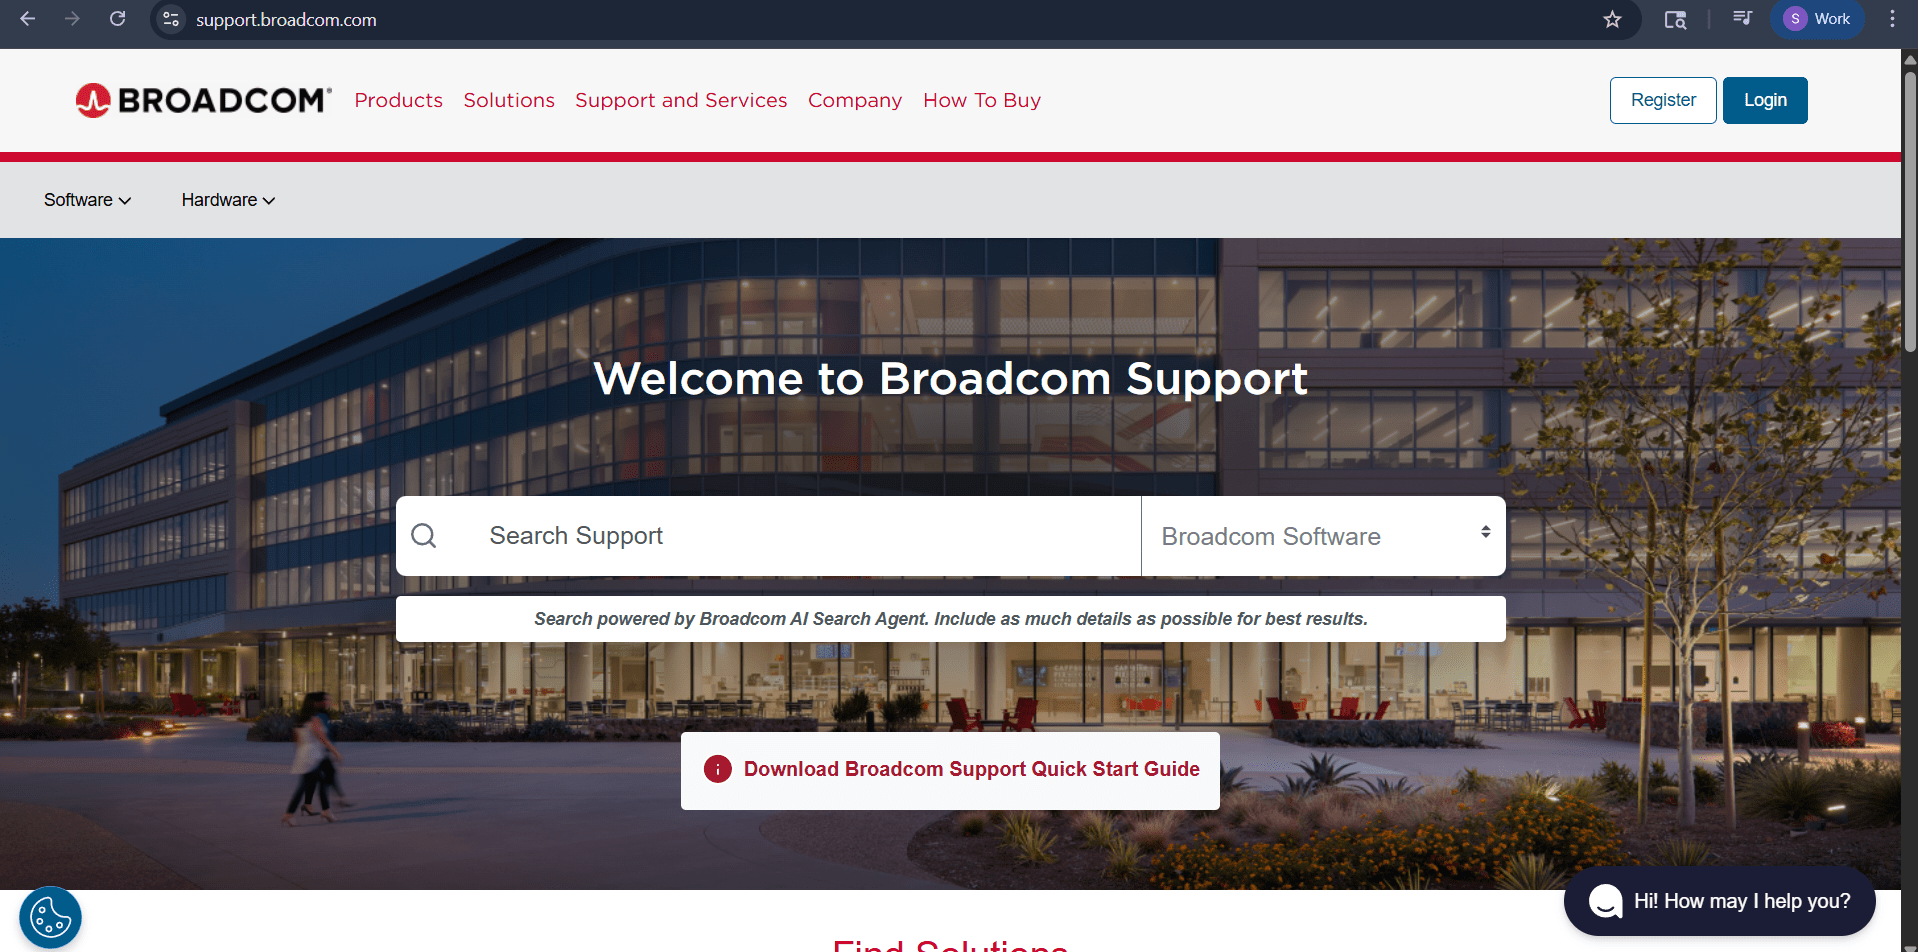
Open VMware Workstation download page.
b
Click Download Now.
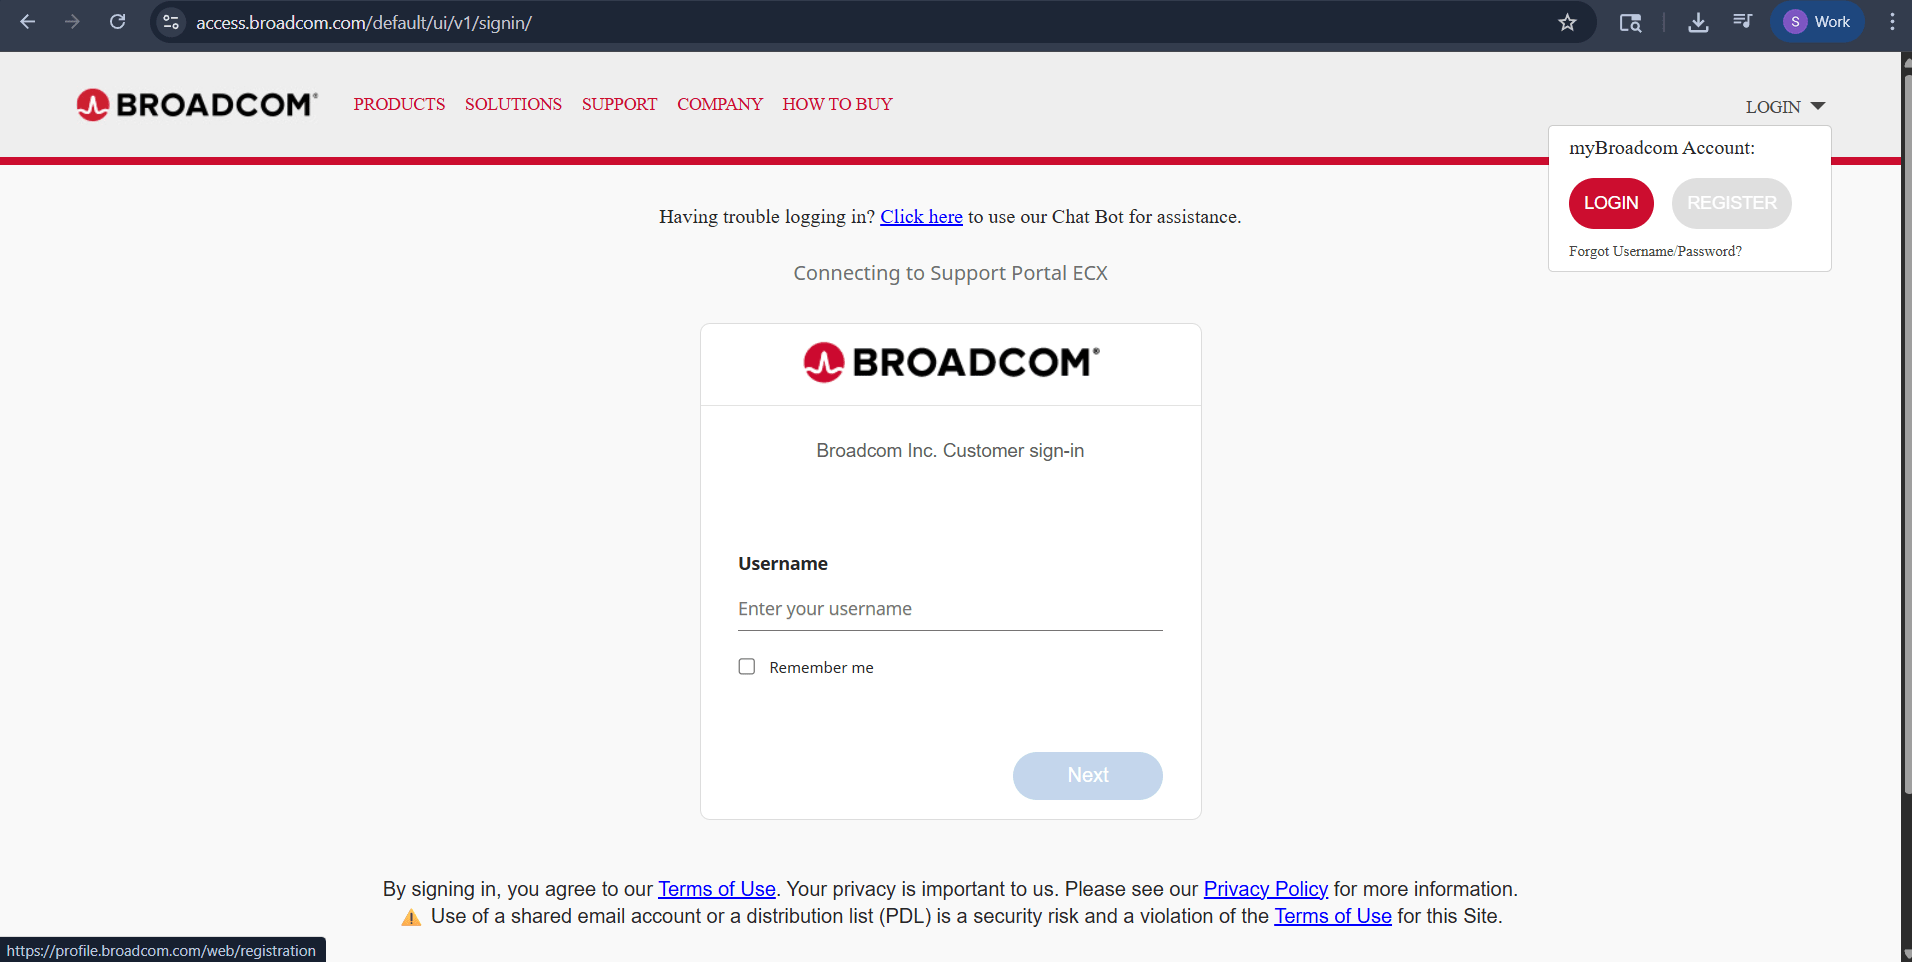
c
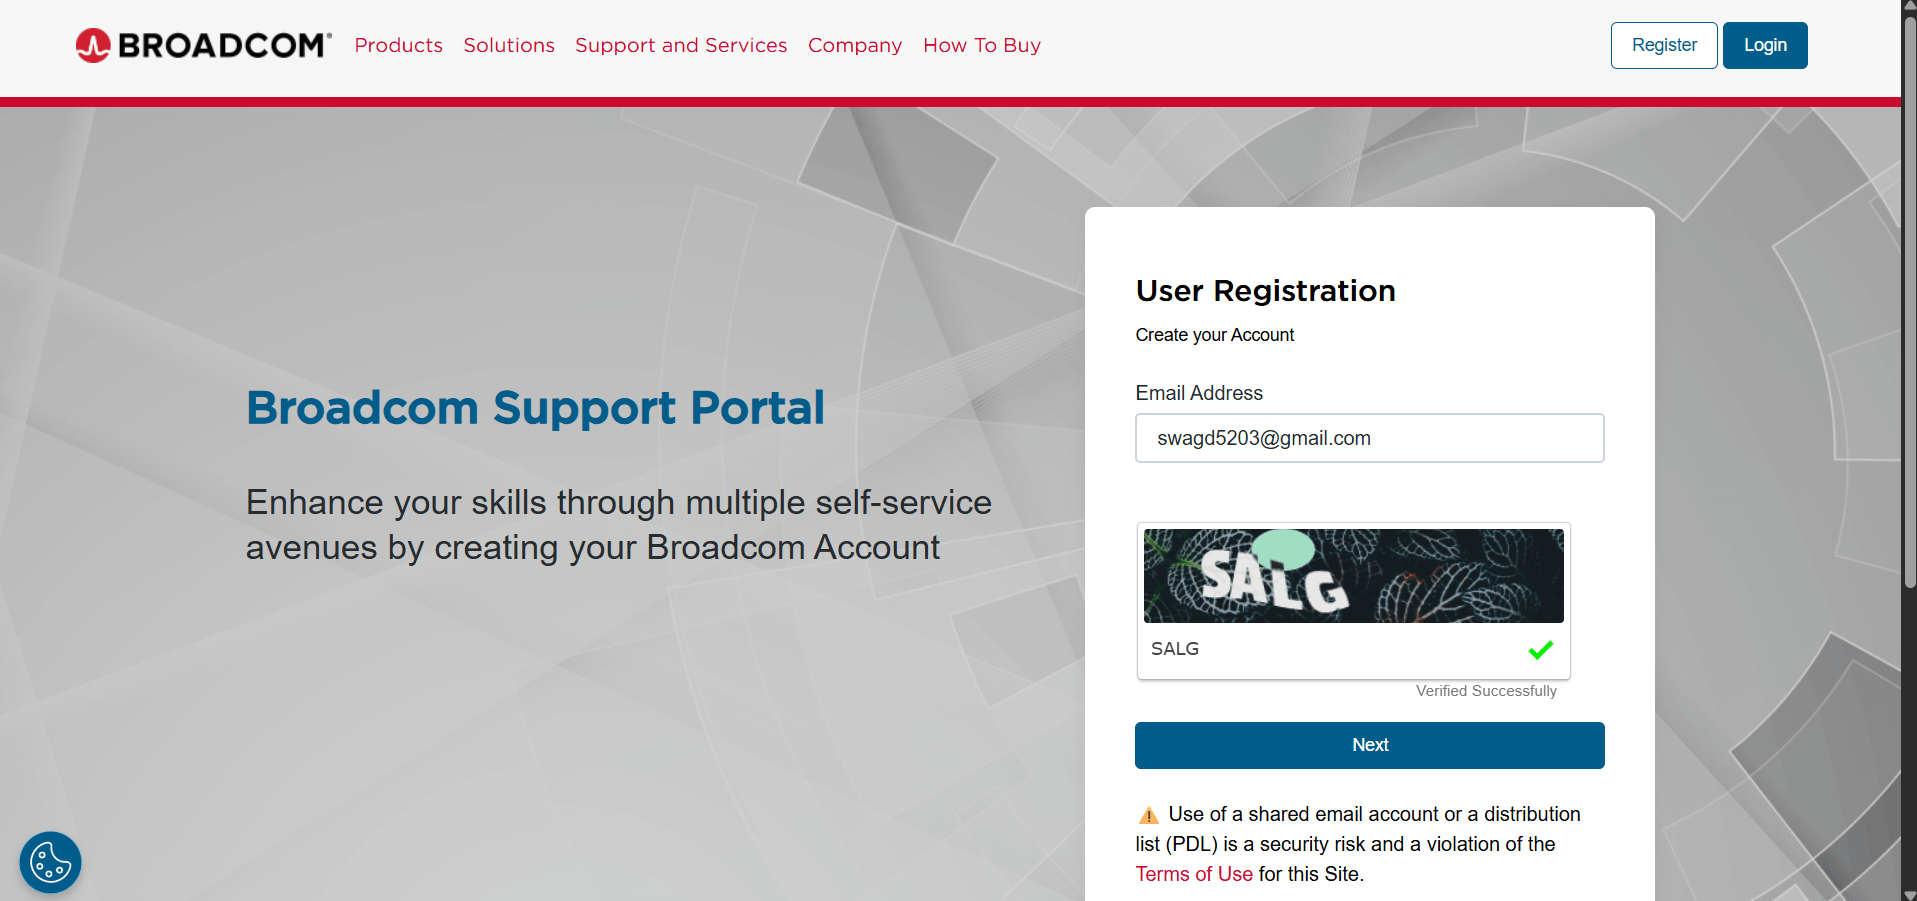
Click Register on Broadcom page.
d
Enter email and complete CAPTCHA.
e
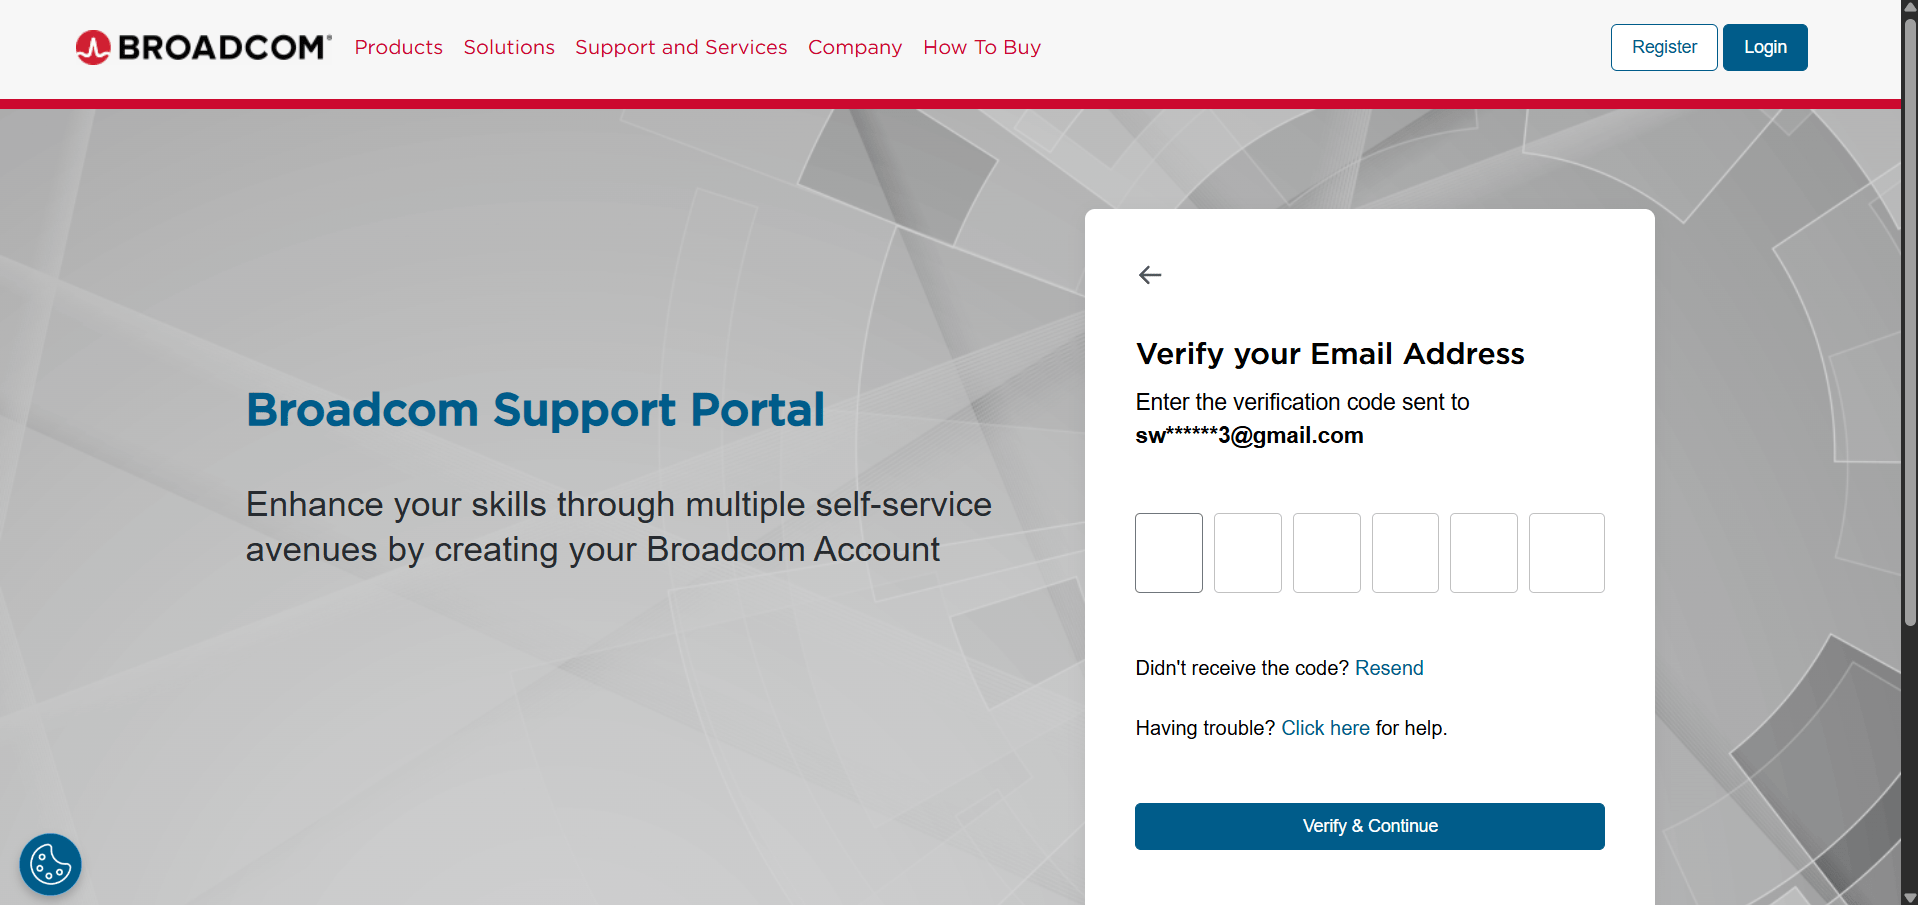
Enter verification code and continue.
f
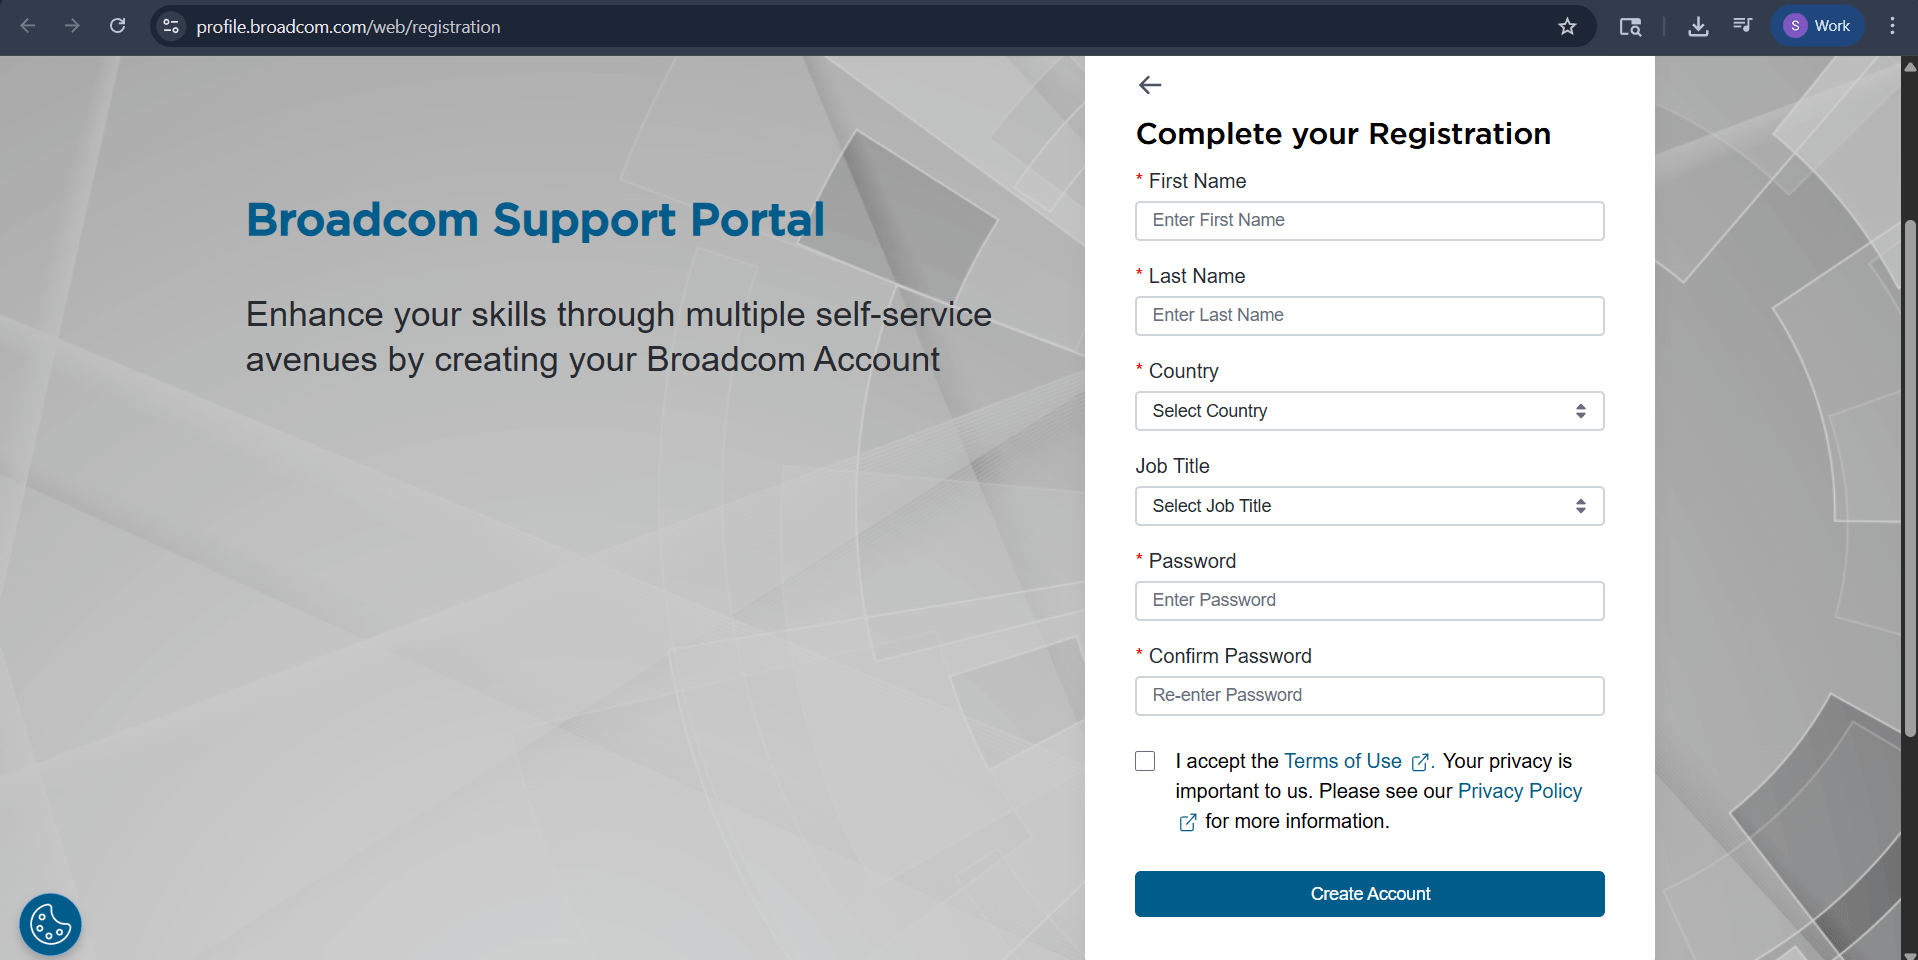
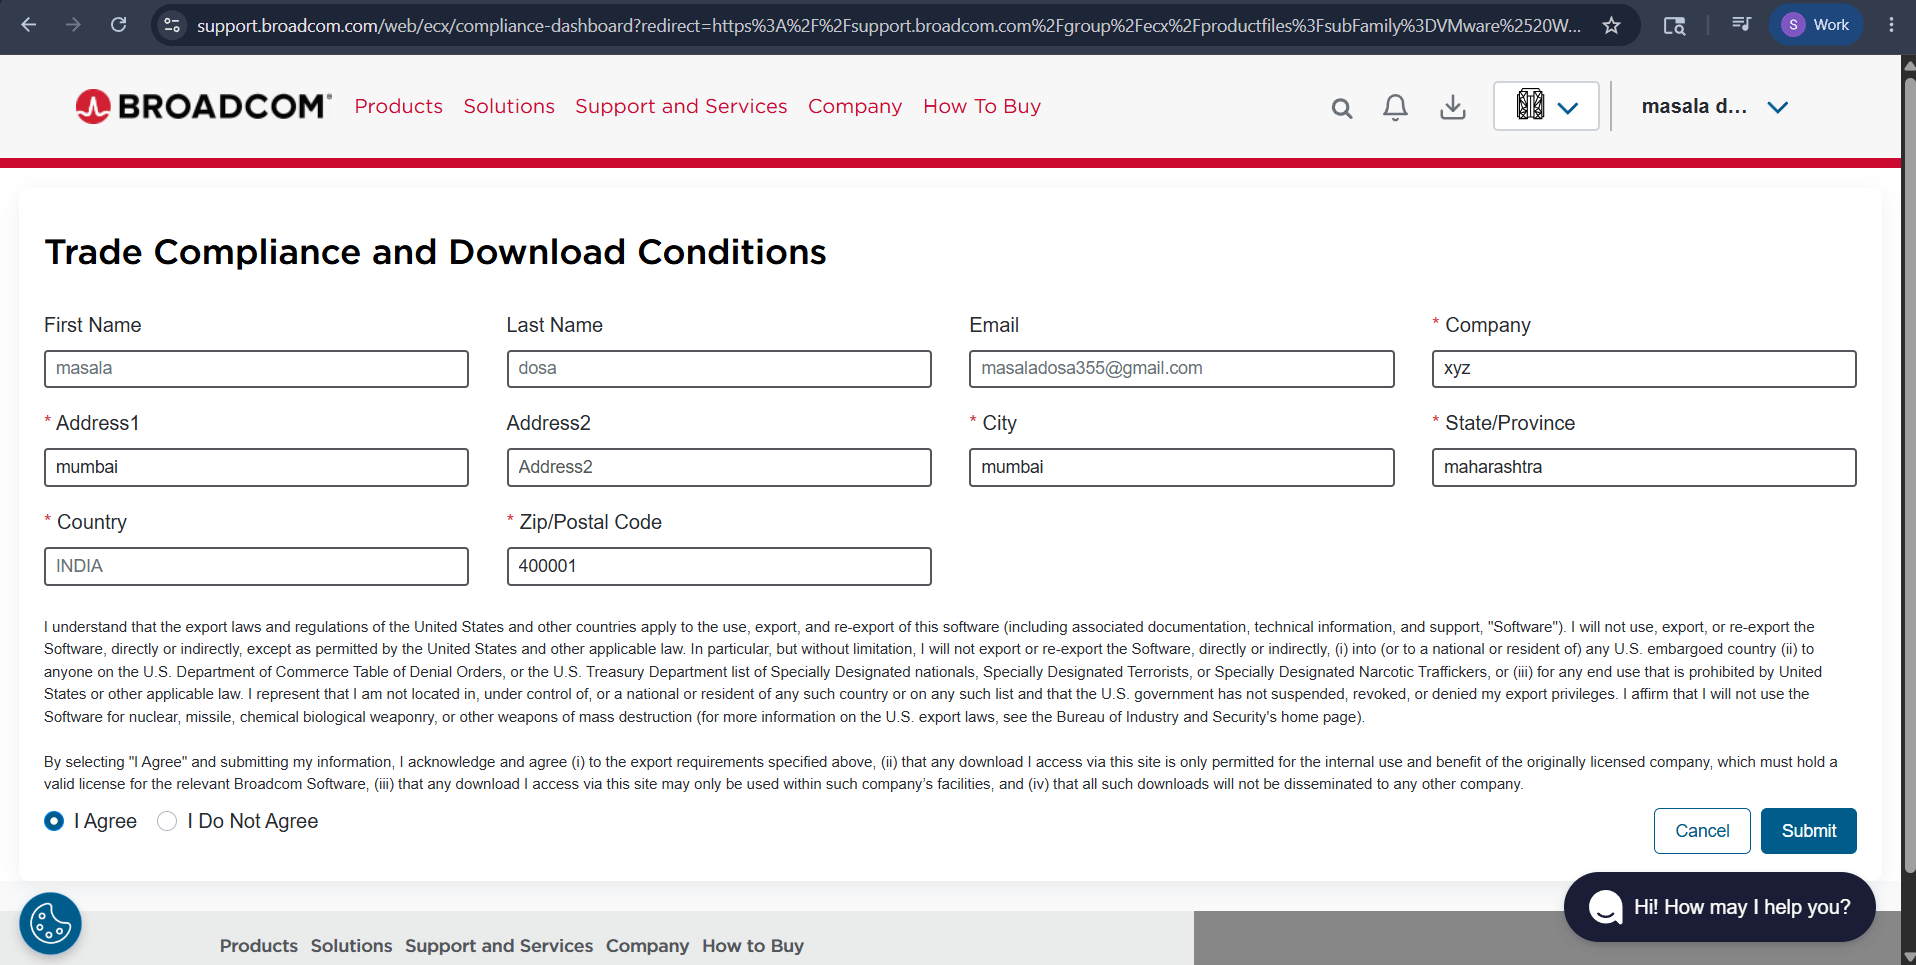
Complete the registration form.
g
Registration completed successfully.
h
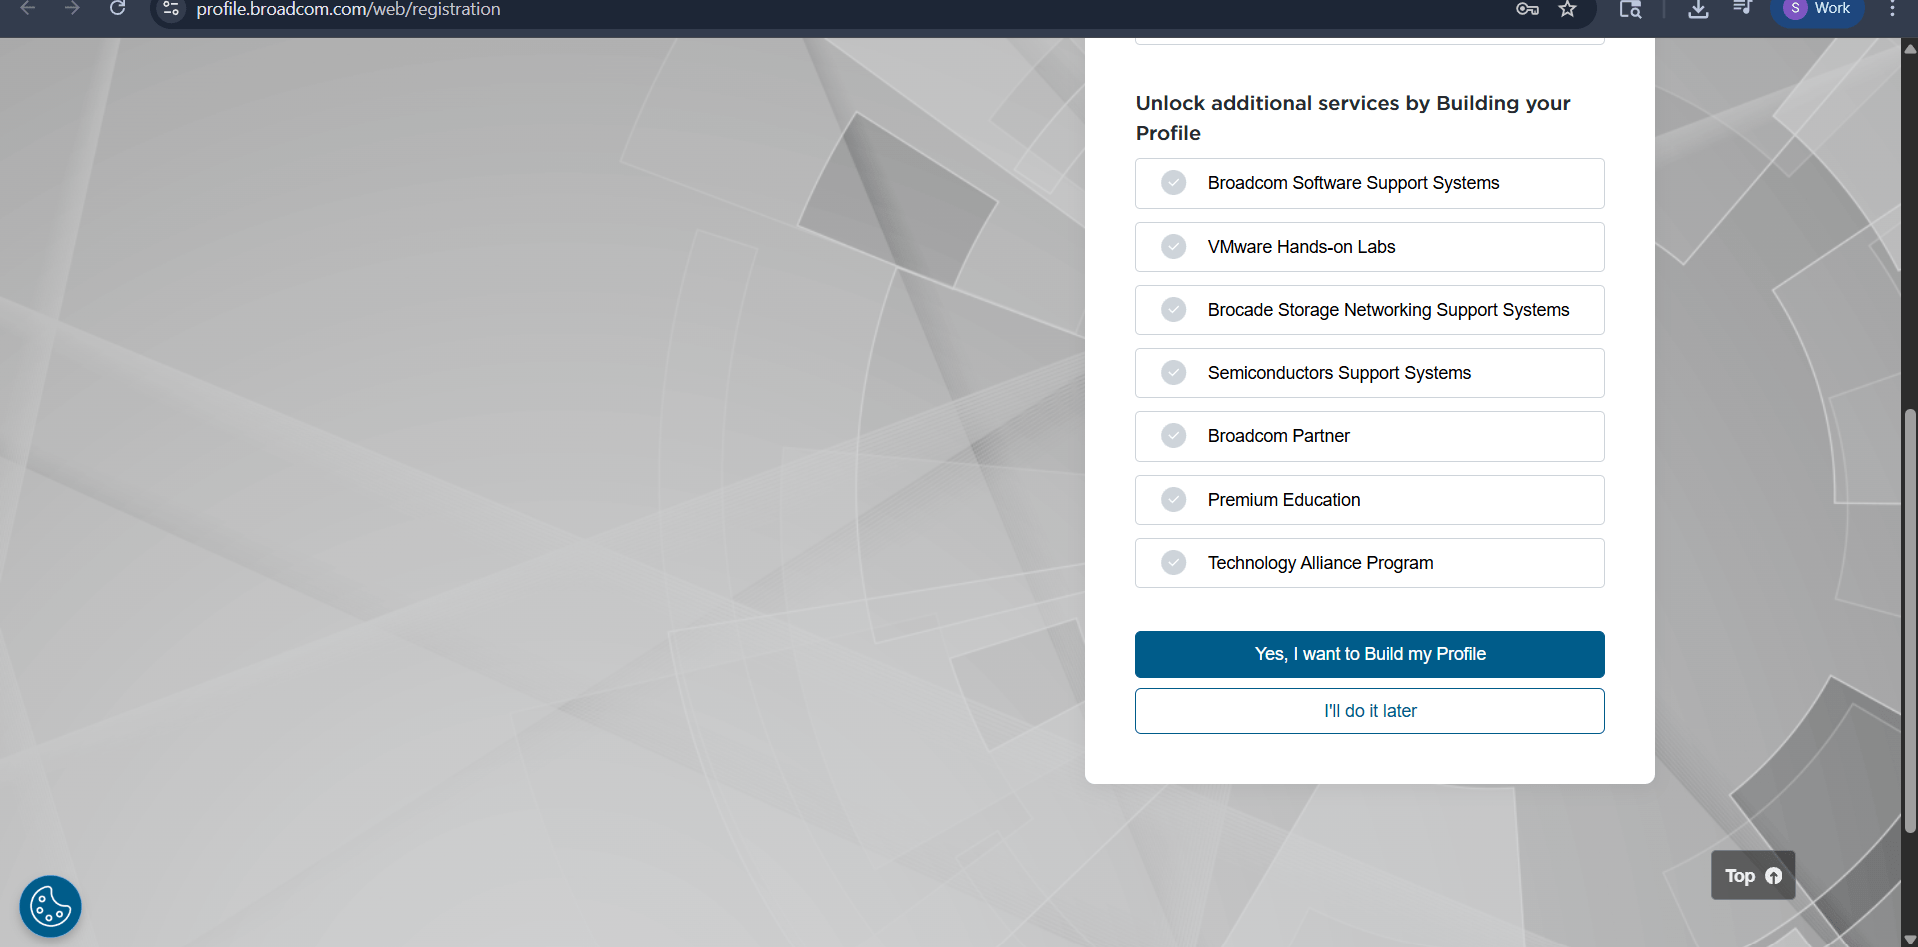
Build your Broadcom profile.
i
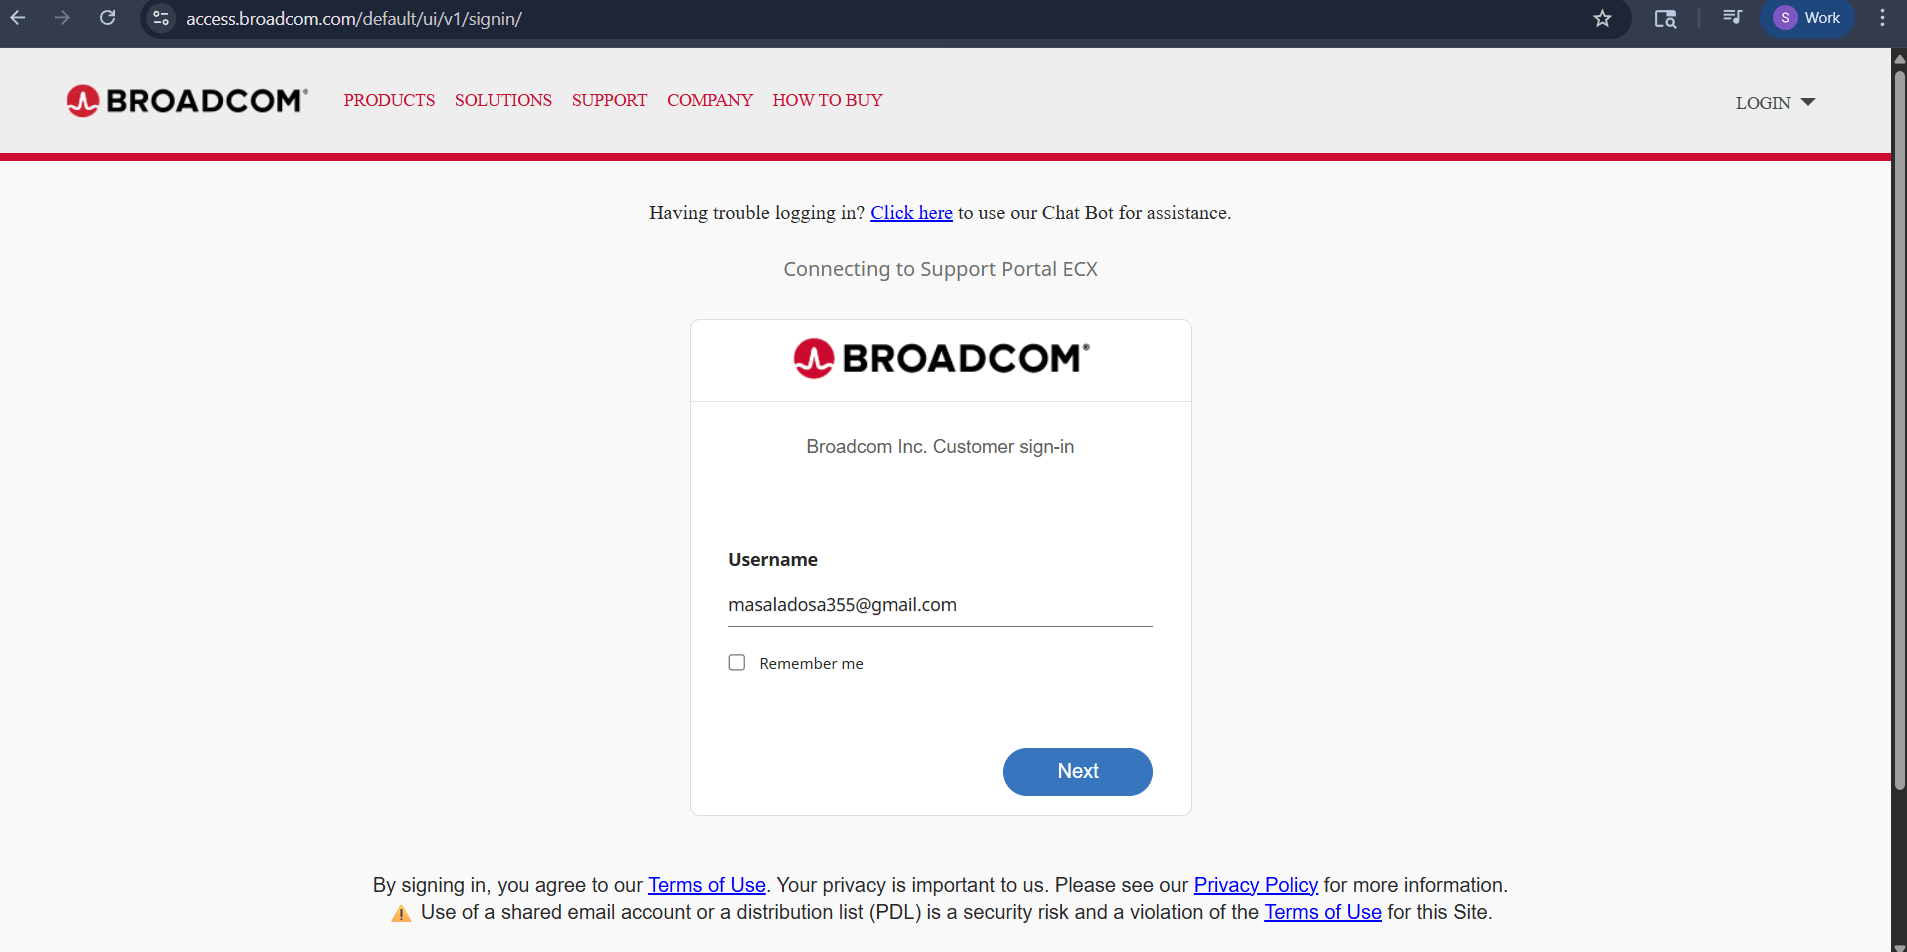
Open the Broadcom Support portal.
j
Enter your username/email.
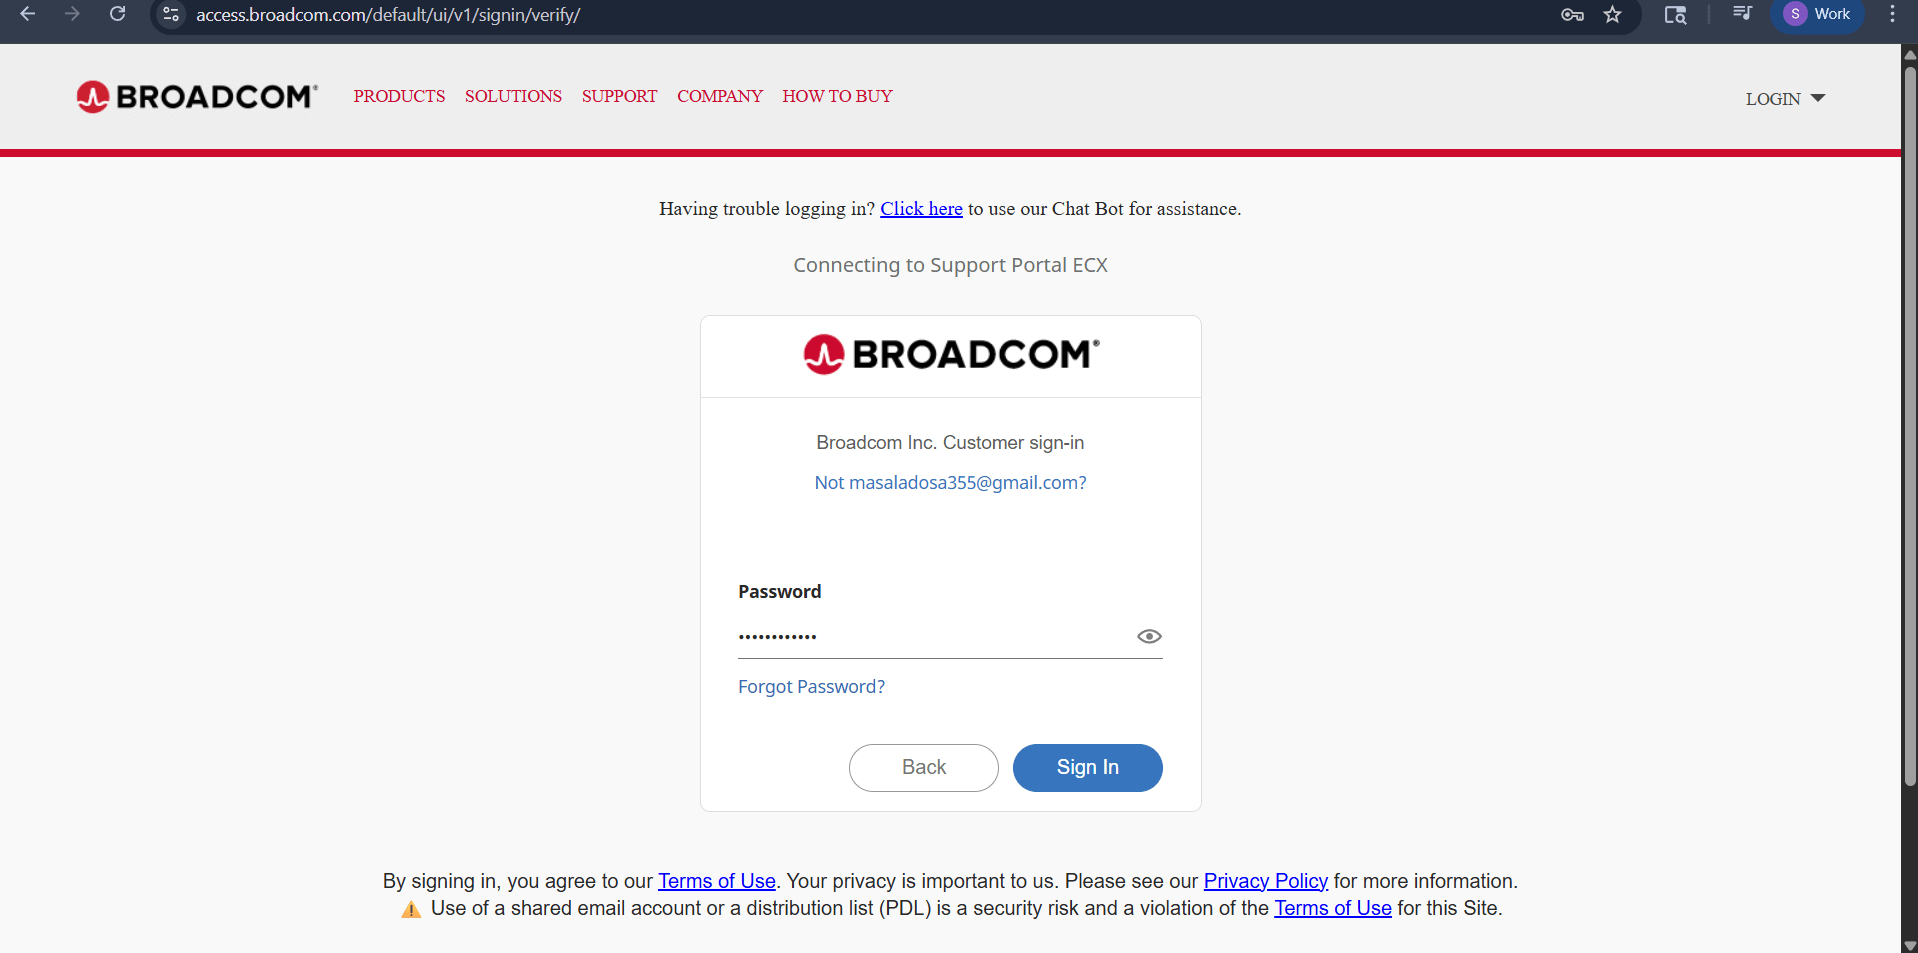
k
Enter your password.
l
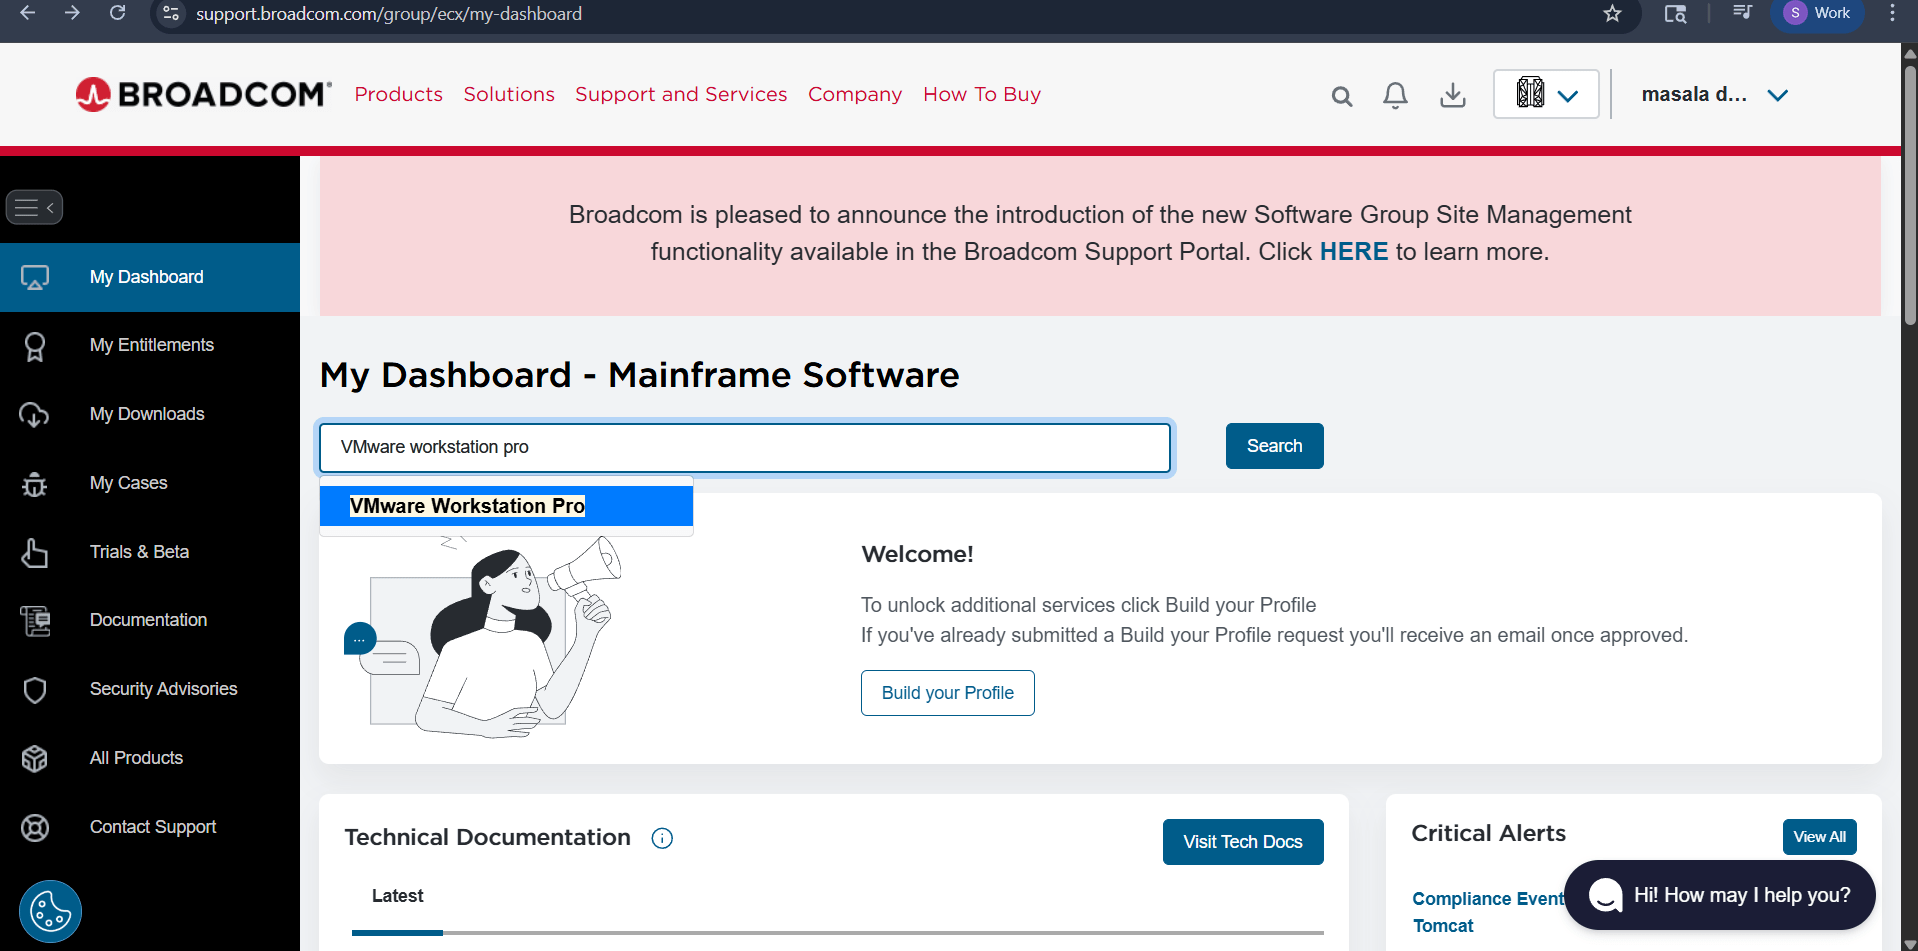
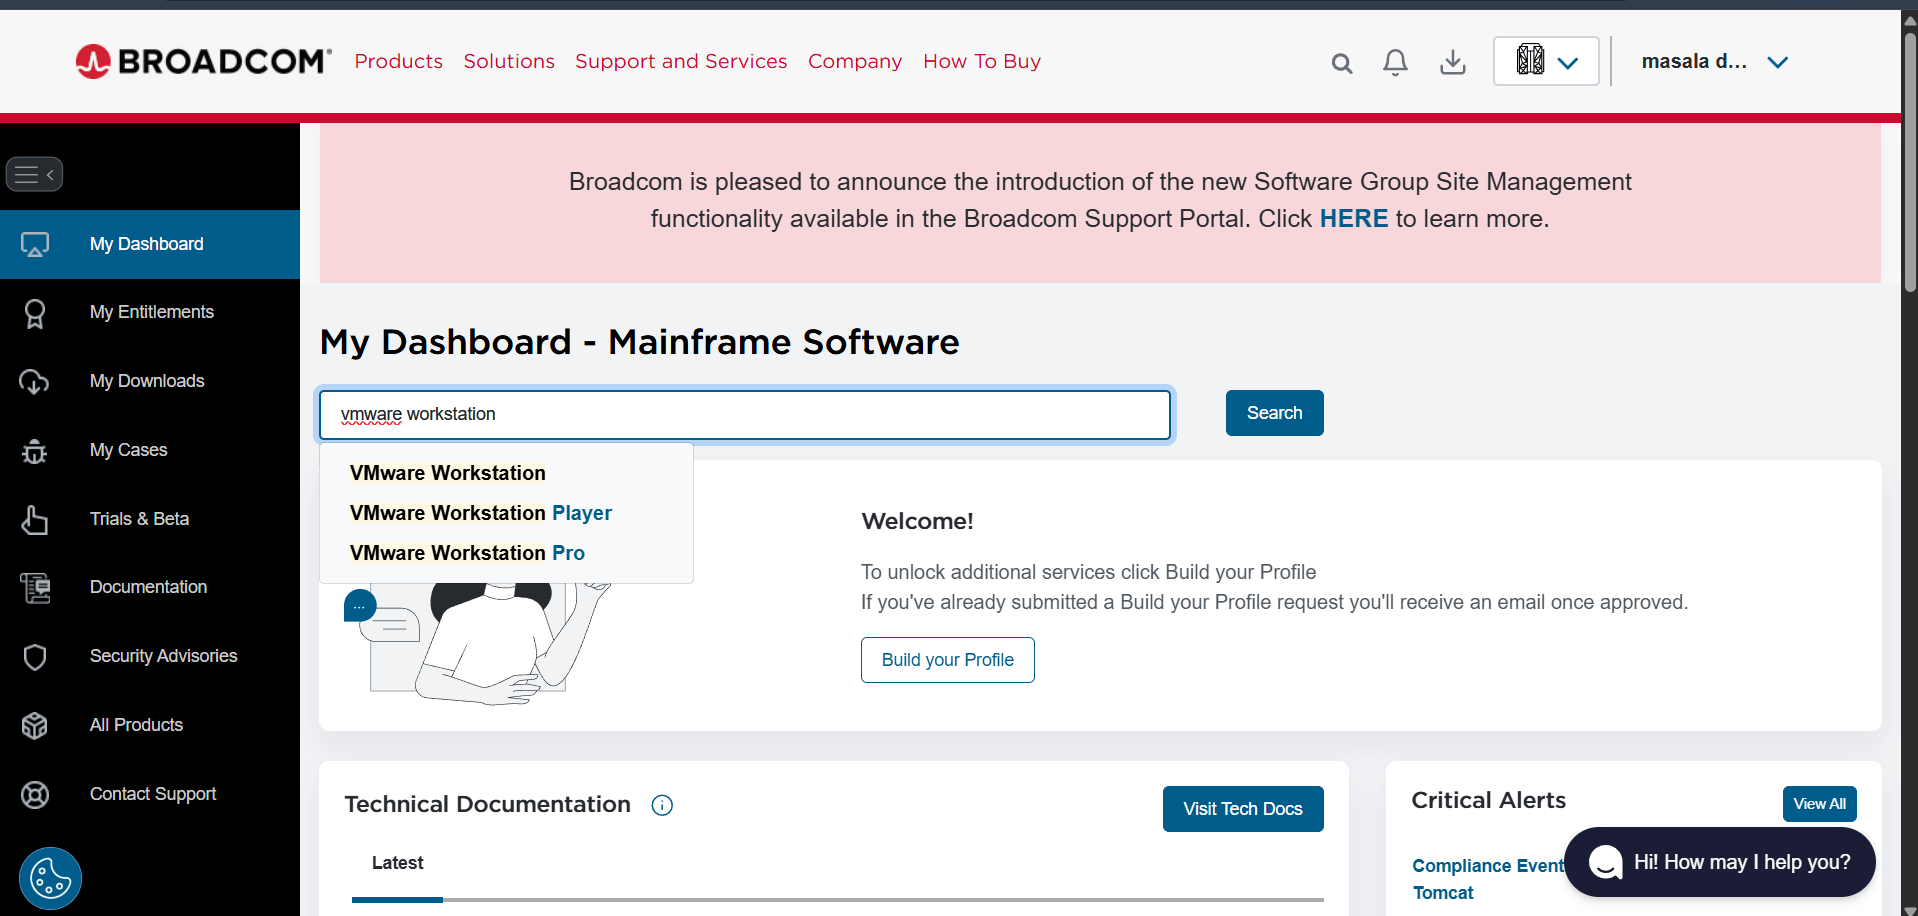
Search VMware Workstation Pro.
m
Select VMware Workstation Pro.
n
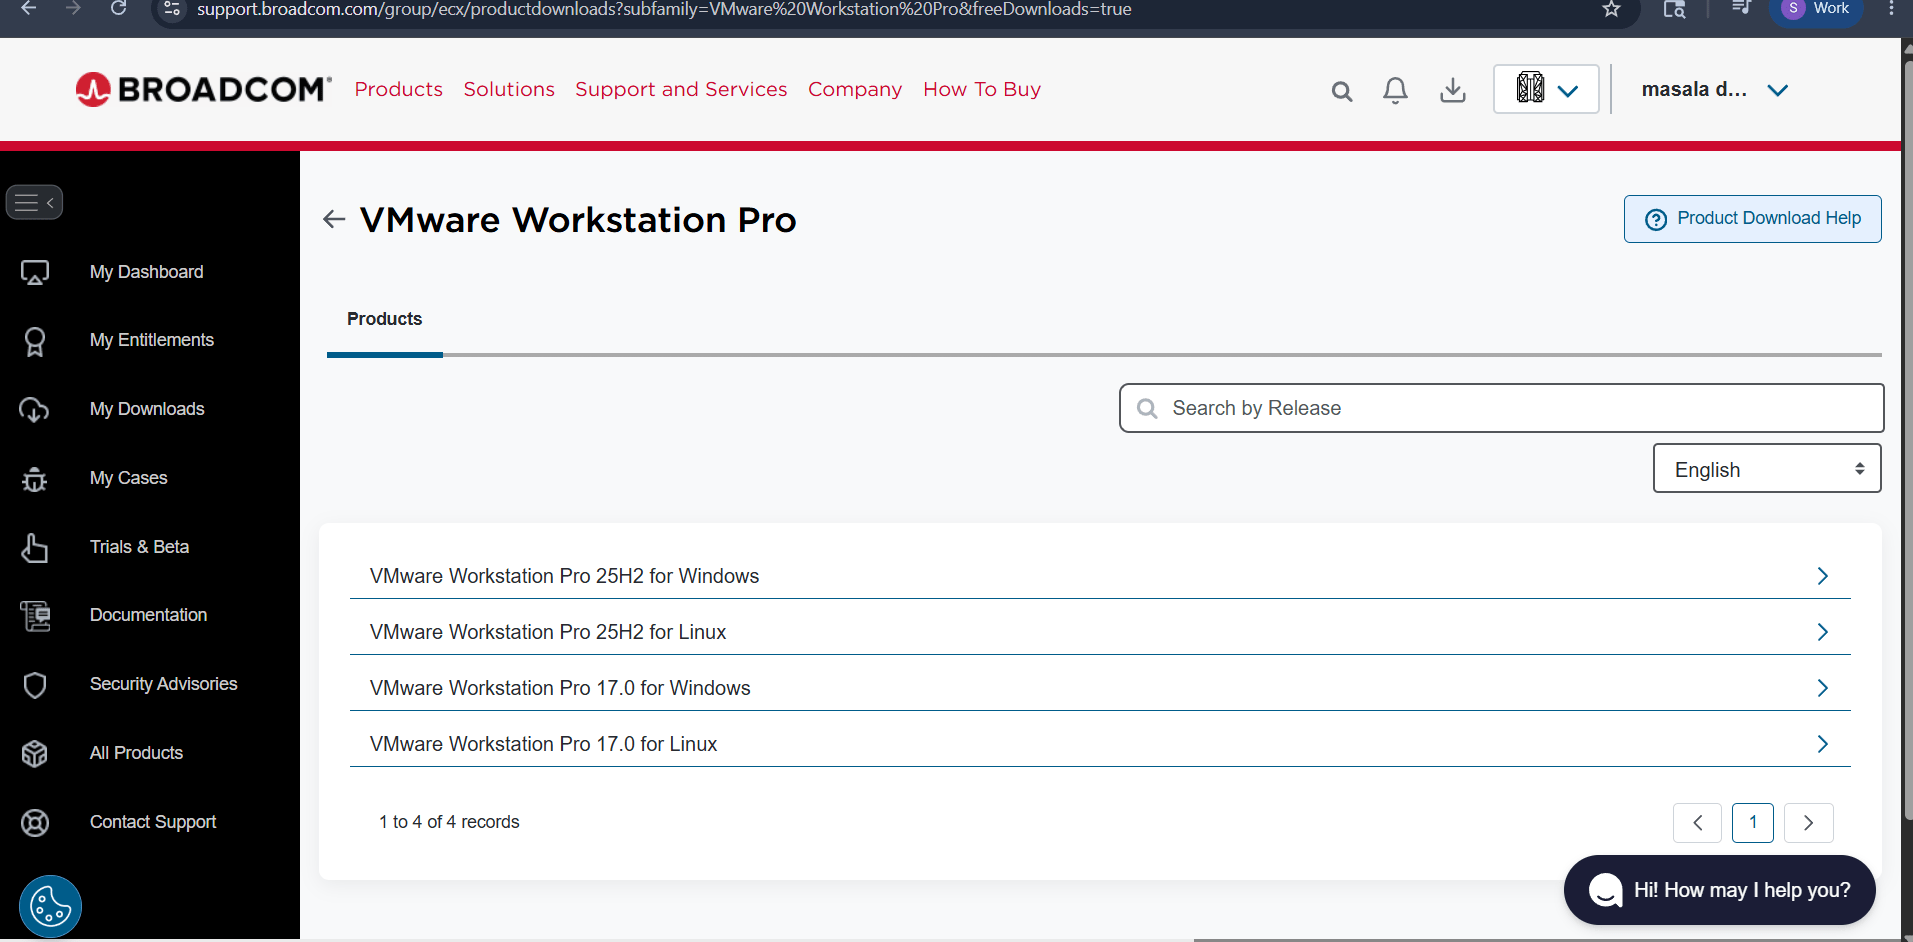
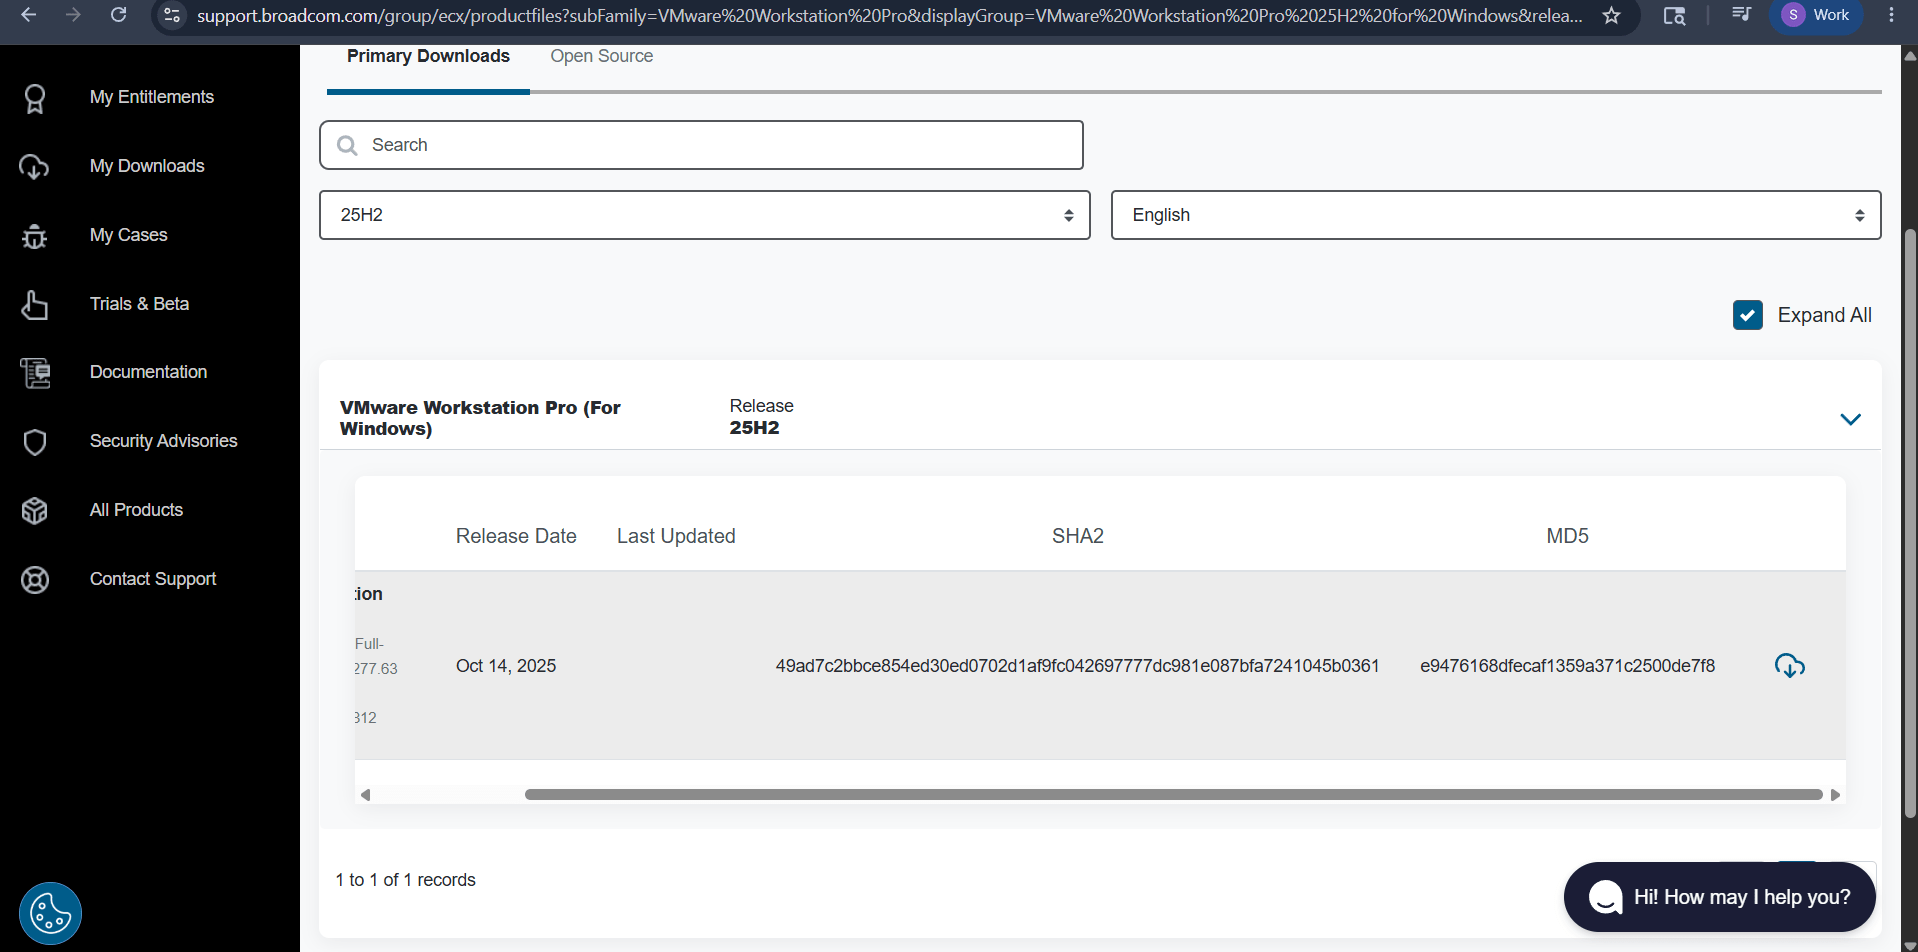
Open the downloads page.
o
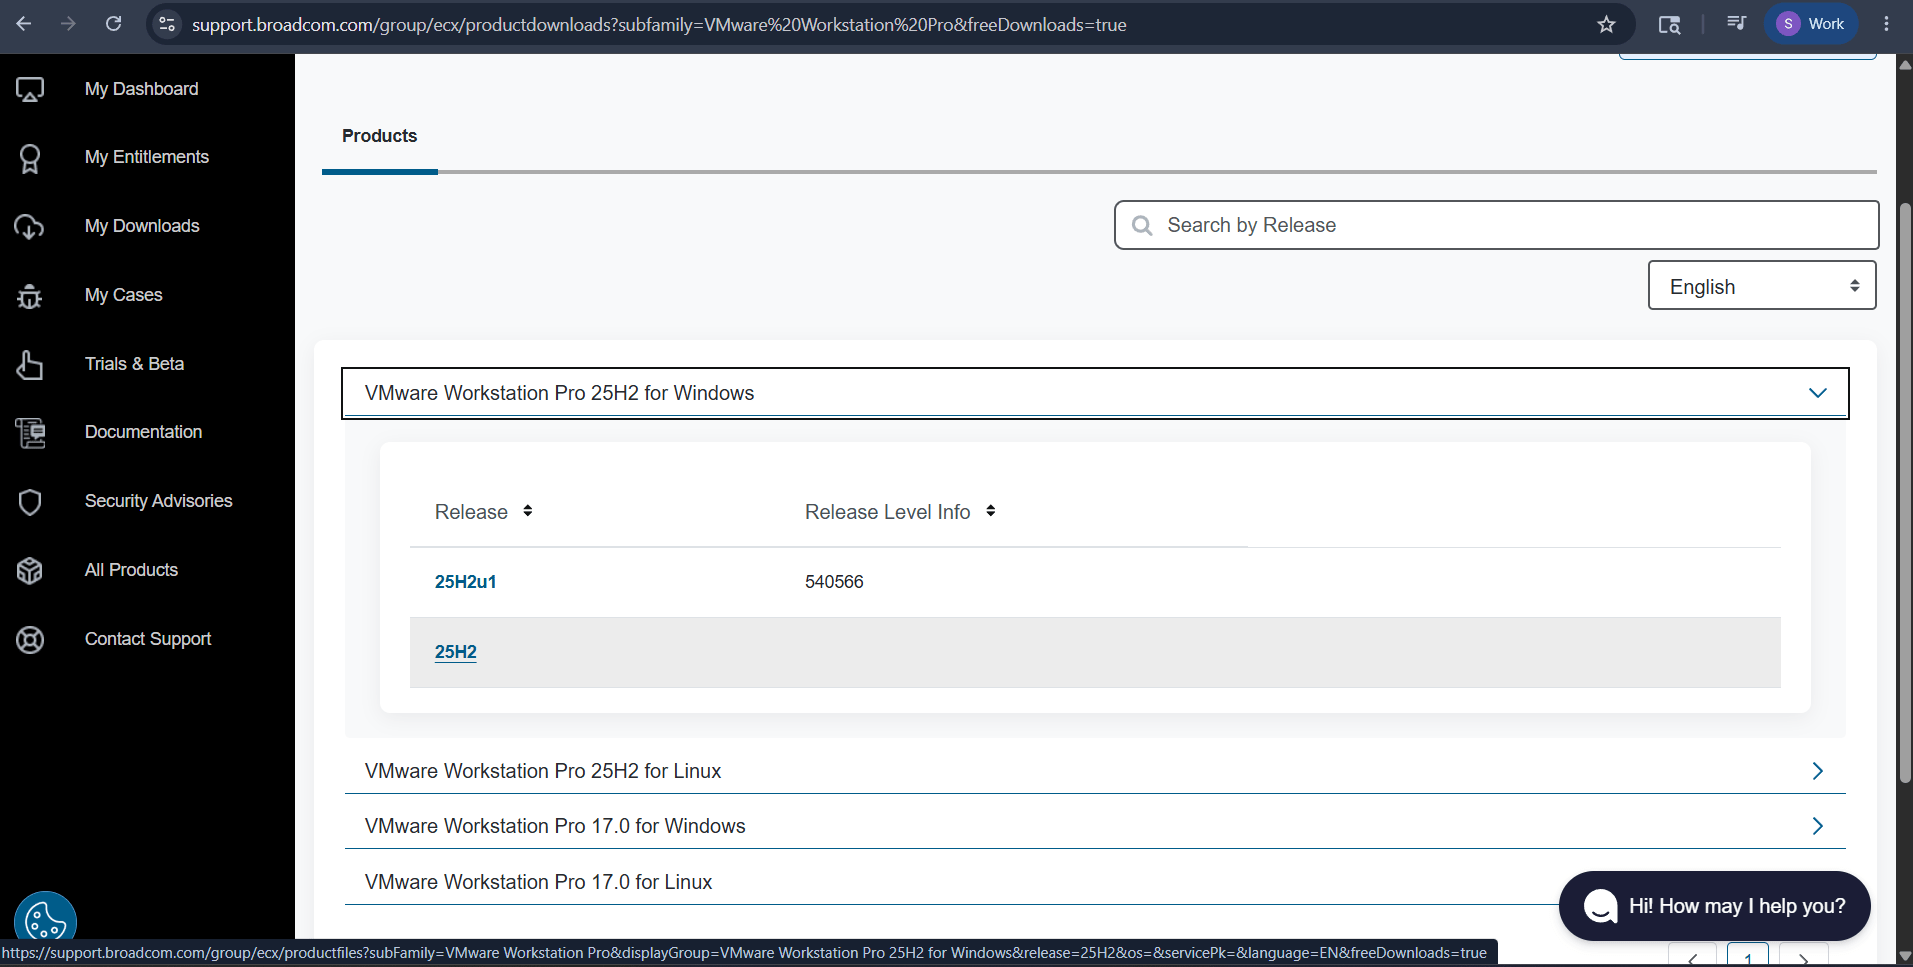
Select the required release.
p
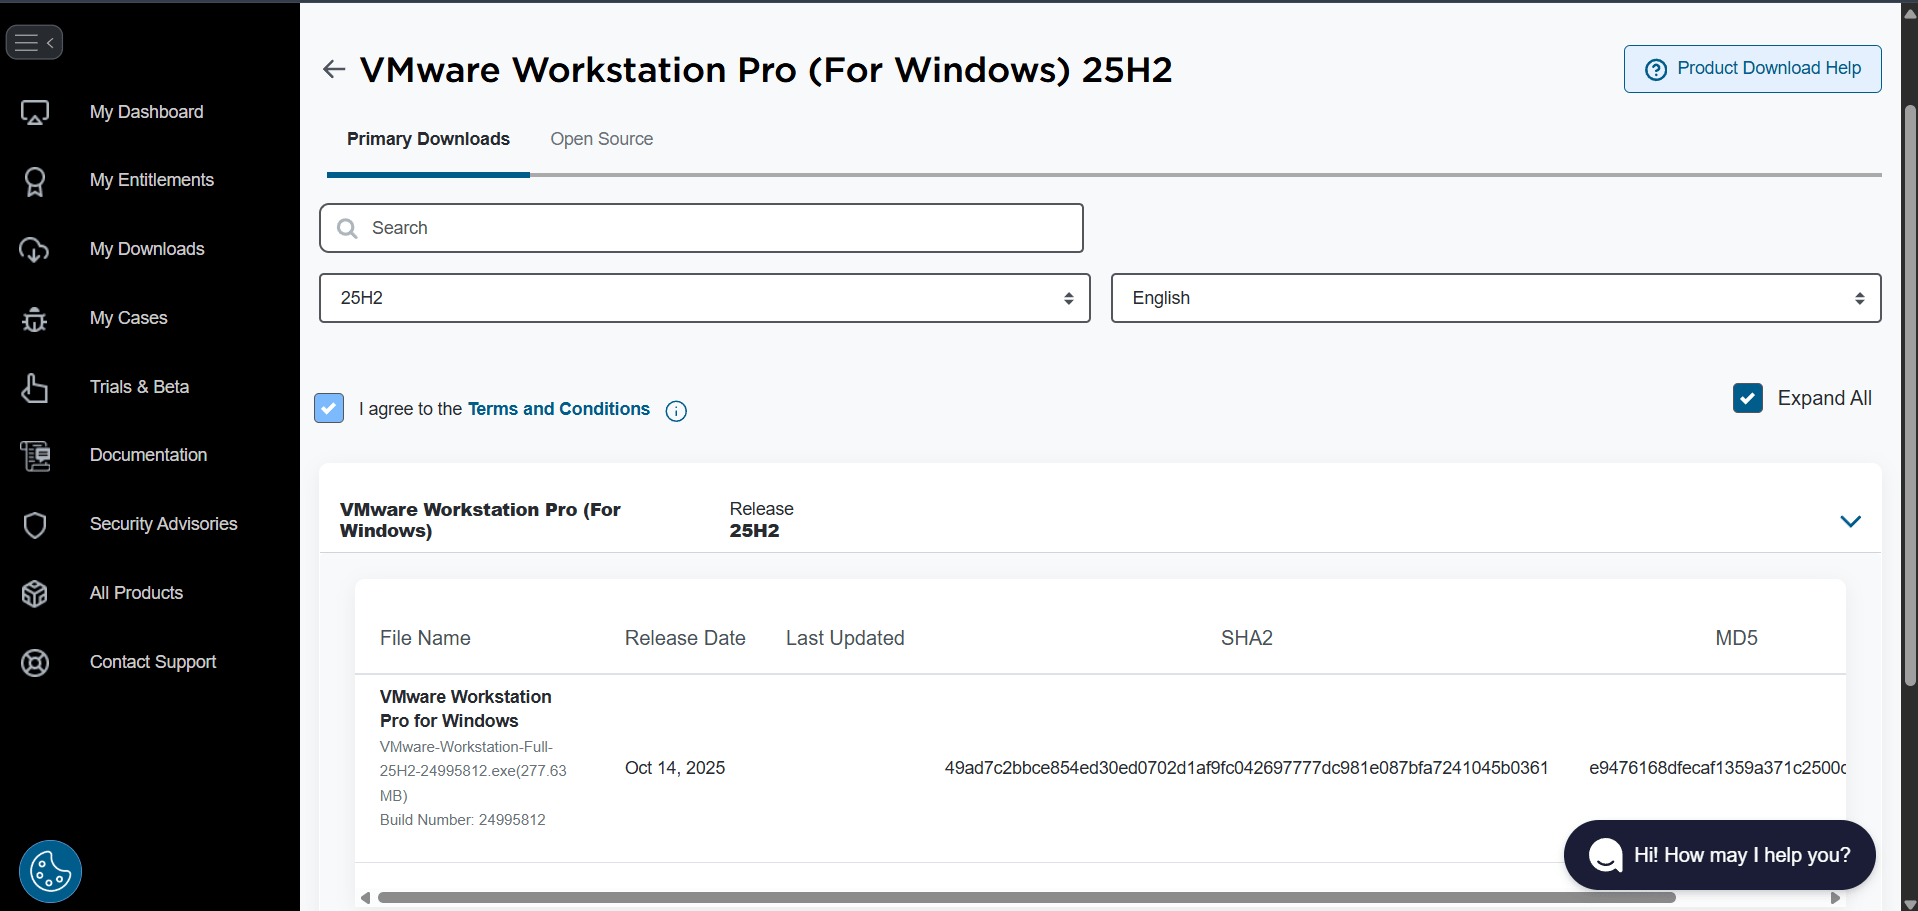
Accept terms and conditions.
q
Verify before download.
r
Submit the compliance form.
s
Download VMware Workstation Pro.
t
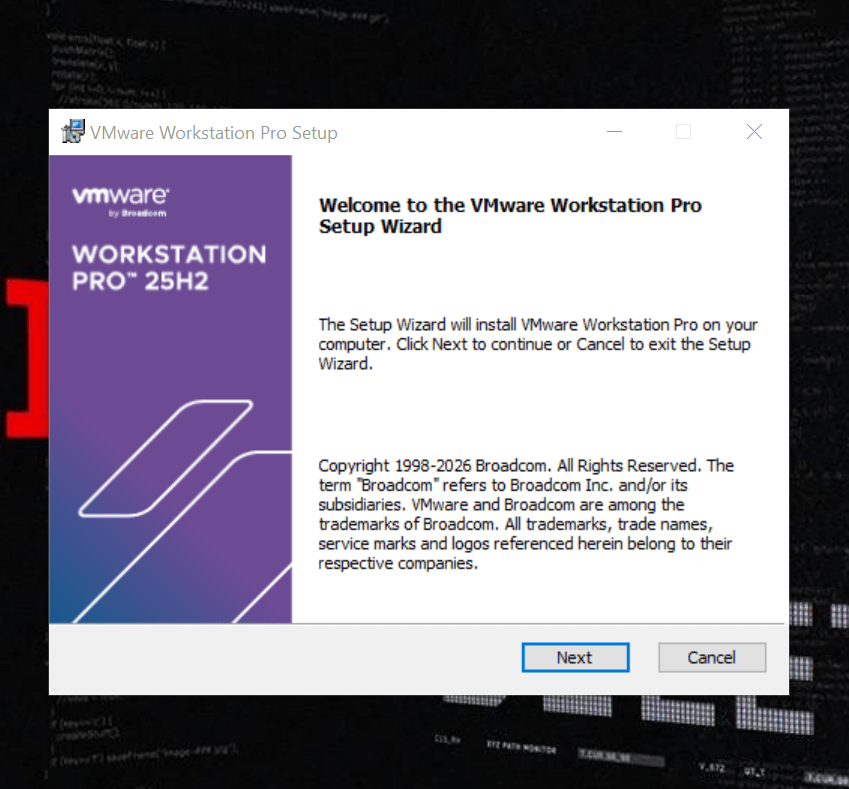
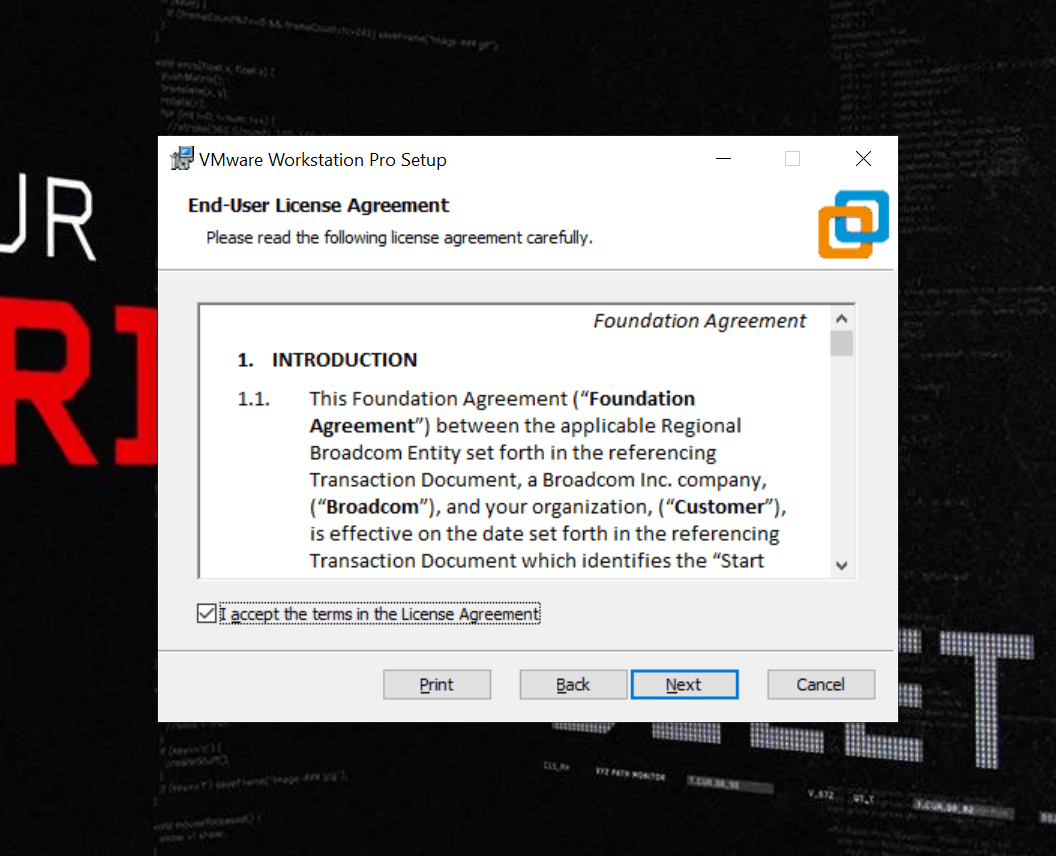
Start the VMware Workstation Pro setup and Accept the license agreement.
u
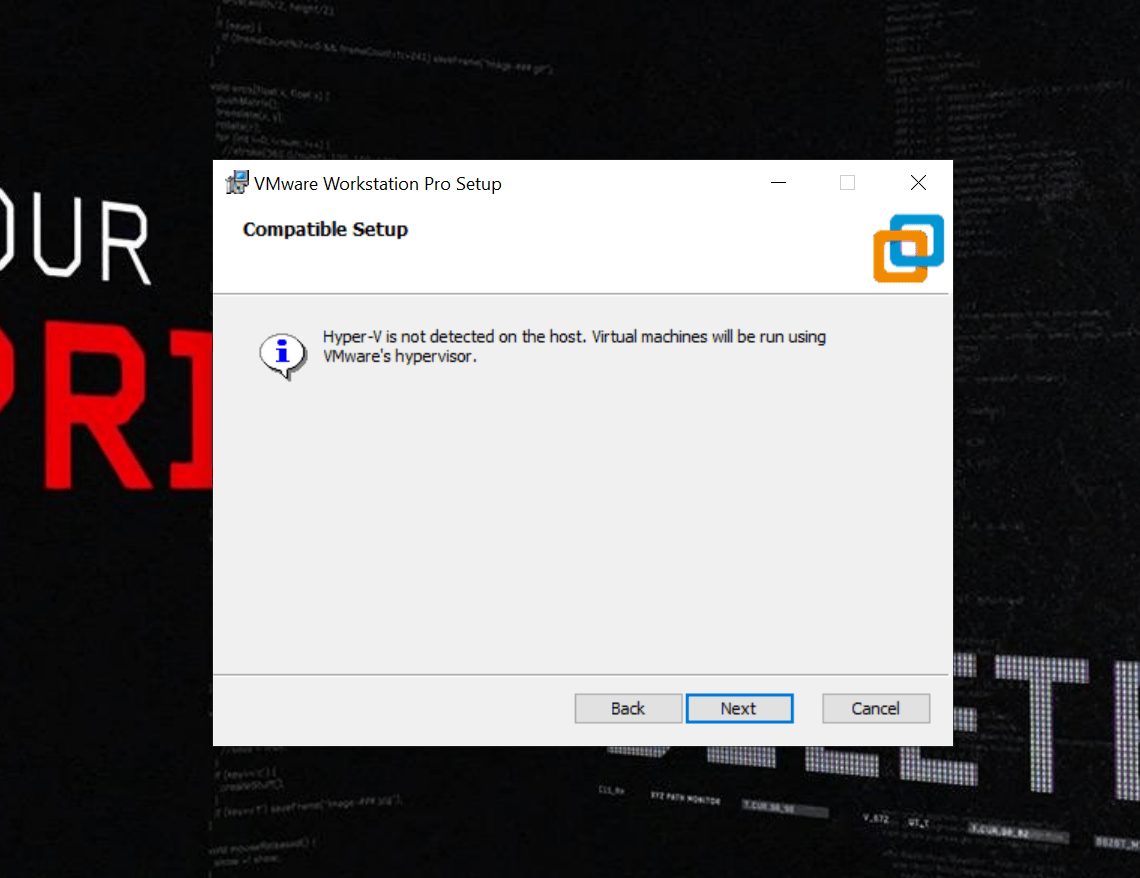
Review compatible setup information.
v
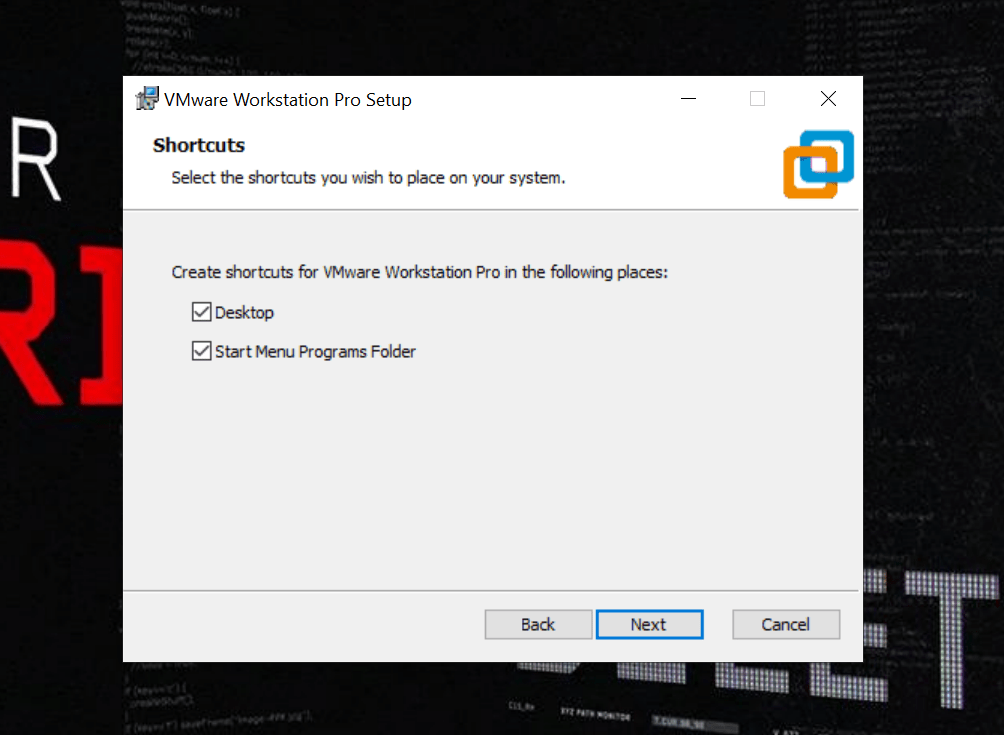
Select shortcut preferences.
w
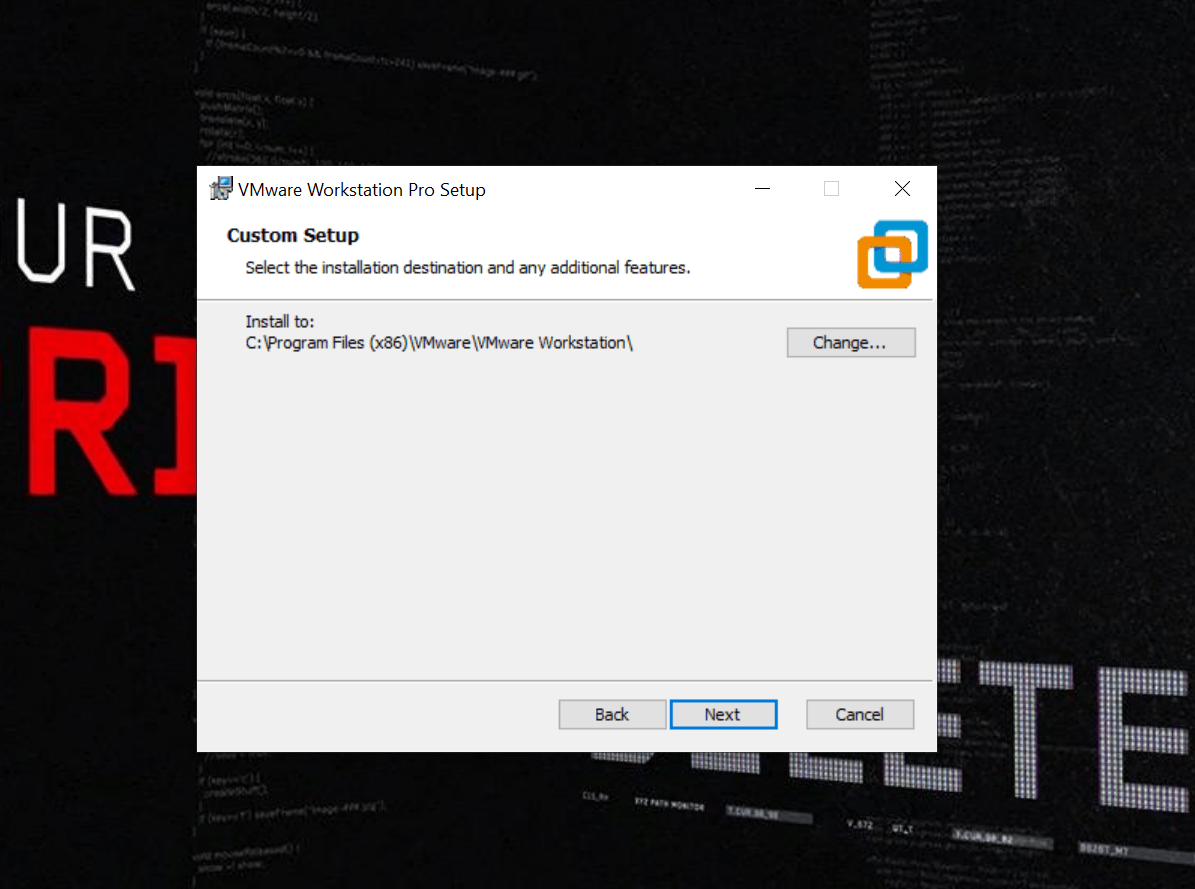
Choose the installation location.
x
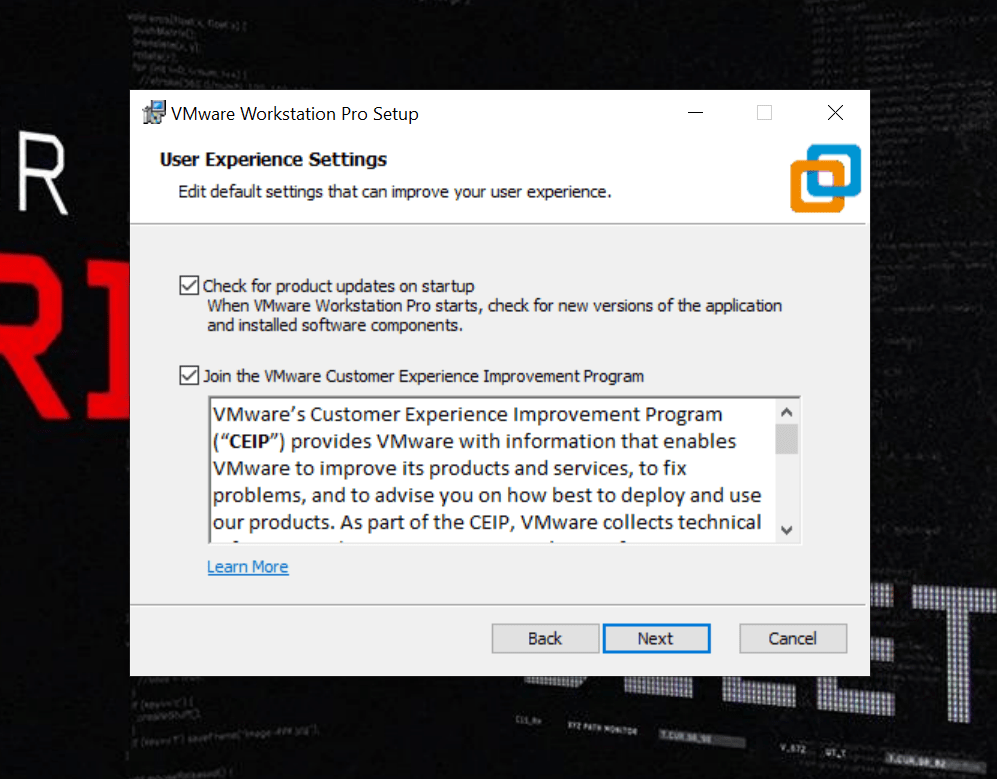
Configure user experience settings.
y
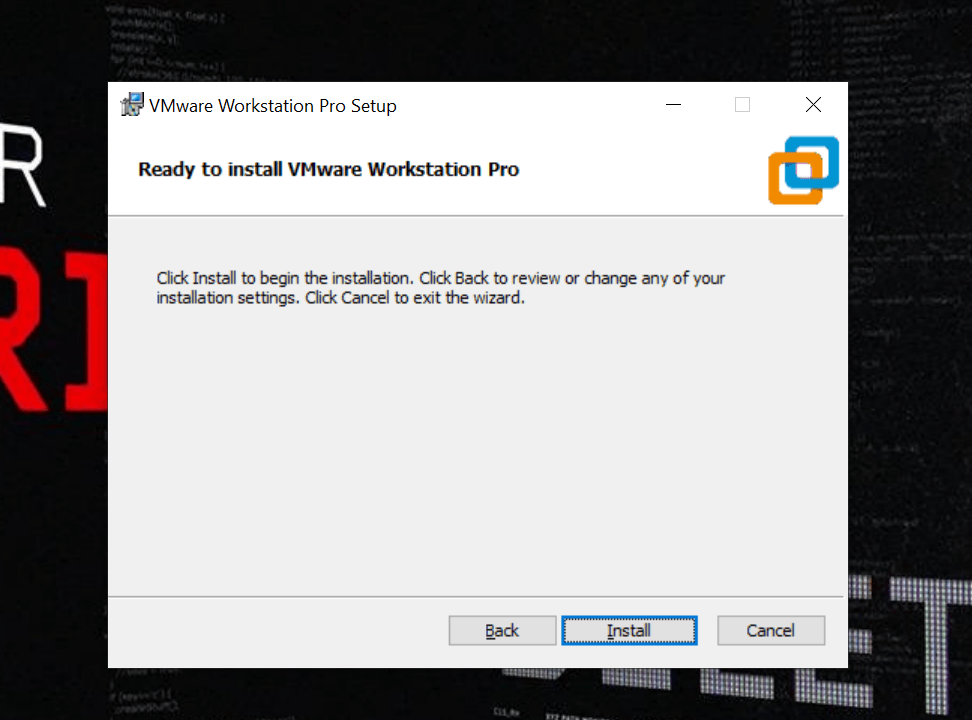
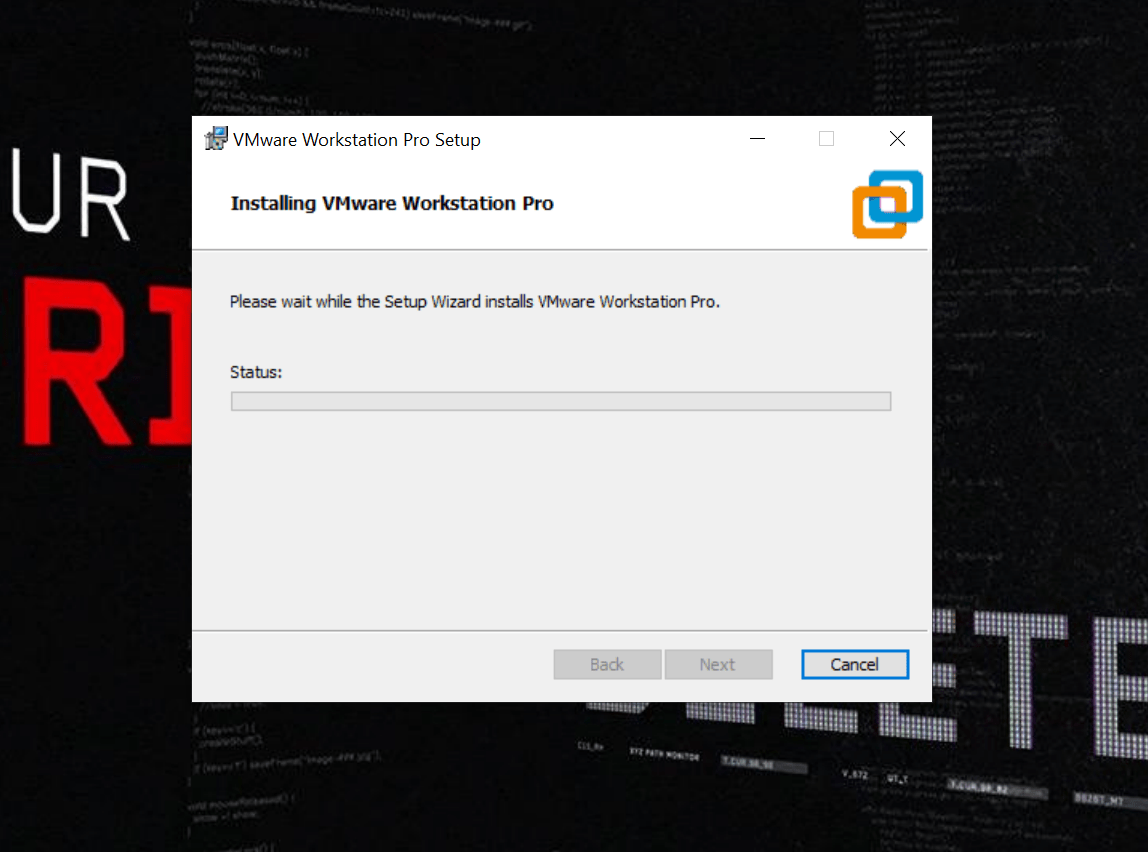
Click Install to begin setup and wait for VMware installation to complete.
z
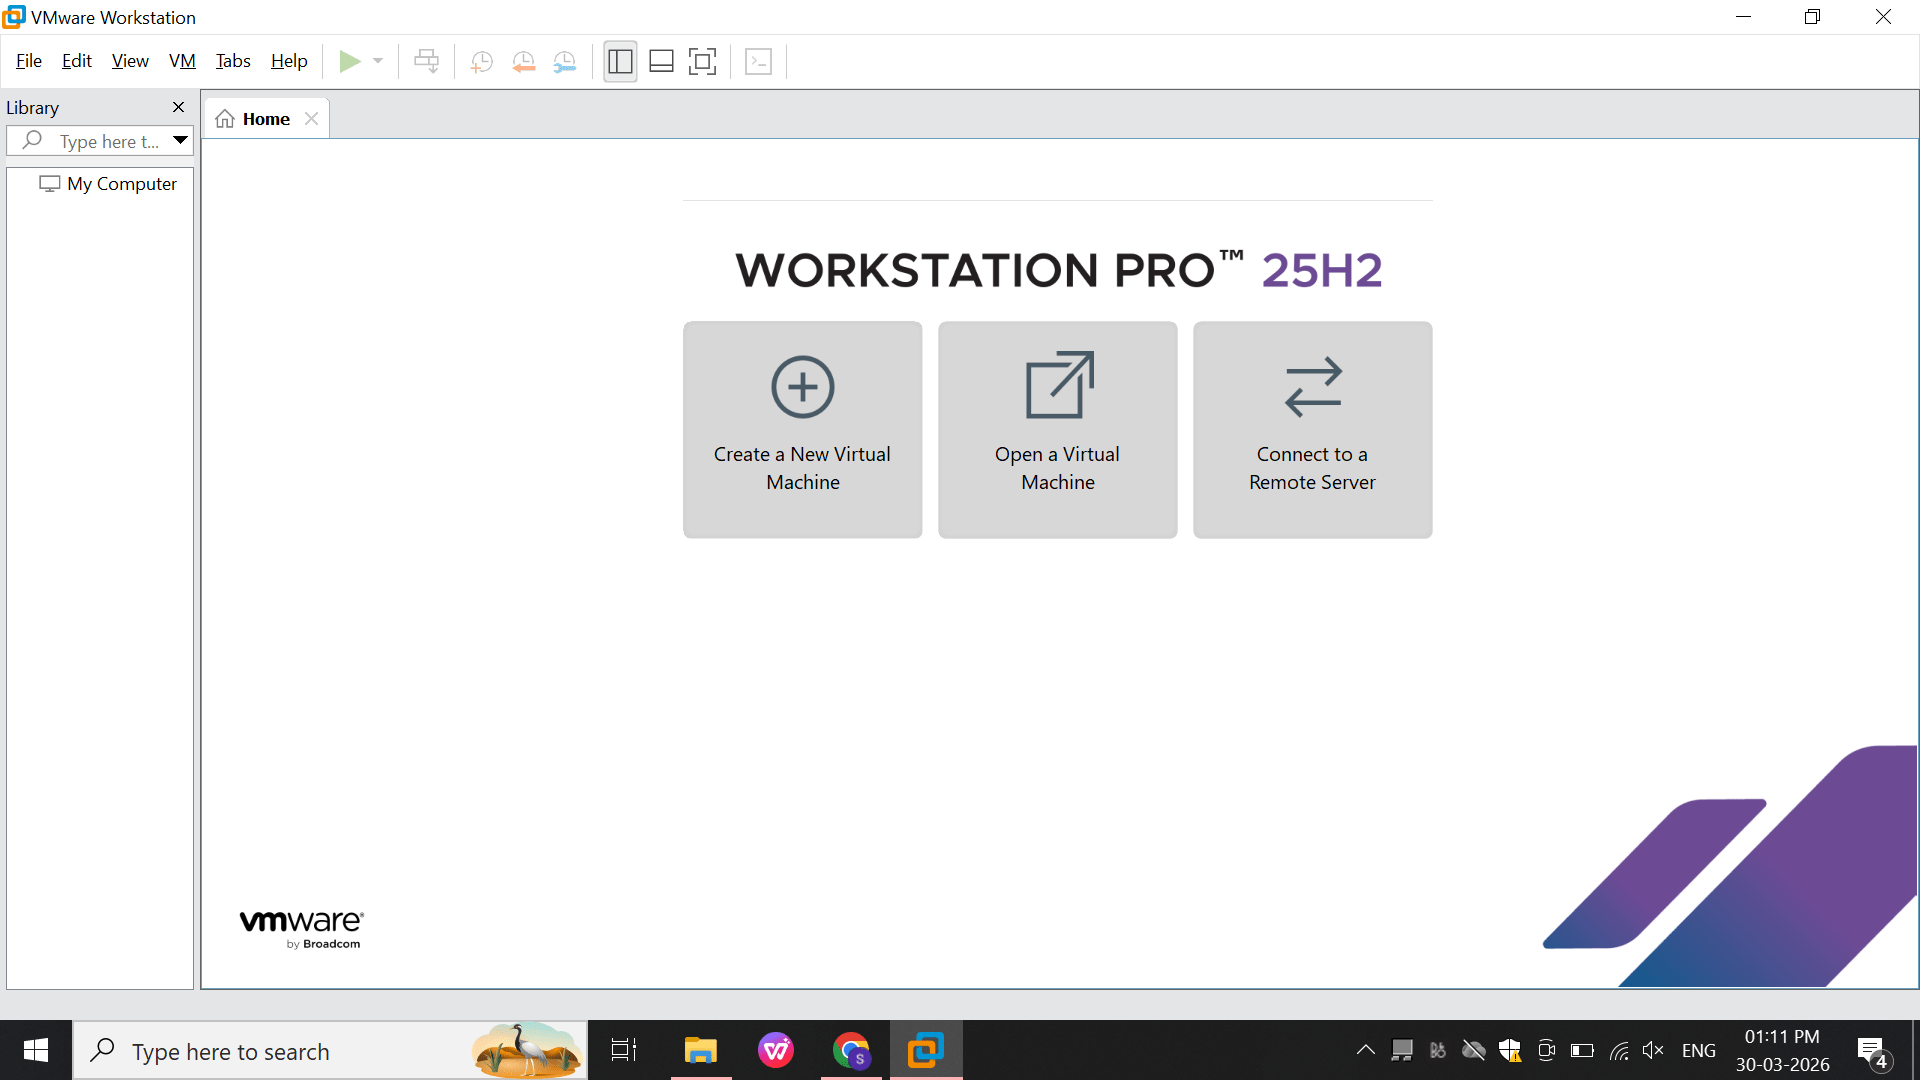
After the Installation You Can Able To See VMware Workstation On Your Home Window
Option: 2
2
Install Oracle Virtual Box
Download VirtualBox
a
Go to the official website:
https://www.virtualbox.org
Click Downloads
Choose your OS:
Windows → Windows hosts
Mac → macOS hosts
Linux → Linux distributions
Run the Installer
b
Open the downloaded .exe file
Click Next
Keep default settings (recommended for beginners)
Click Next → Yes → Install
Note: Internet may disconnect briefly during installation (normal behavior)
Complete Installation
c
Wait for installation to finish
Click Finish
VirtualBox will launch automatically
Install Extension Pack (Important)
d
Go back to VirtualBox download page
Download Extension Pack (same version)
Double-click the file
Click Install → Agree
This enables:
Create Your First Virtual Machine (VM)
e
Open VirtualBox
Click New
Enter:
Name: Ubuntu / Kali Linux / Windows
Type: Linux / Windows
Version: Select correct version
Click Next
Allocate Resources
f
RAM: Minimum 2 GB (4 GB recommended)
CPU: 1–2 cores
Storage: 20 GB or more
Click Next → Create
Load Operating System (ISO File)
g
Download an OS ISO file:
In VirtualBox:
Install OS Inside VirtualBox
h
Follow normal OS installation steps:
Task 1: Successfully install and run Kali Linux in a safe, controlled setup
1
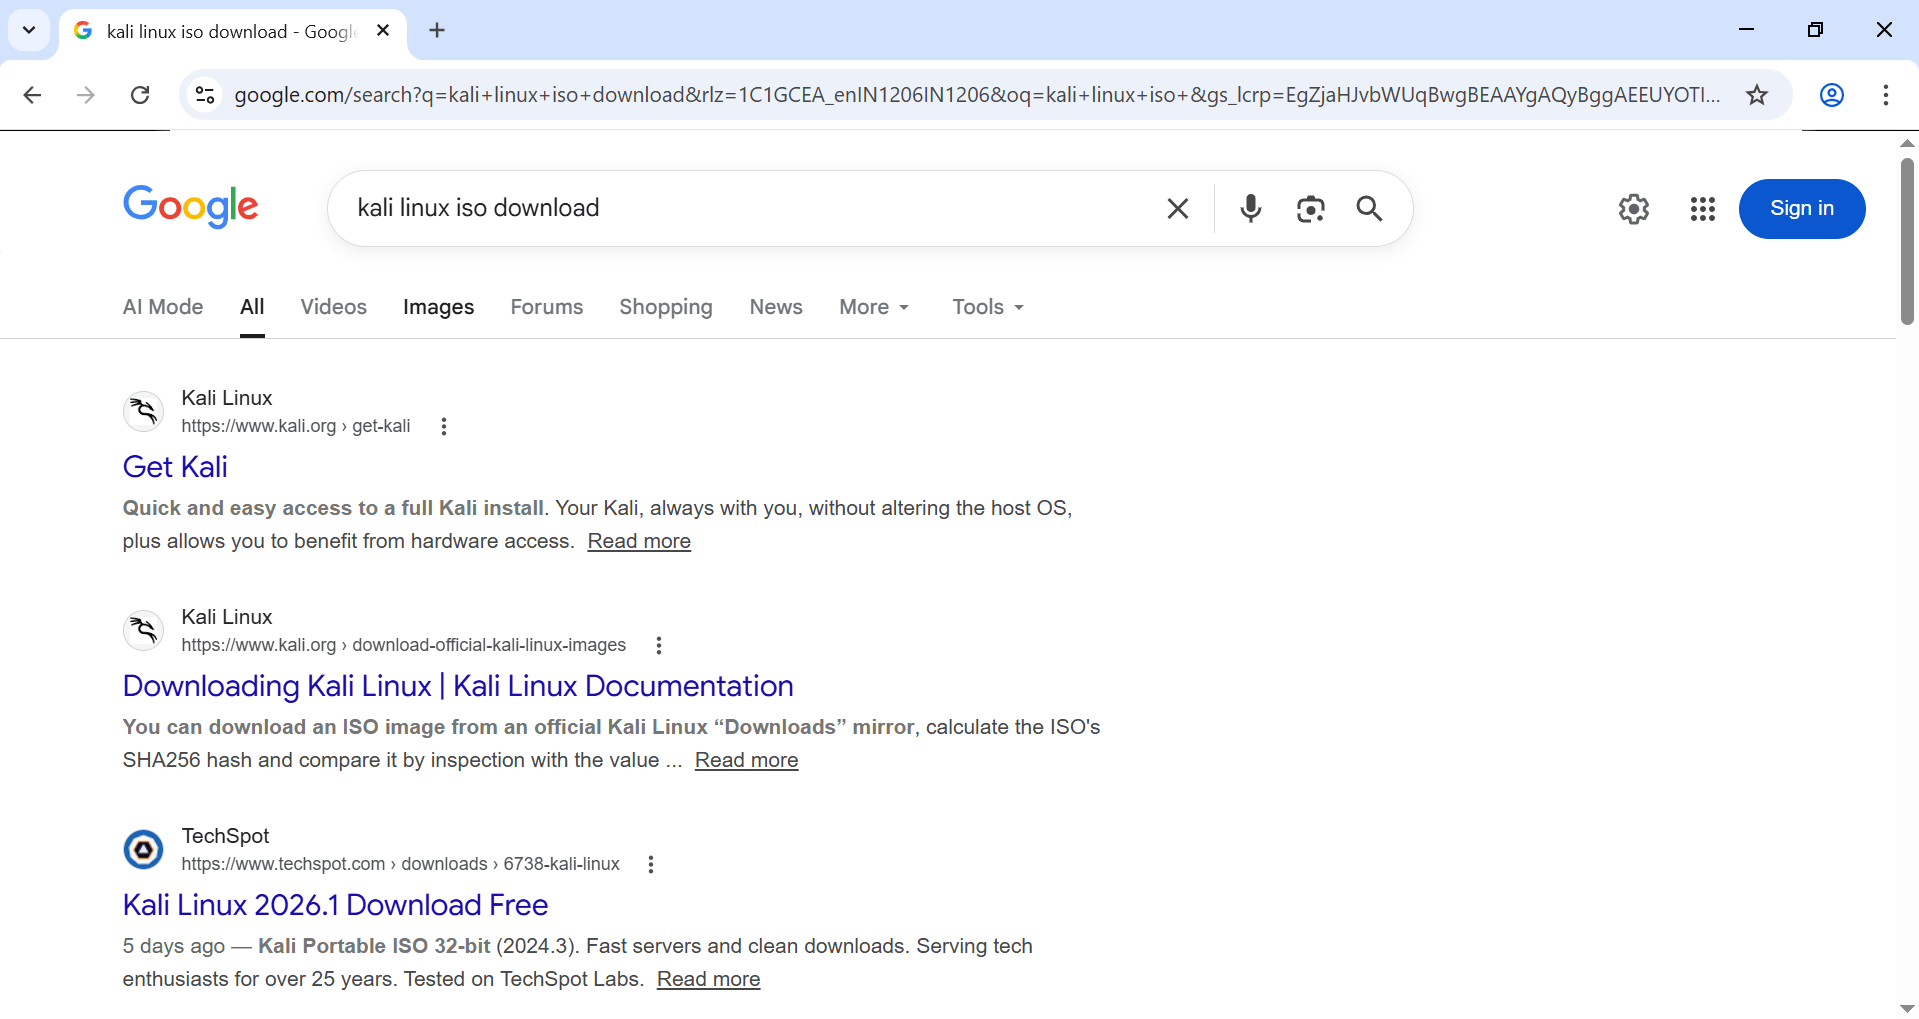
Download Kali Linux ISO
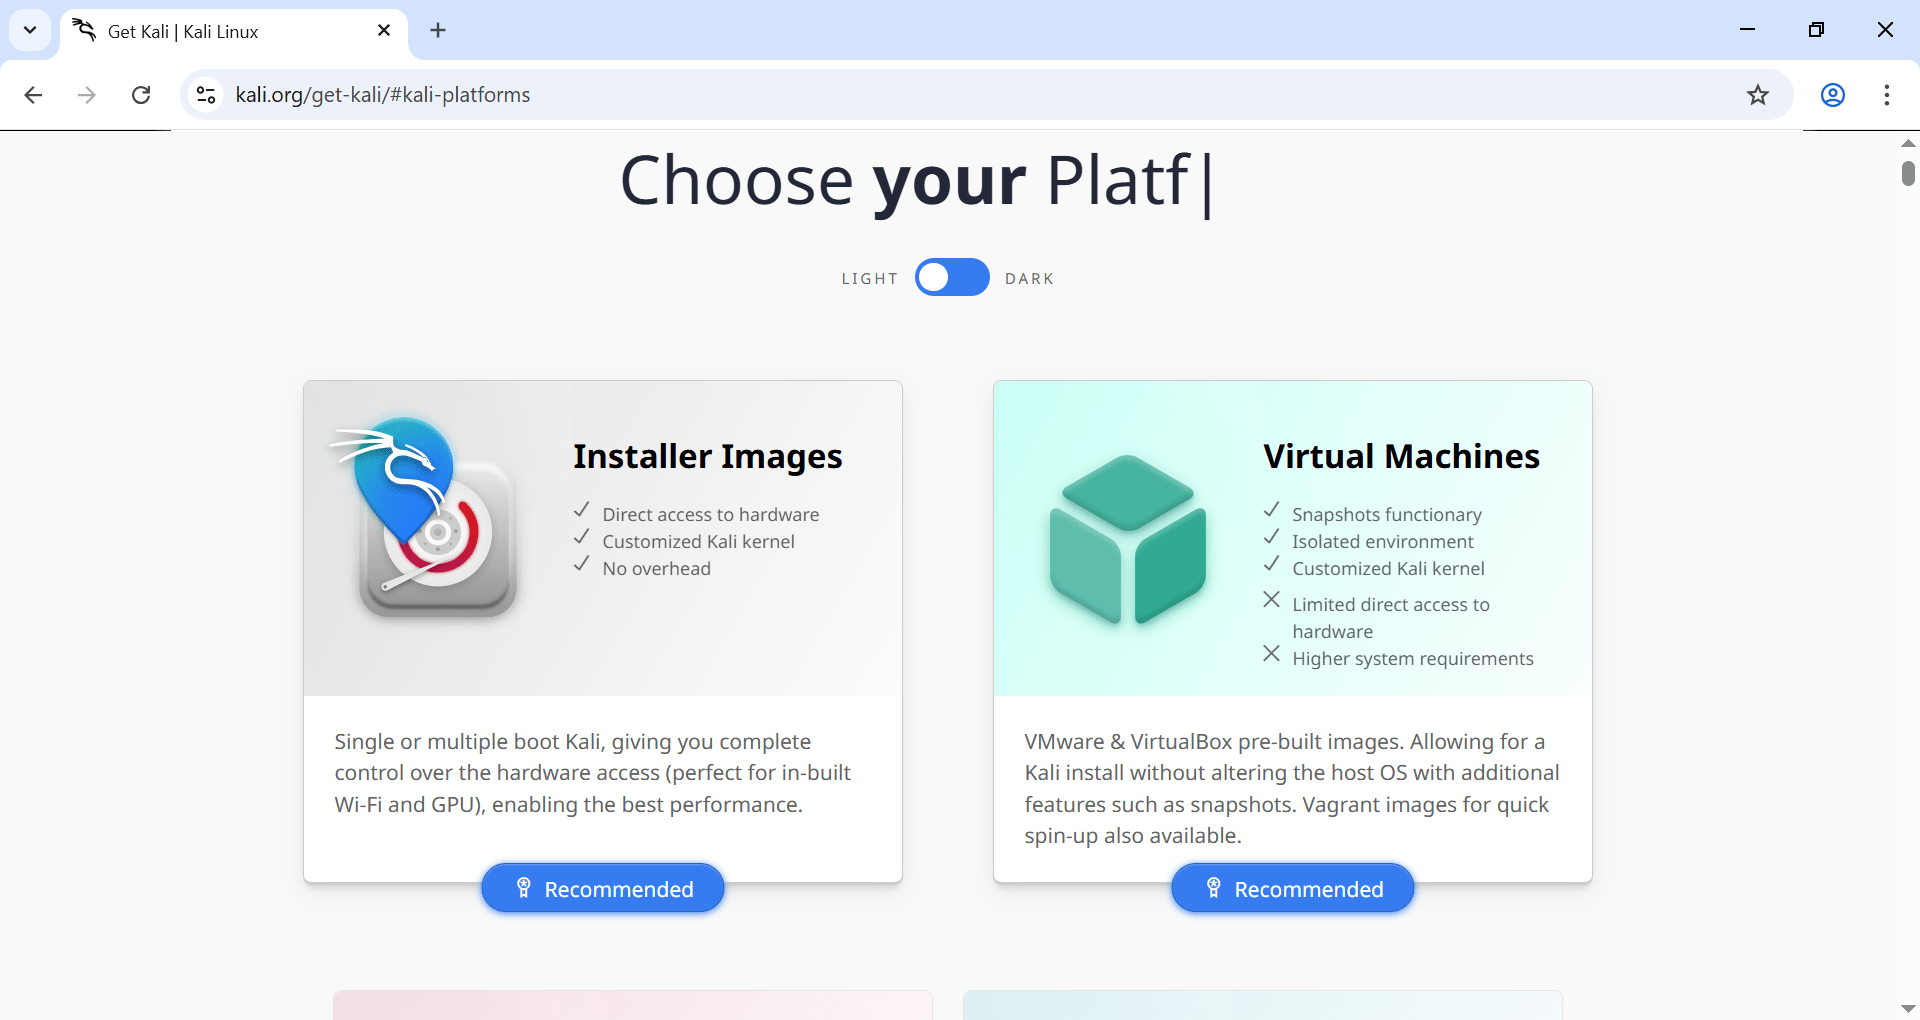
Visit official Kali Linux website (Offensive Security)
a
Download latest Kali Linux ISO file
b
Save it to your system
c
2
Virtual Machine Setup (Before Boot)
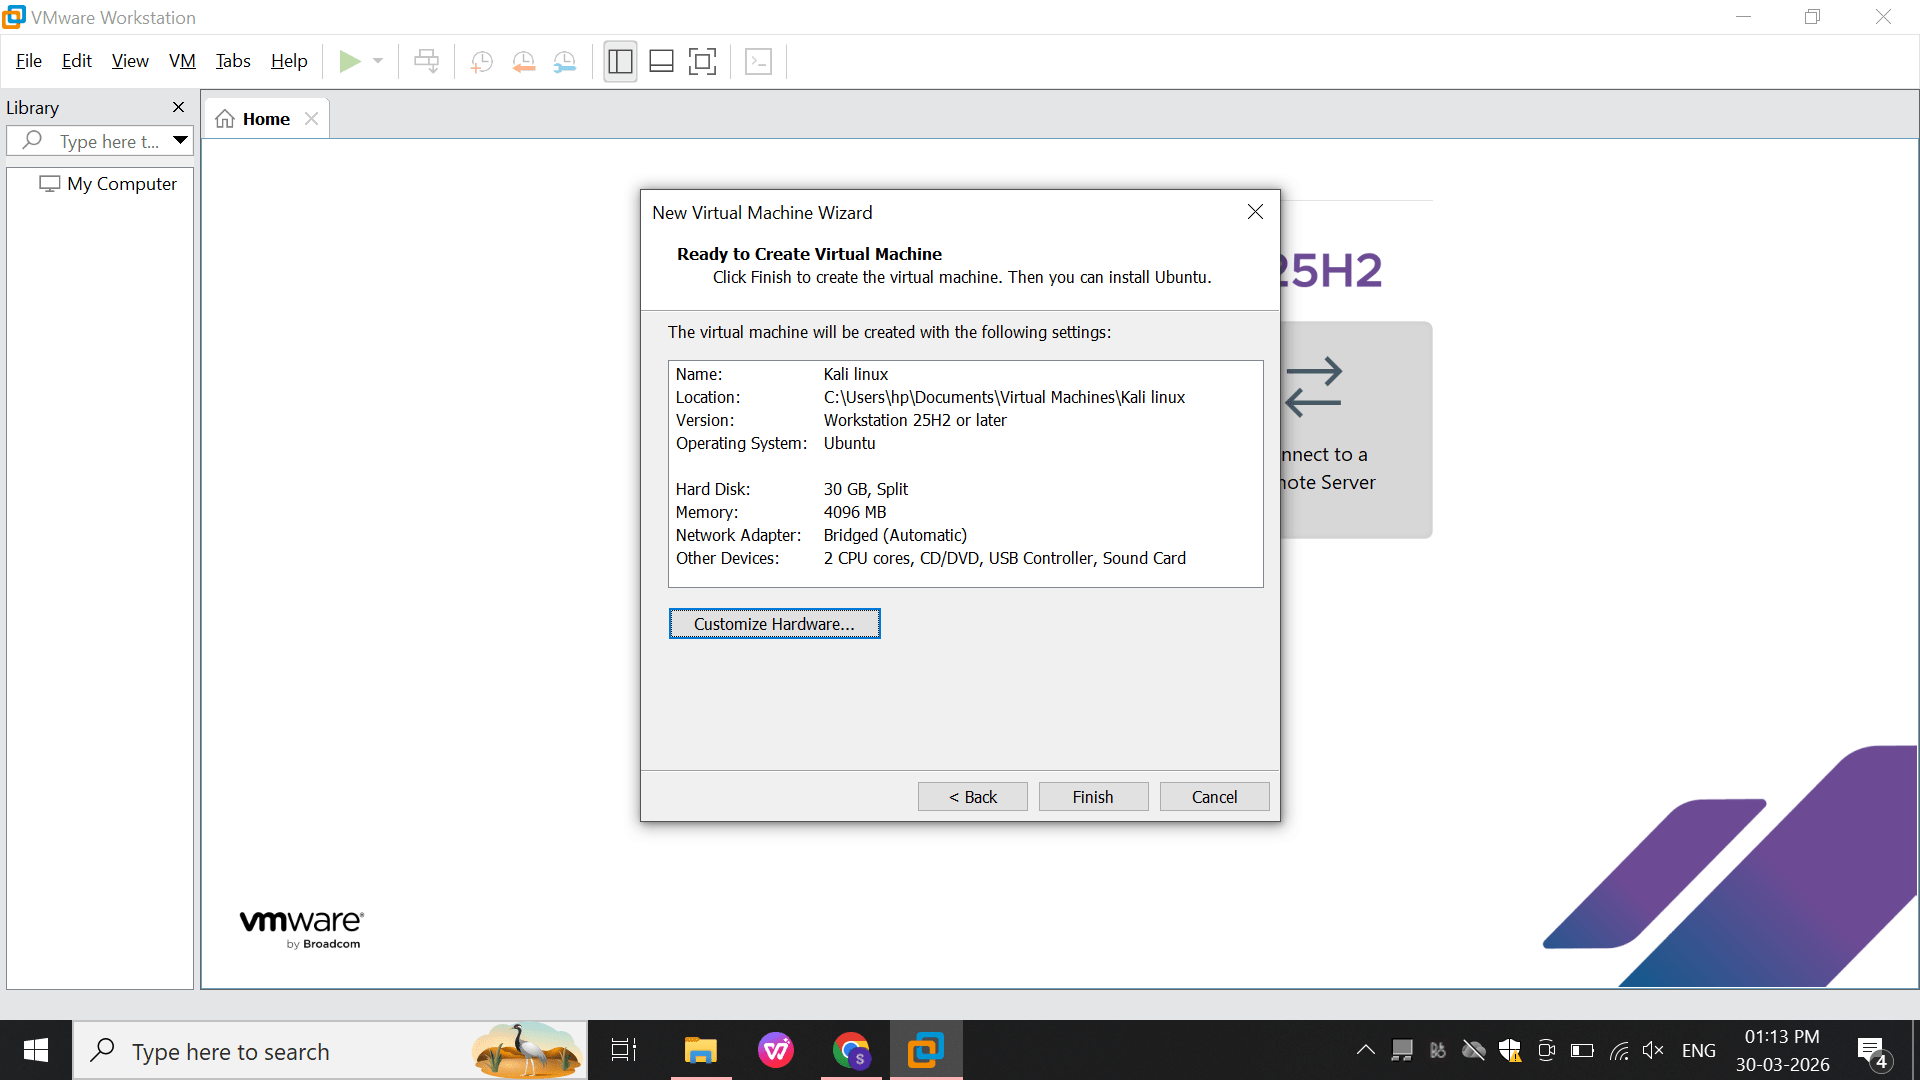
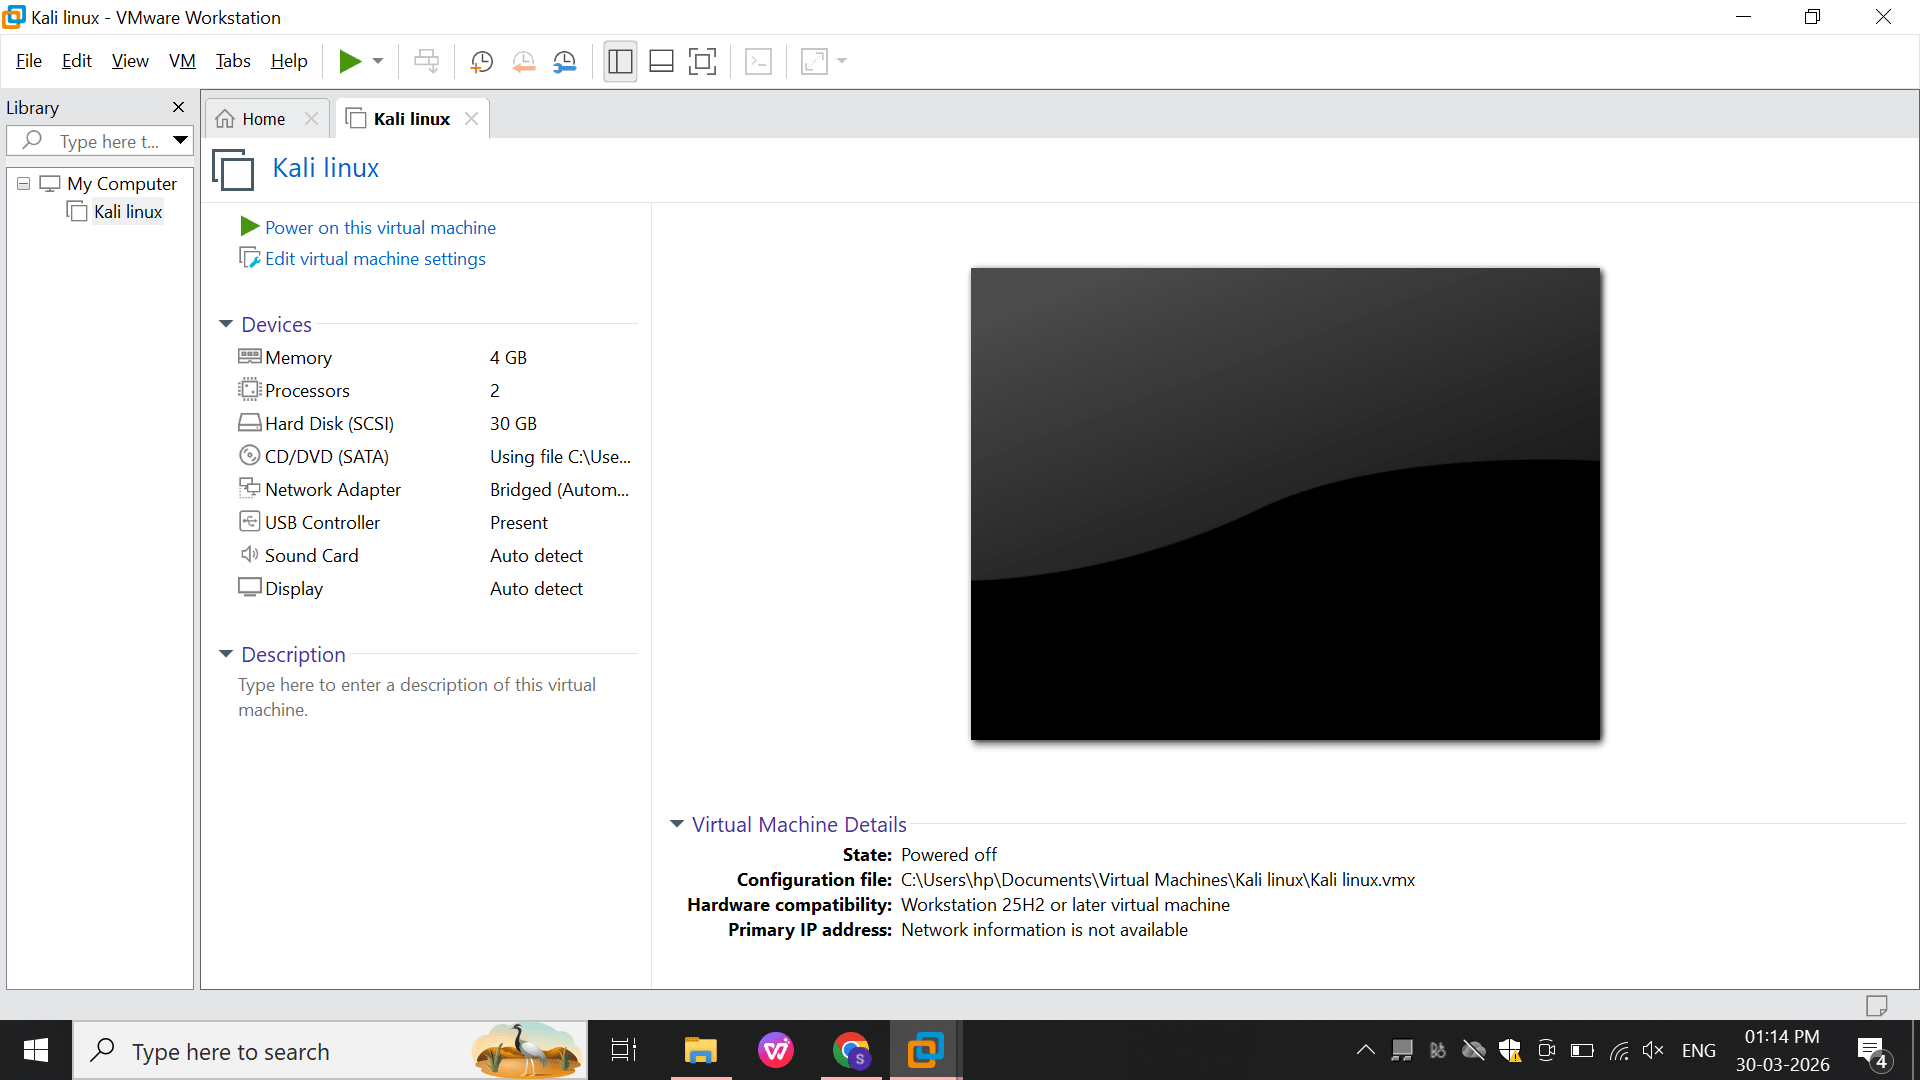
You created a VM named Kali Linux
Allocated:
RAM: 4 GB
CPU: 2 cores
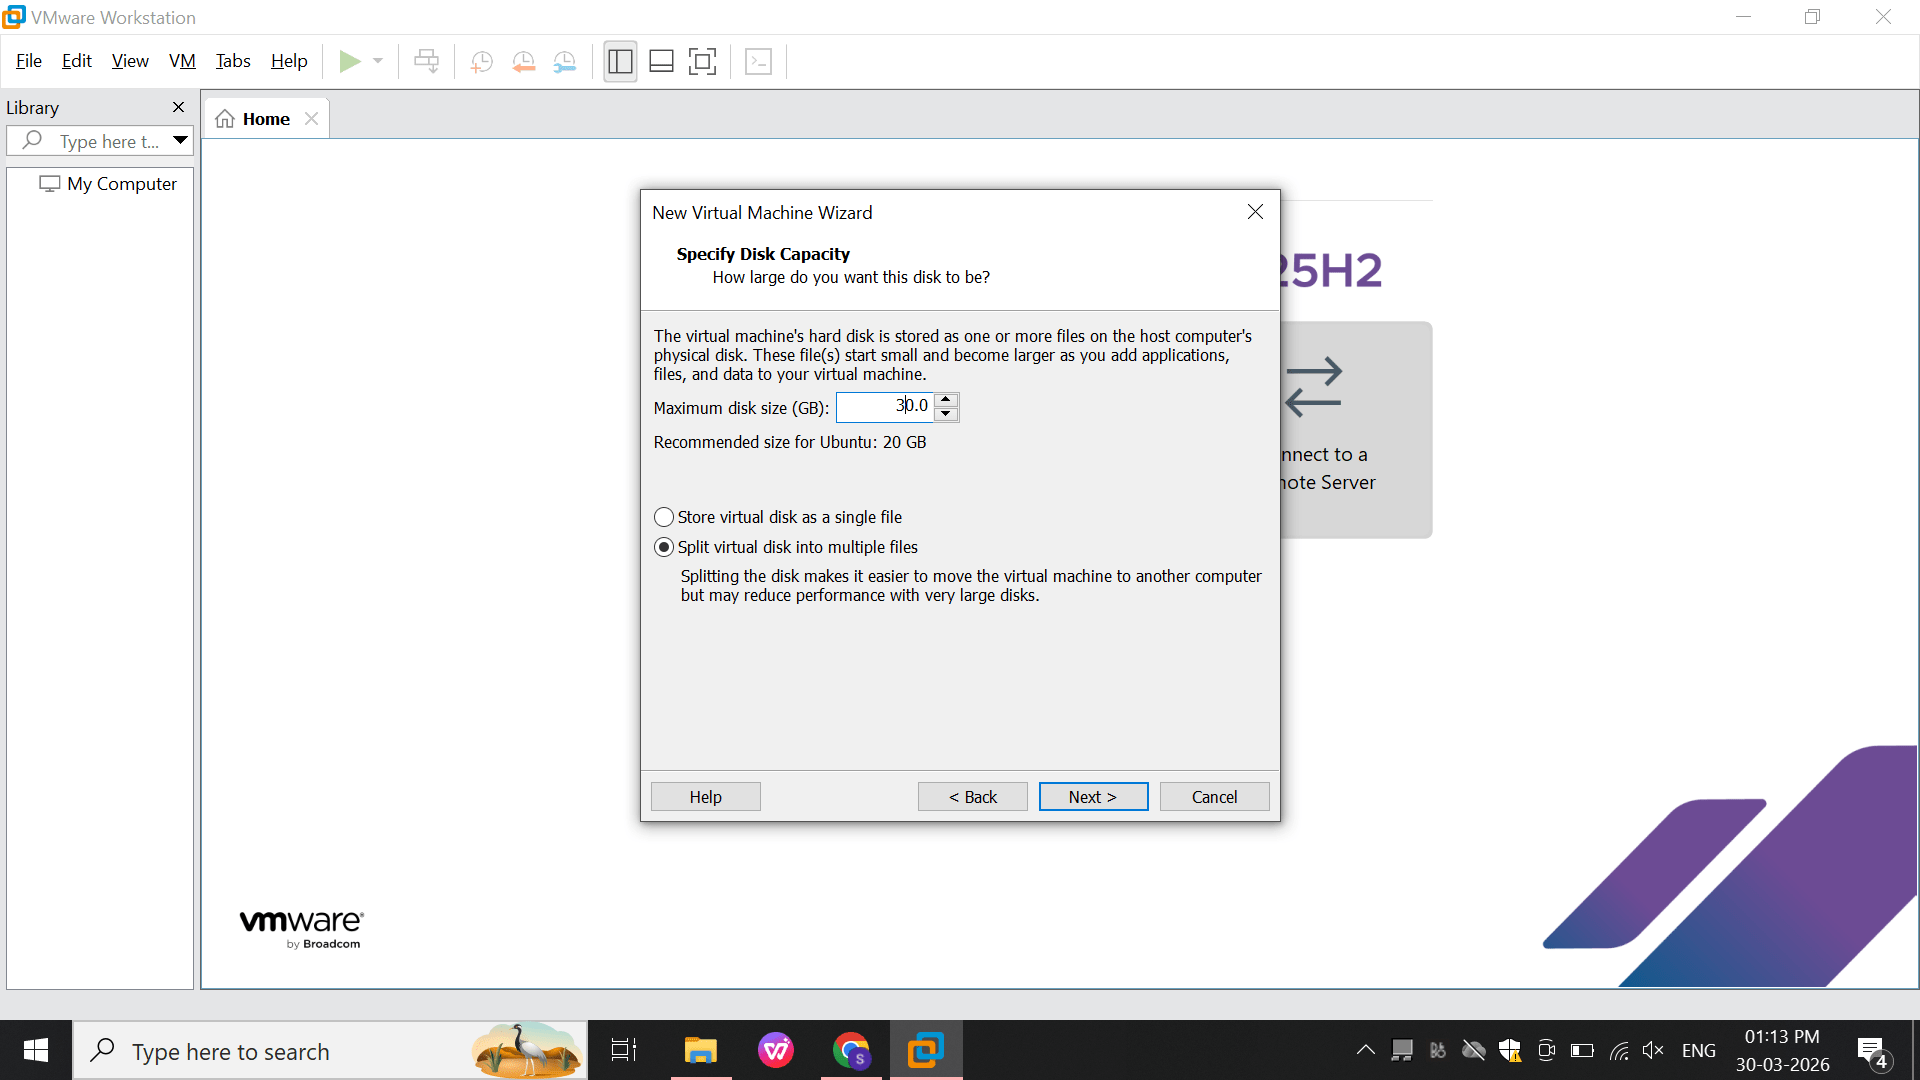
Disk: 30 GB
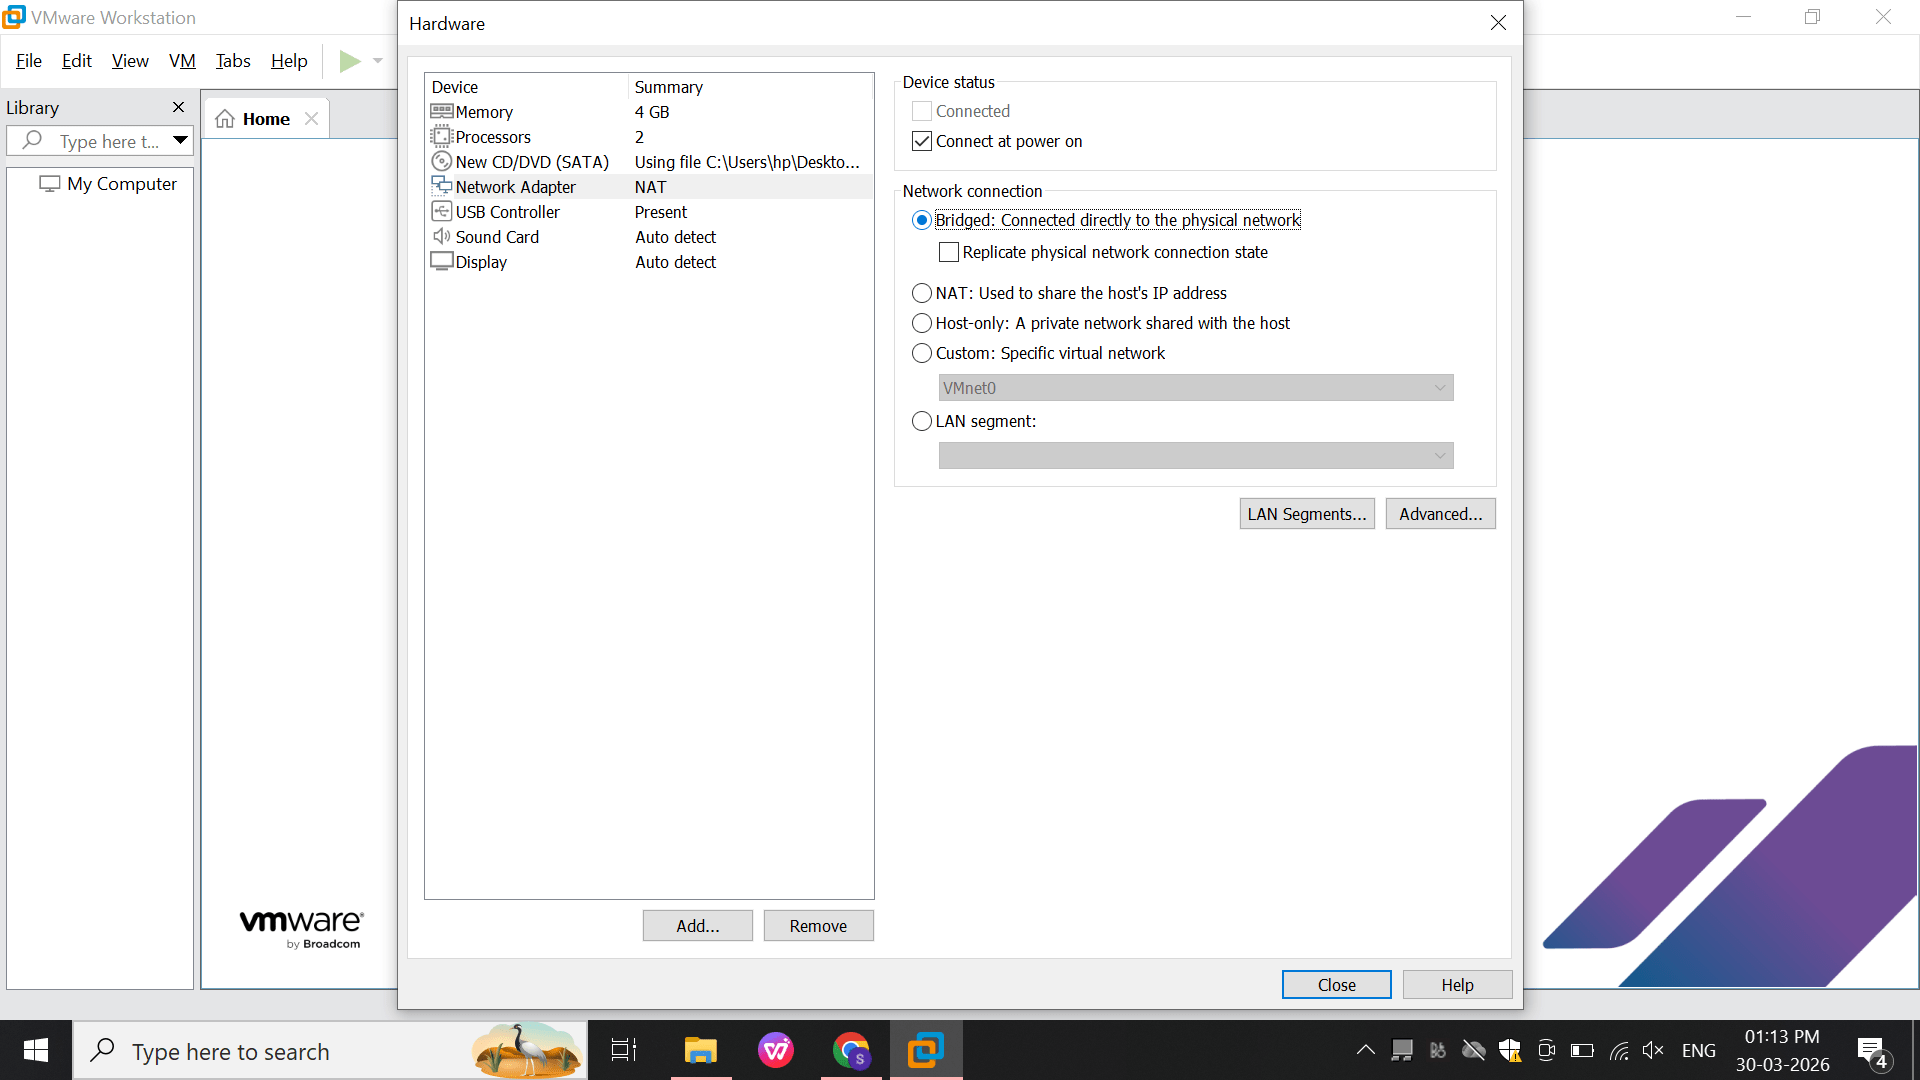
Network: Bridged (connects VM to same network as host)
This step prepares the system to install Kali Linux.
Open VMware and click Create New Virtual Machine.
a
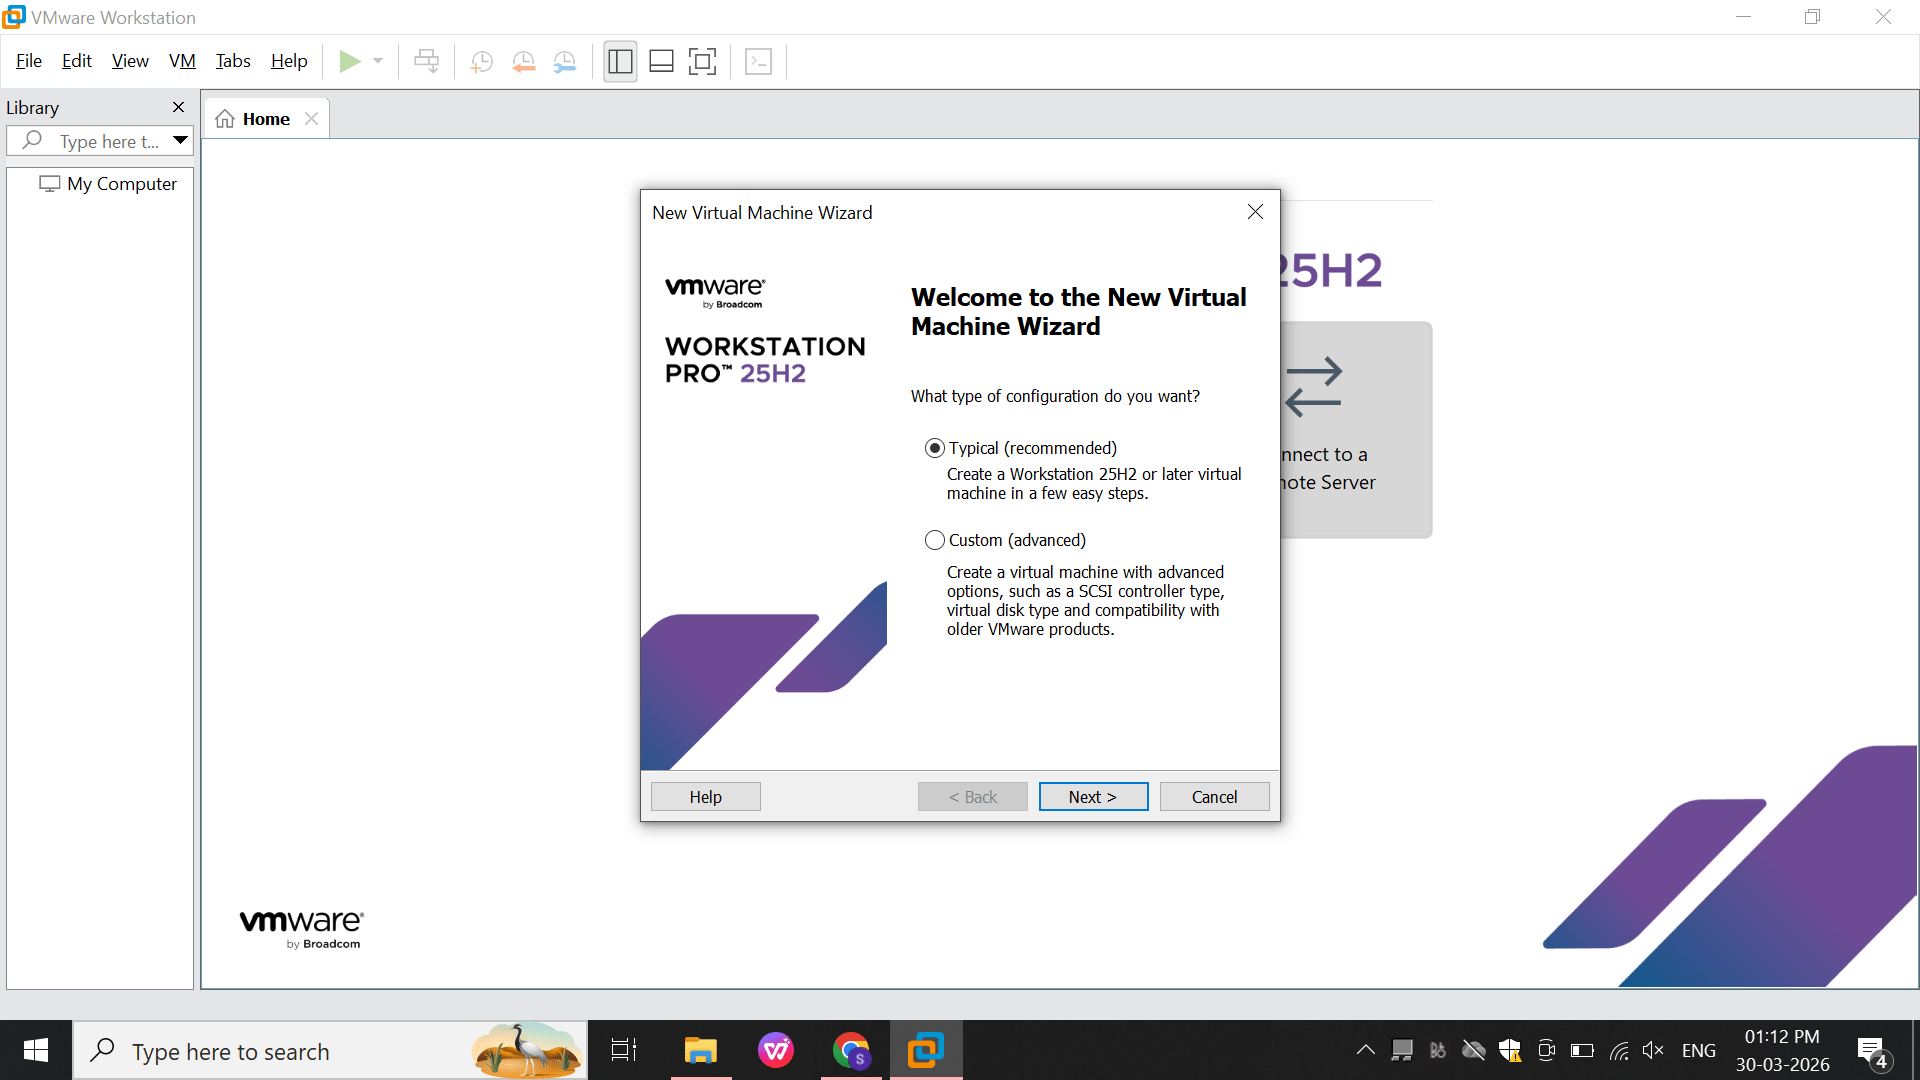
Select Typical setup.
b
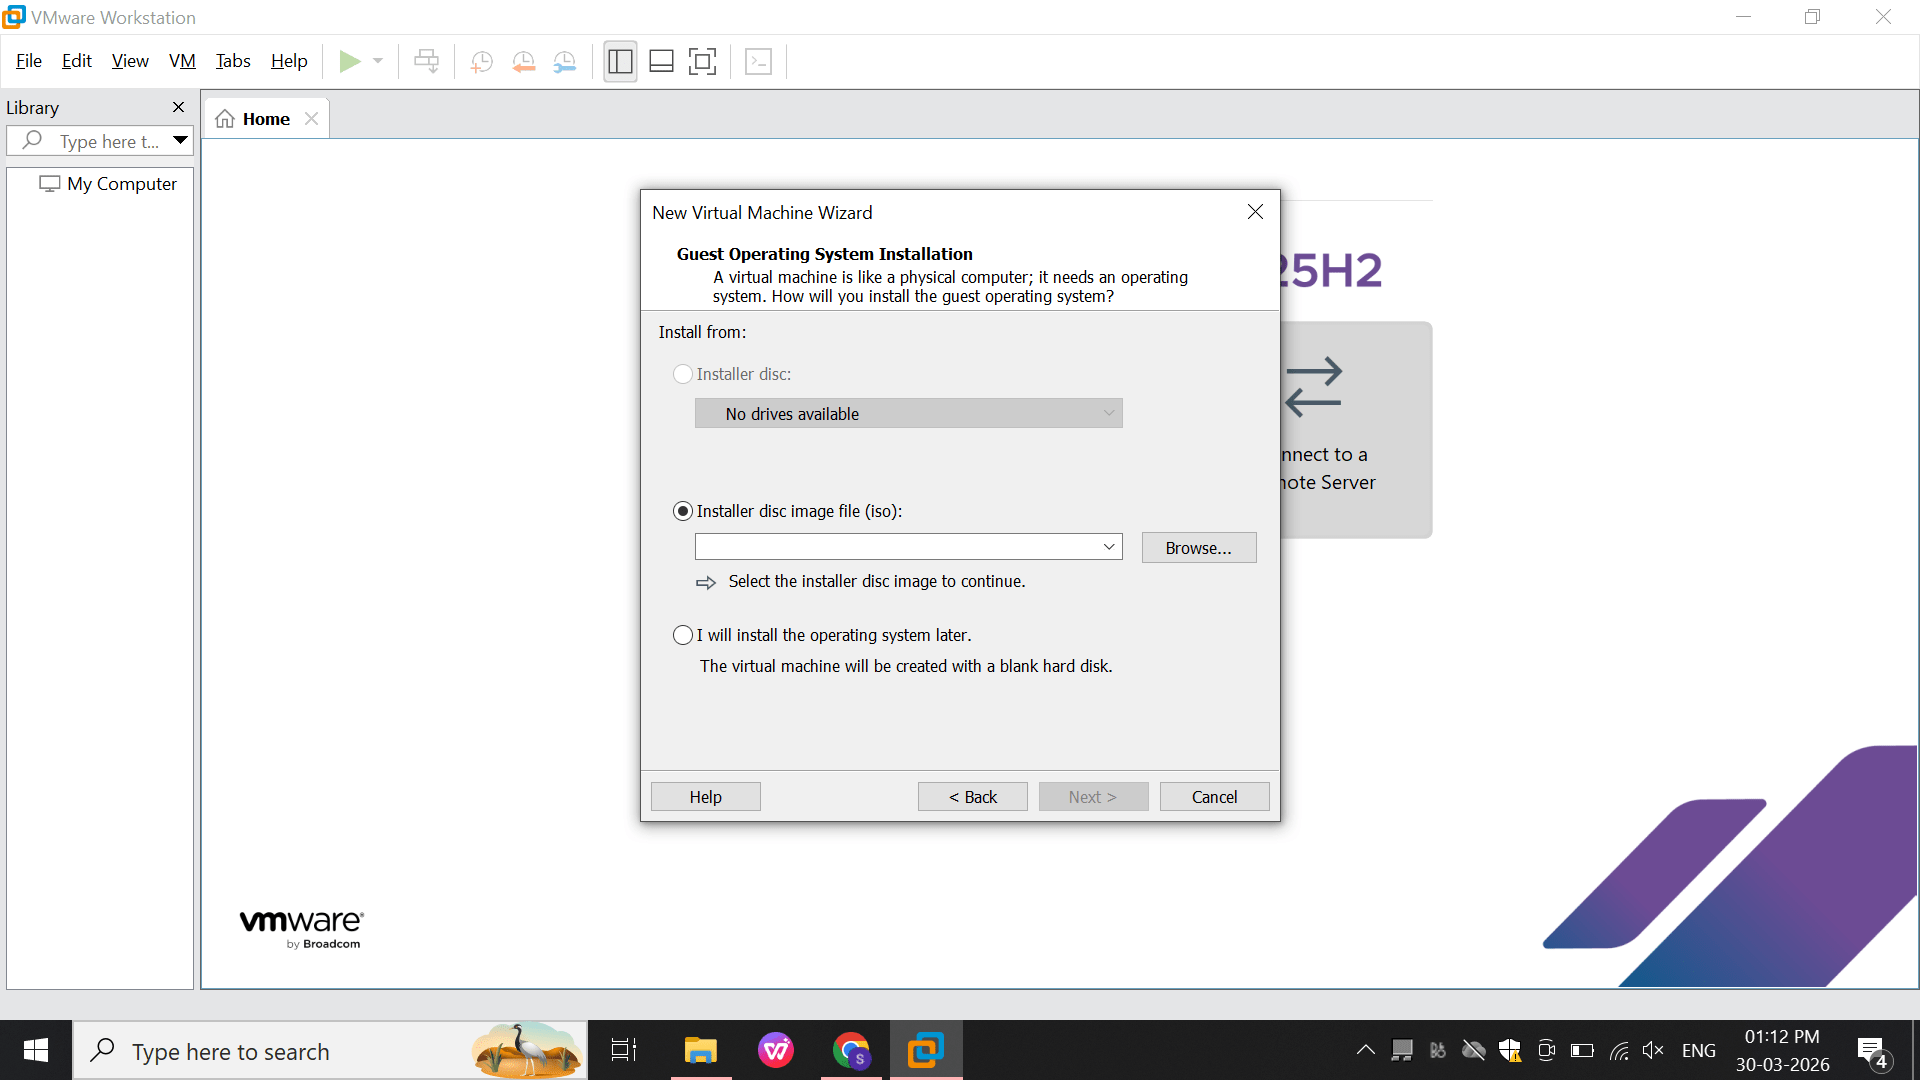
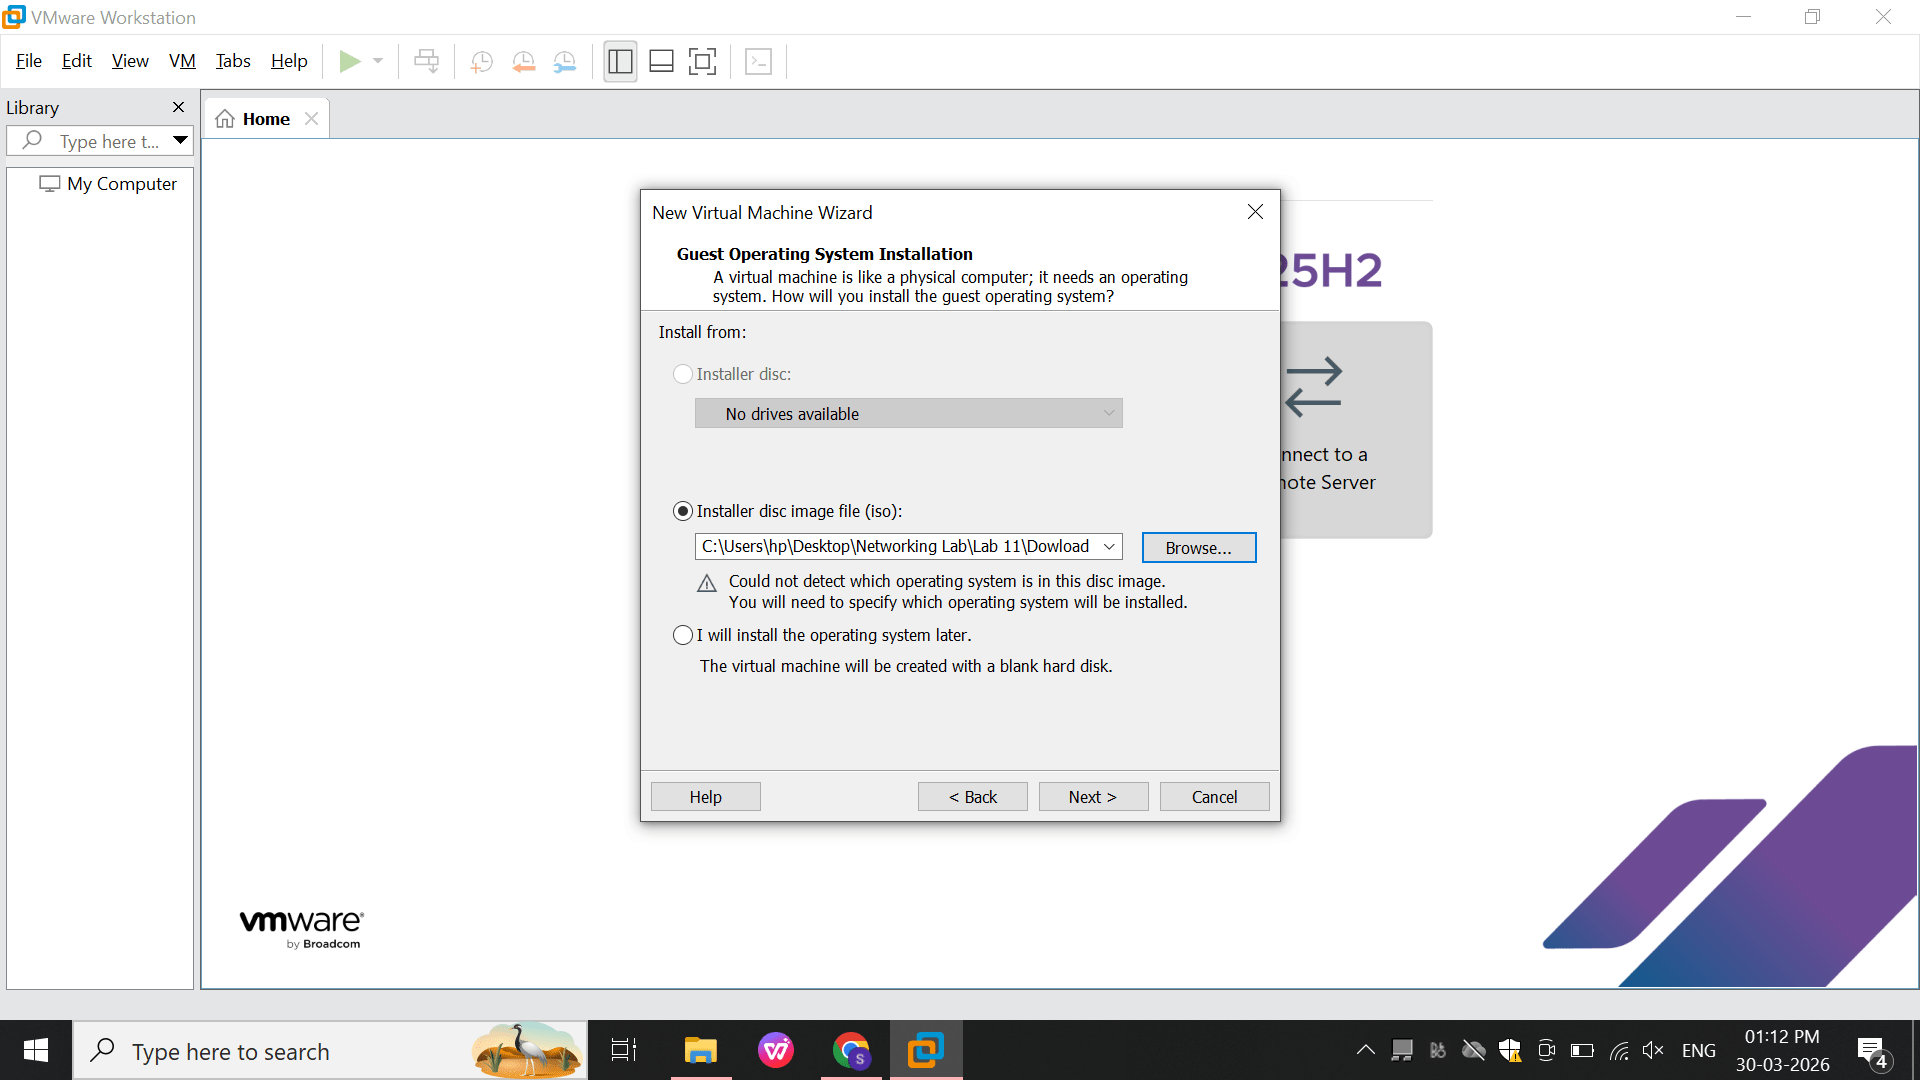
Choose ISO image file option.
c
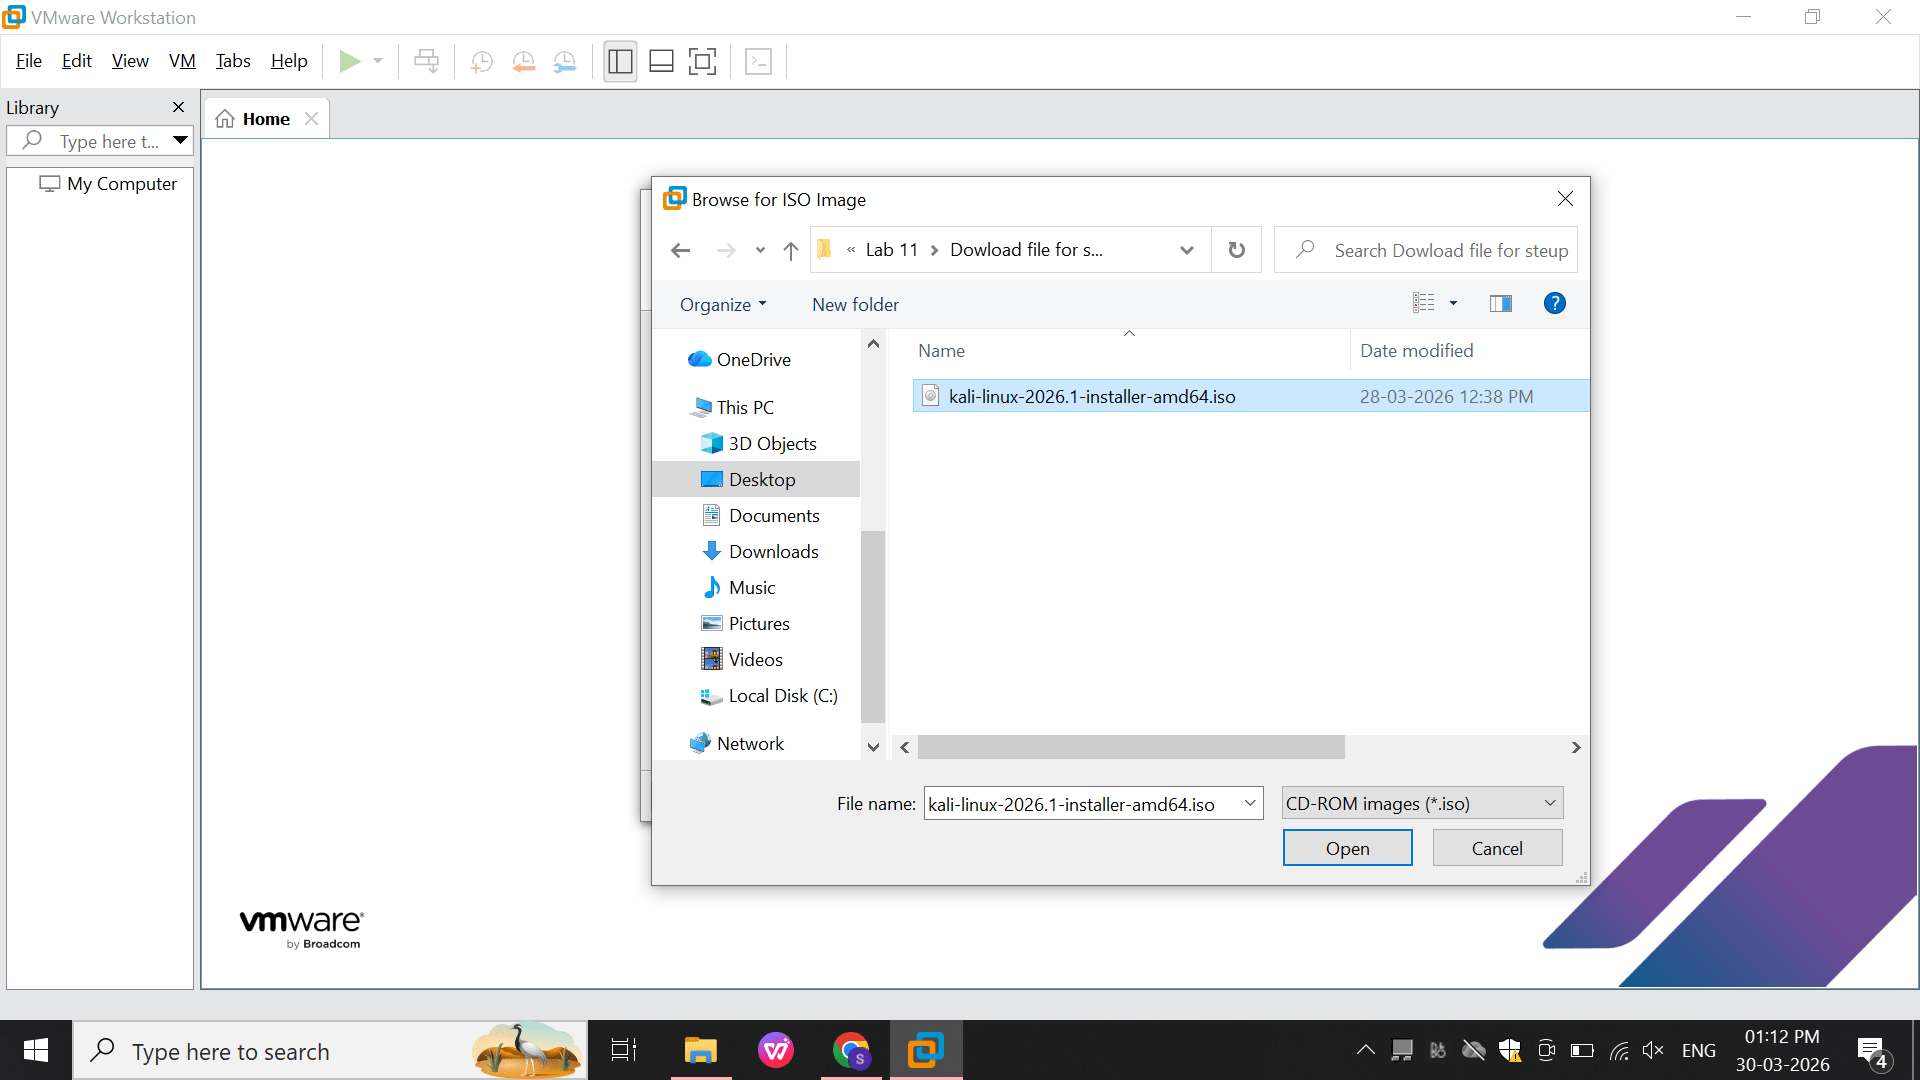
Select the Kali Linux ISO file.
d
Confirm the ISO selection.
e
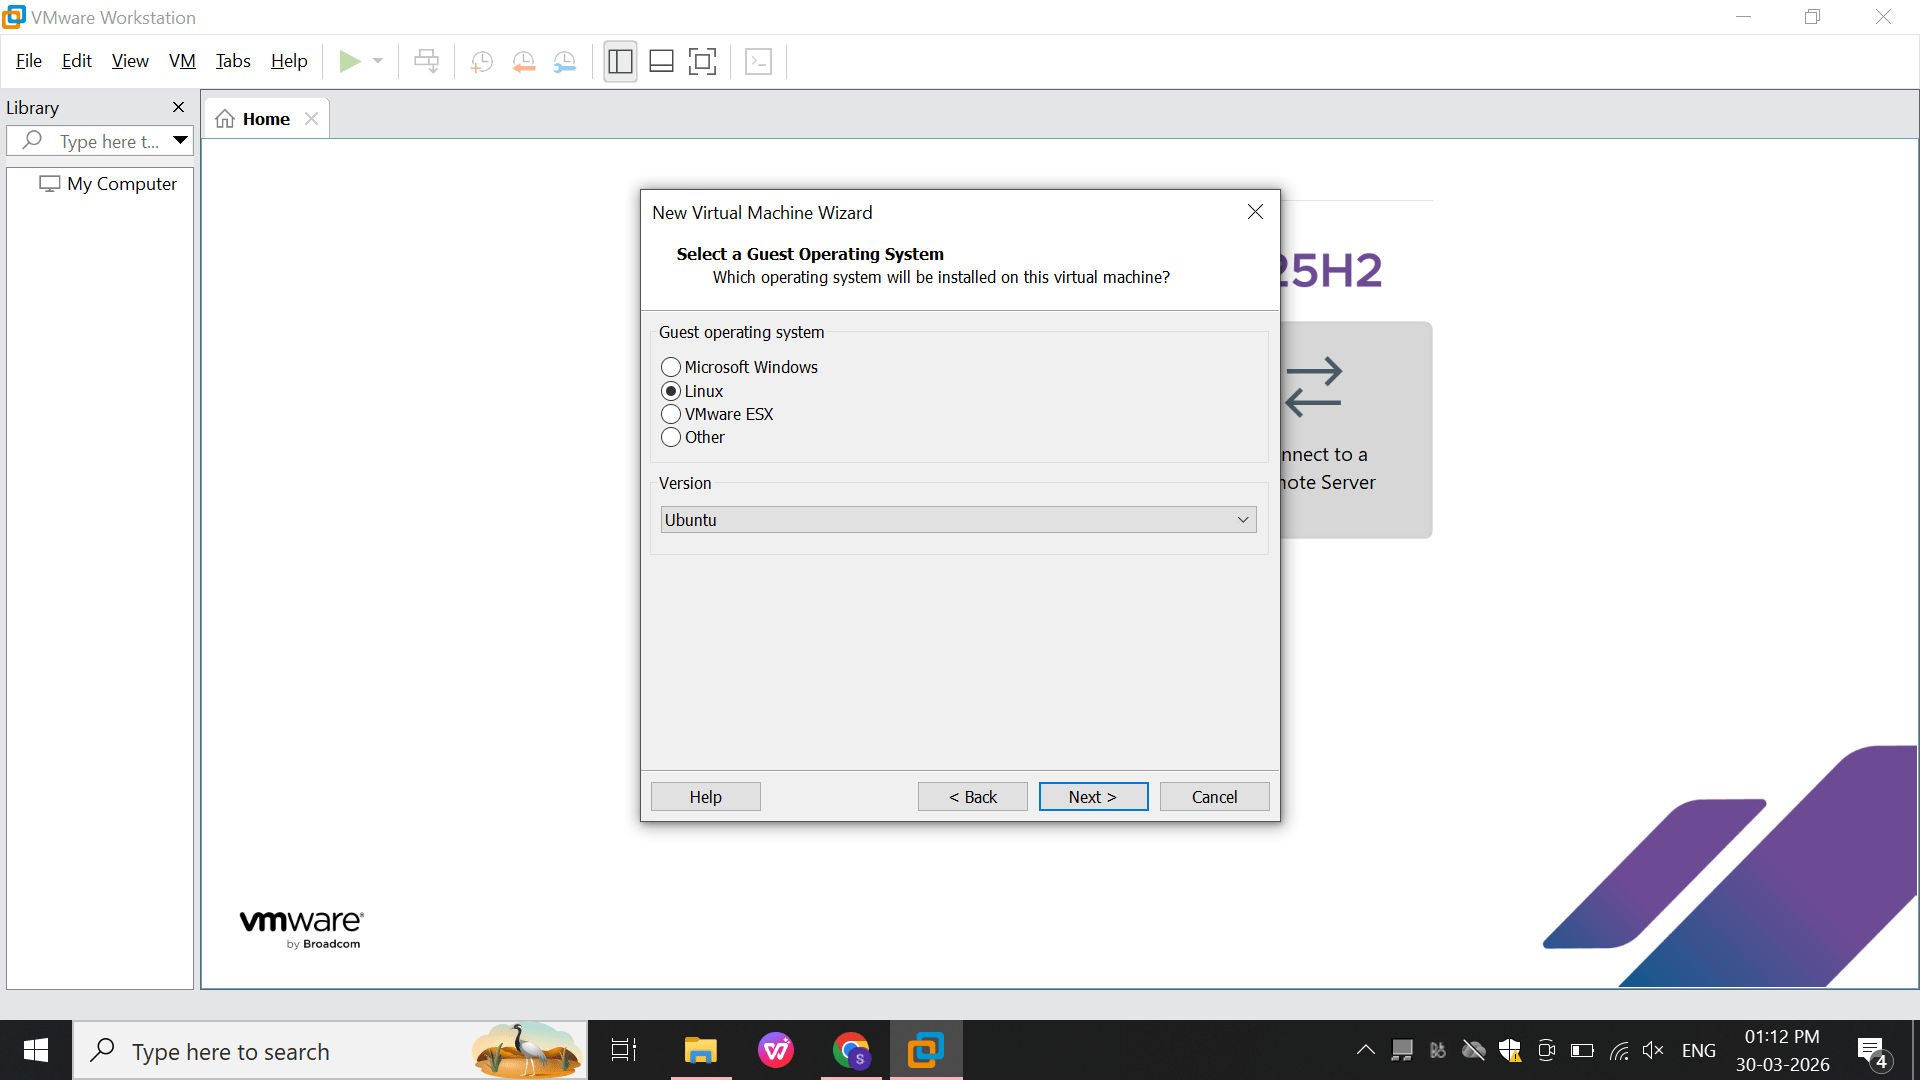
Select Linux as OS type.
f
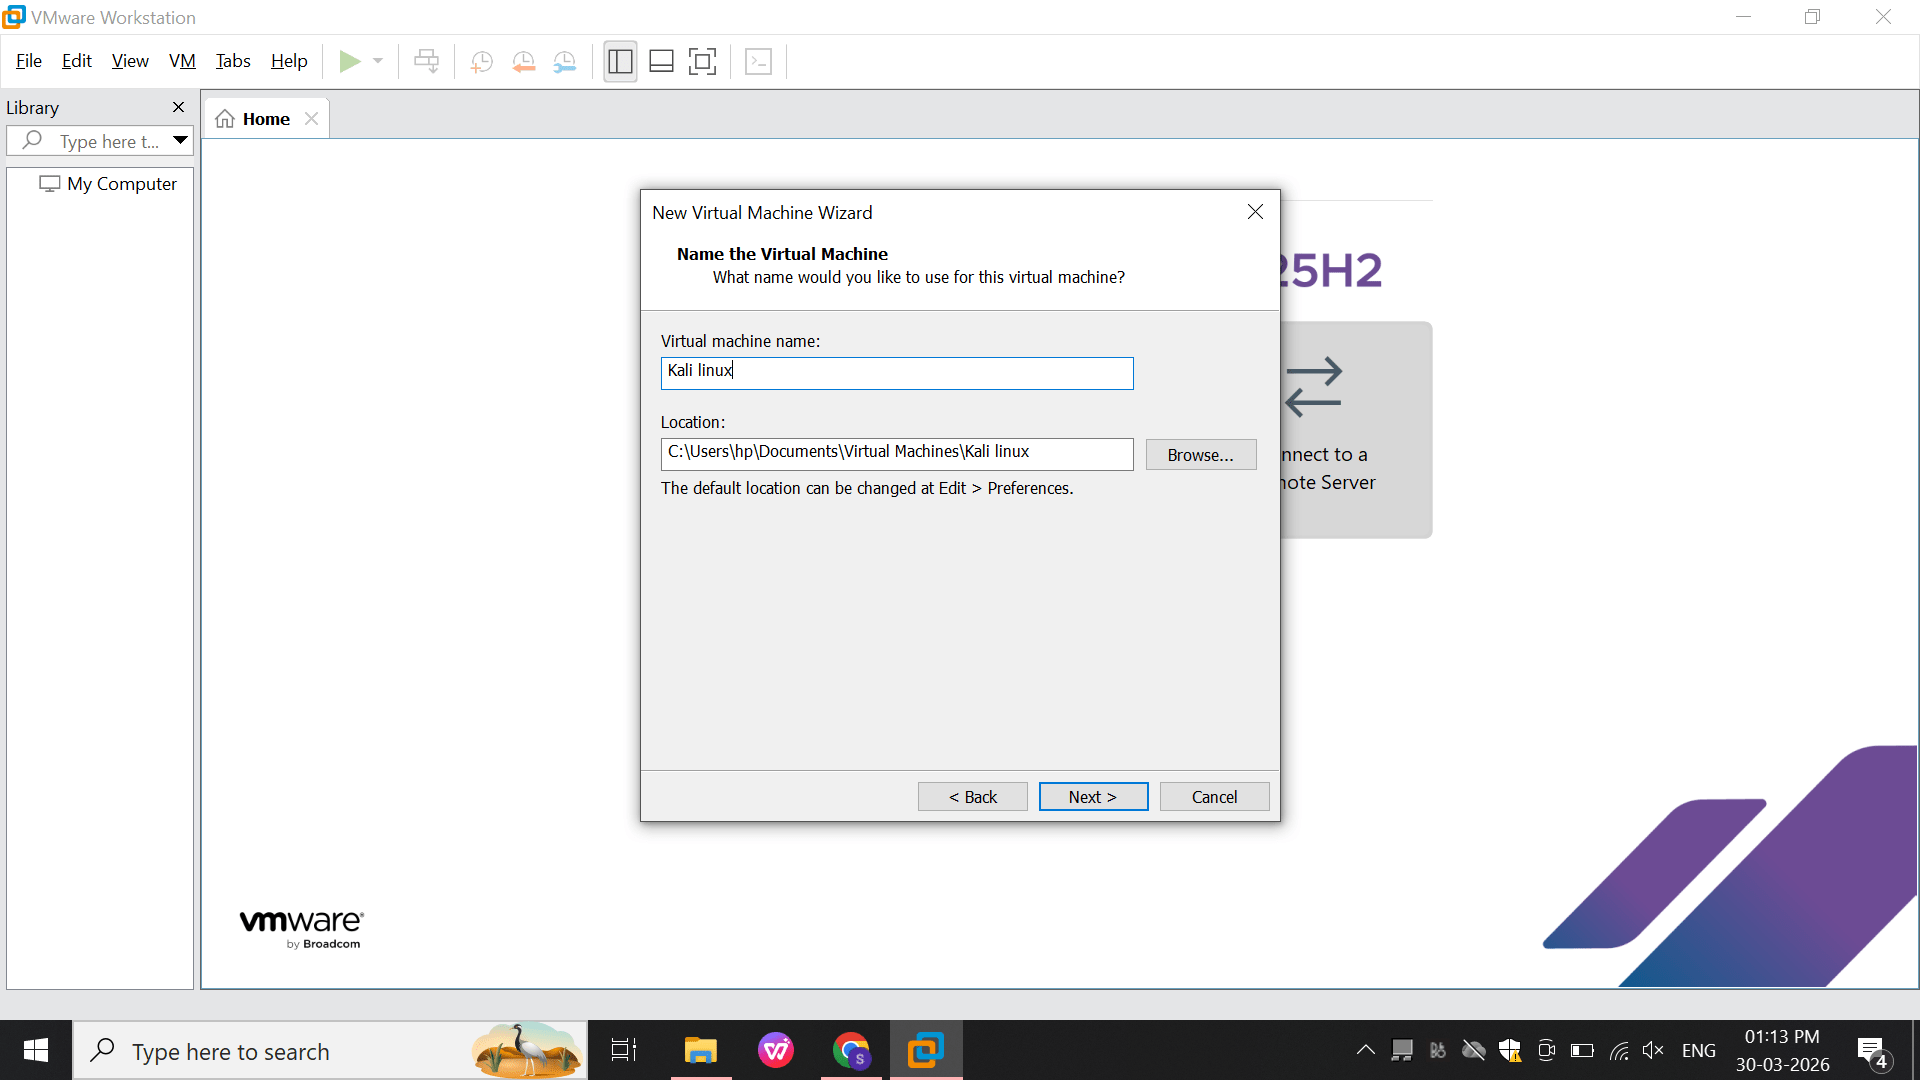
Enter the VM name as Kali Linux.
g
Set the virtual disk size.
h
Review the VM settings.
i
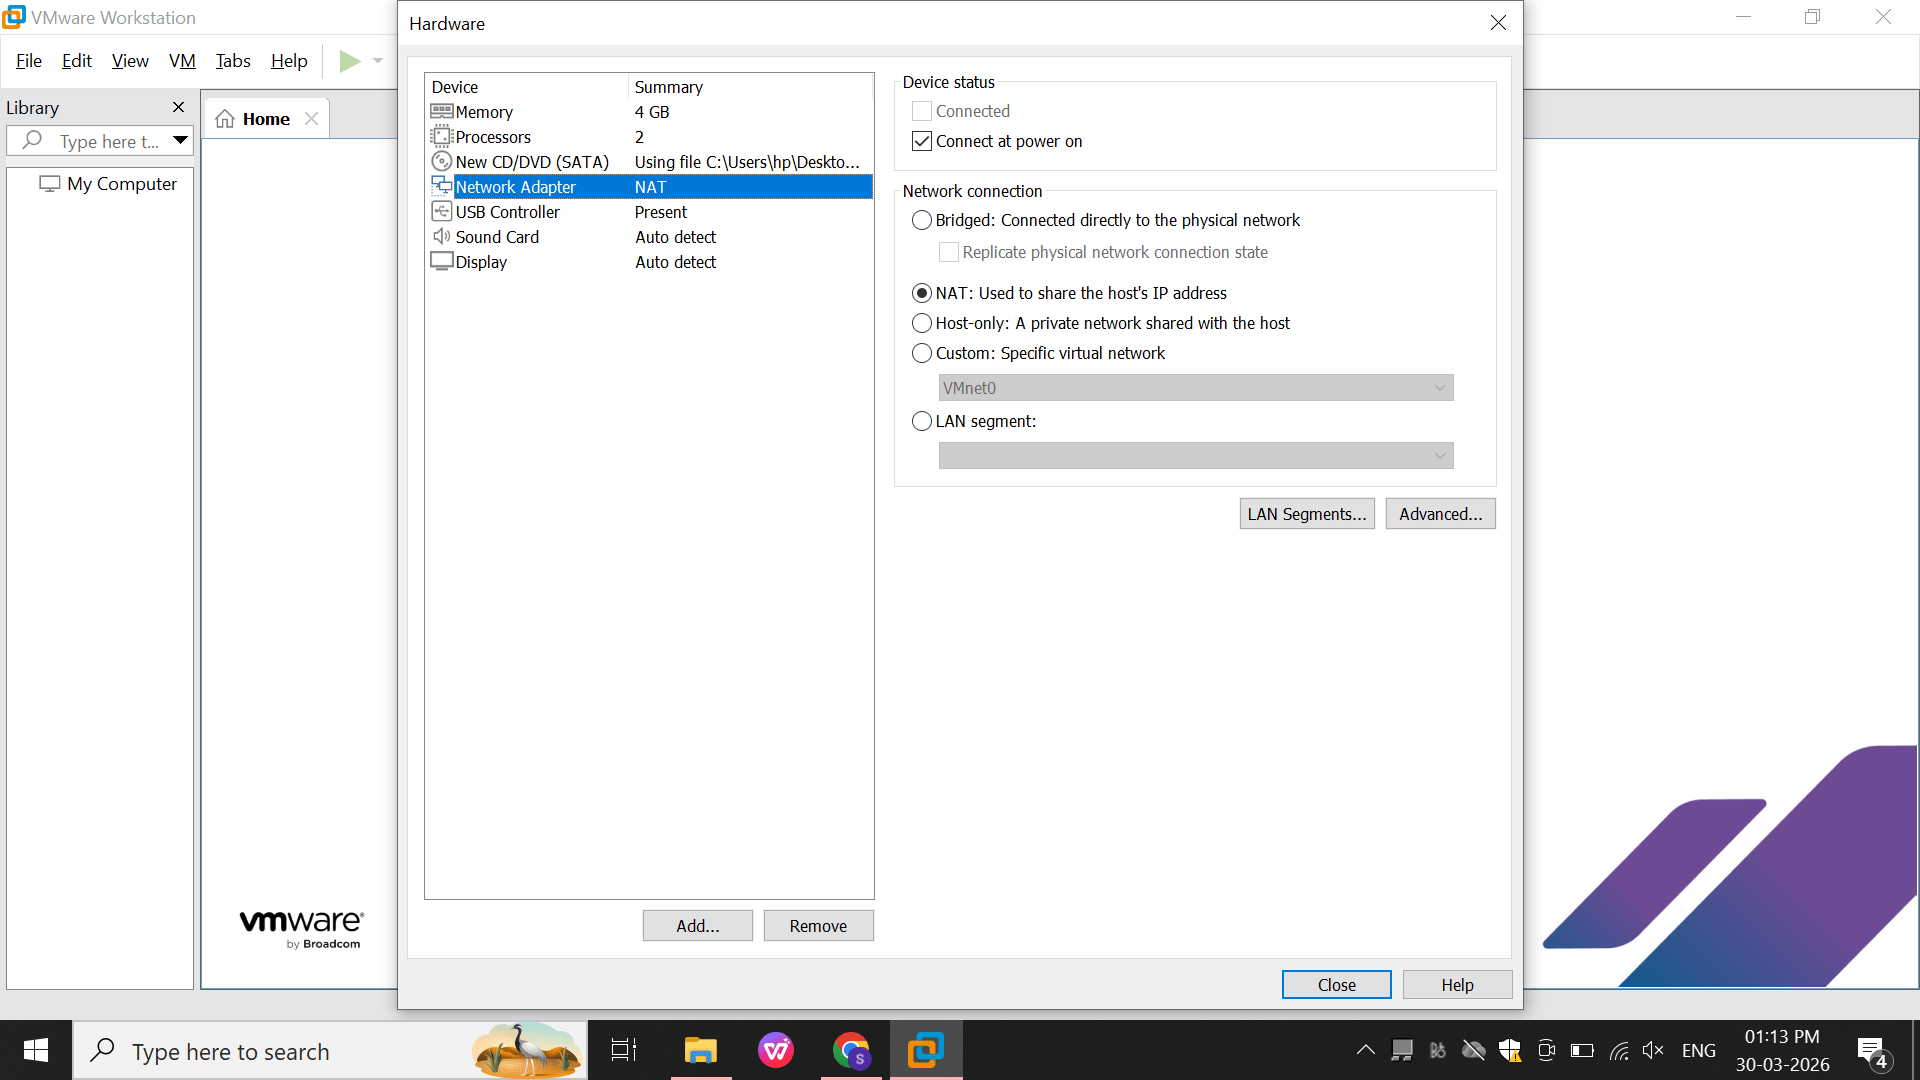
Open Network Adapter settings.
j
Select the network mode.
k
Click Finish to create the VM.
l
3
Boot Menu (Installer Selection)
Screen shows:
Graphical Install
Install
Advanced Options
Select: Graphical Install
This starts a user-friendly installation interface.
Select the Kali Linux VM.
a
Start the Kali Linux installer.
b
4
Select Language
Choose system language (e.g., English)
This sets:
Installer language
Default system language
5
Select Location
Choose country (e.g., India)
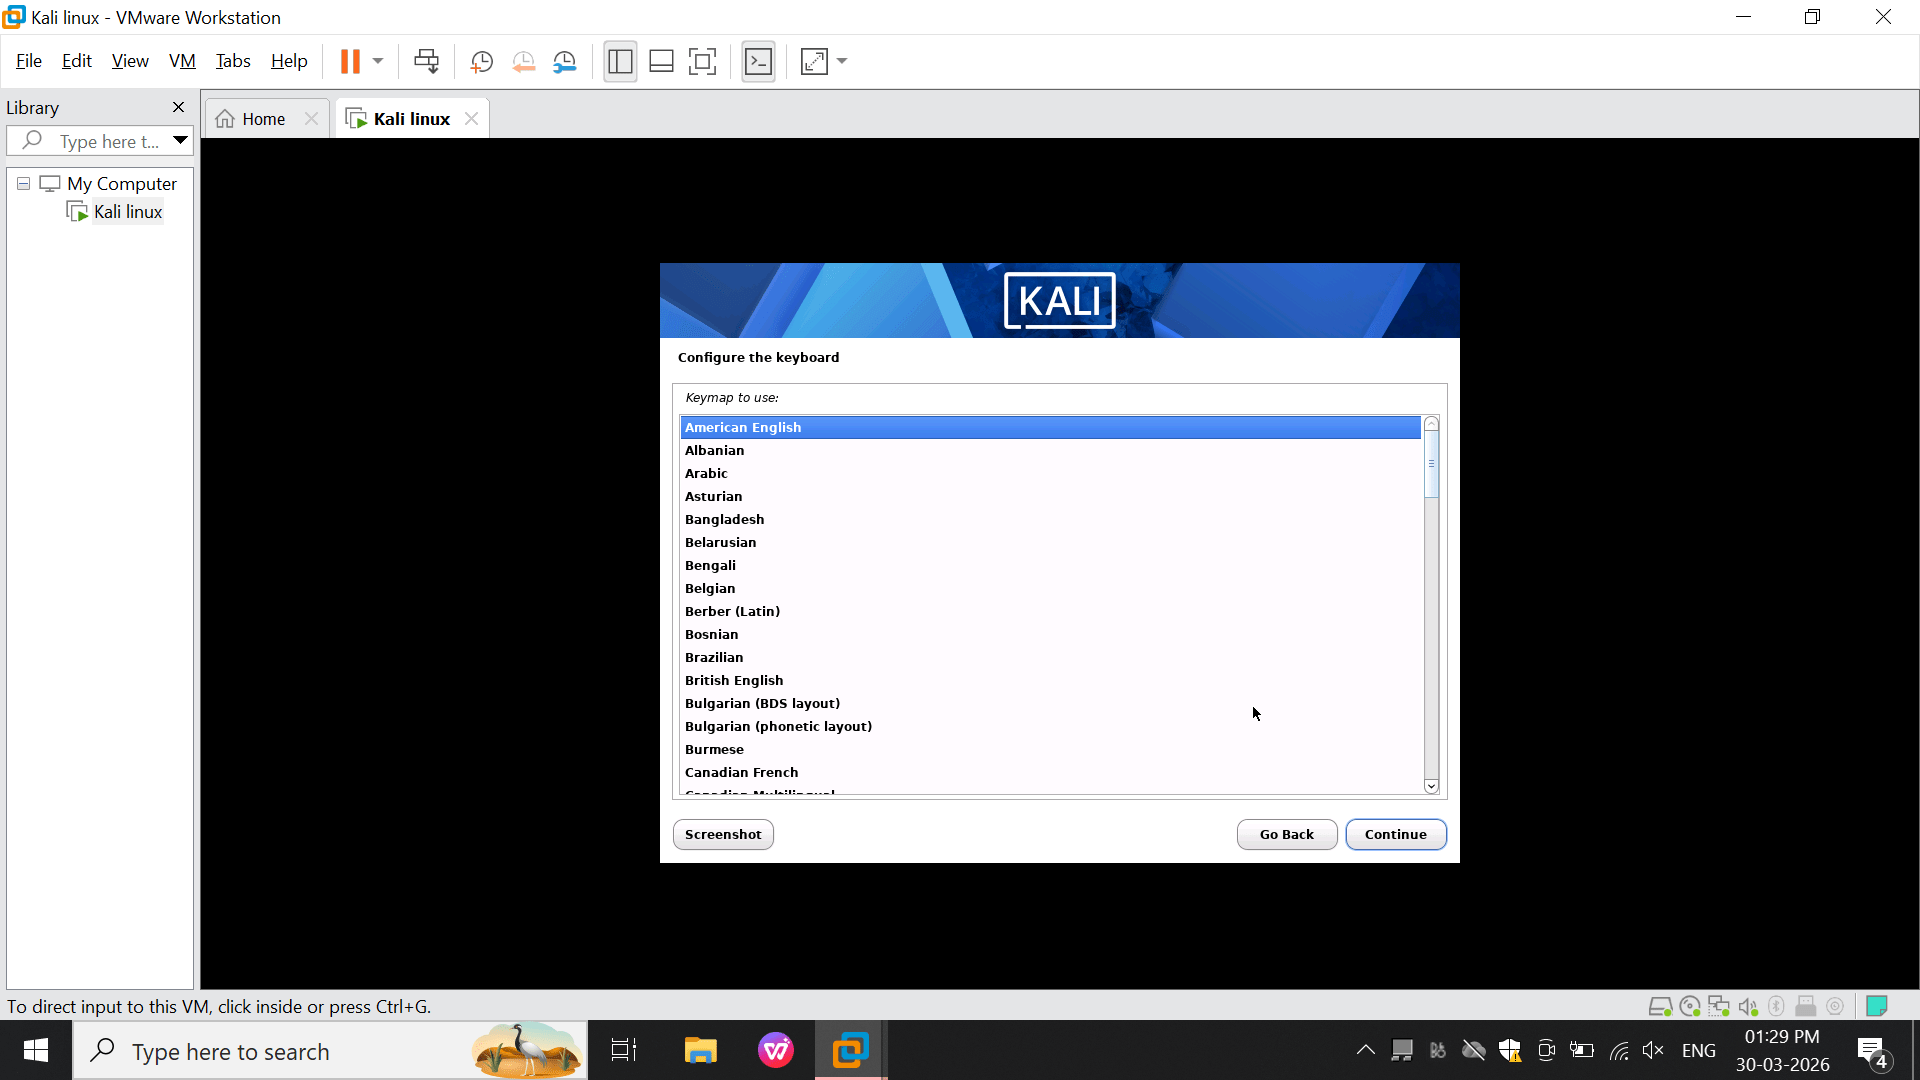
6
Configure Keyboard
Choose keyboard layout (e.g., American English)
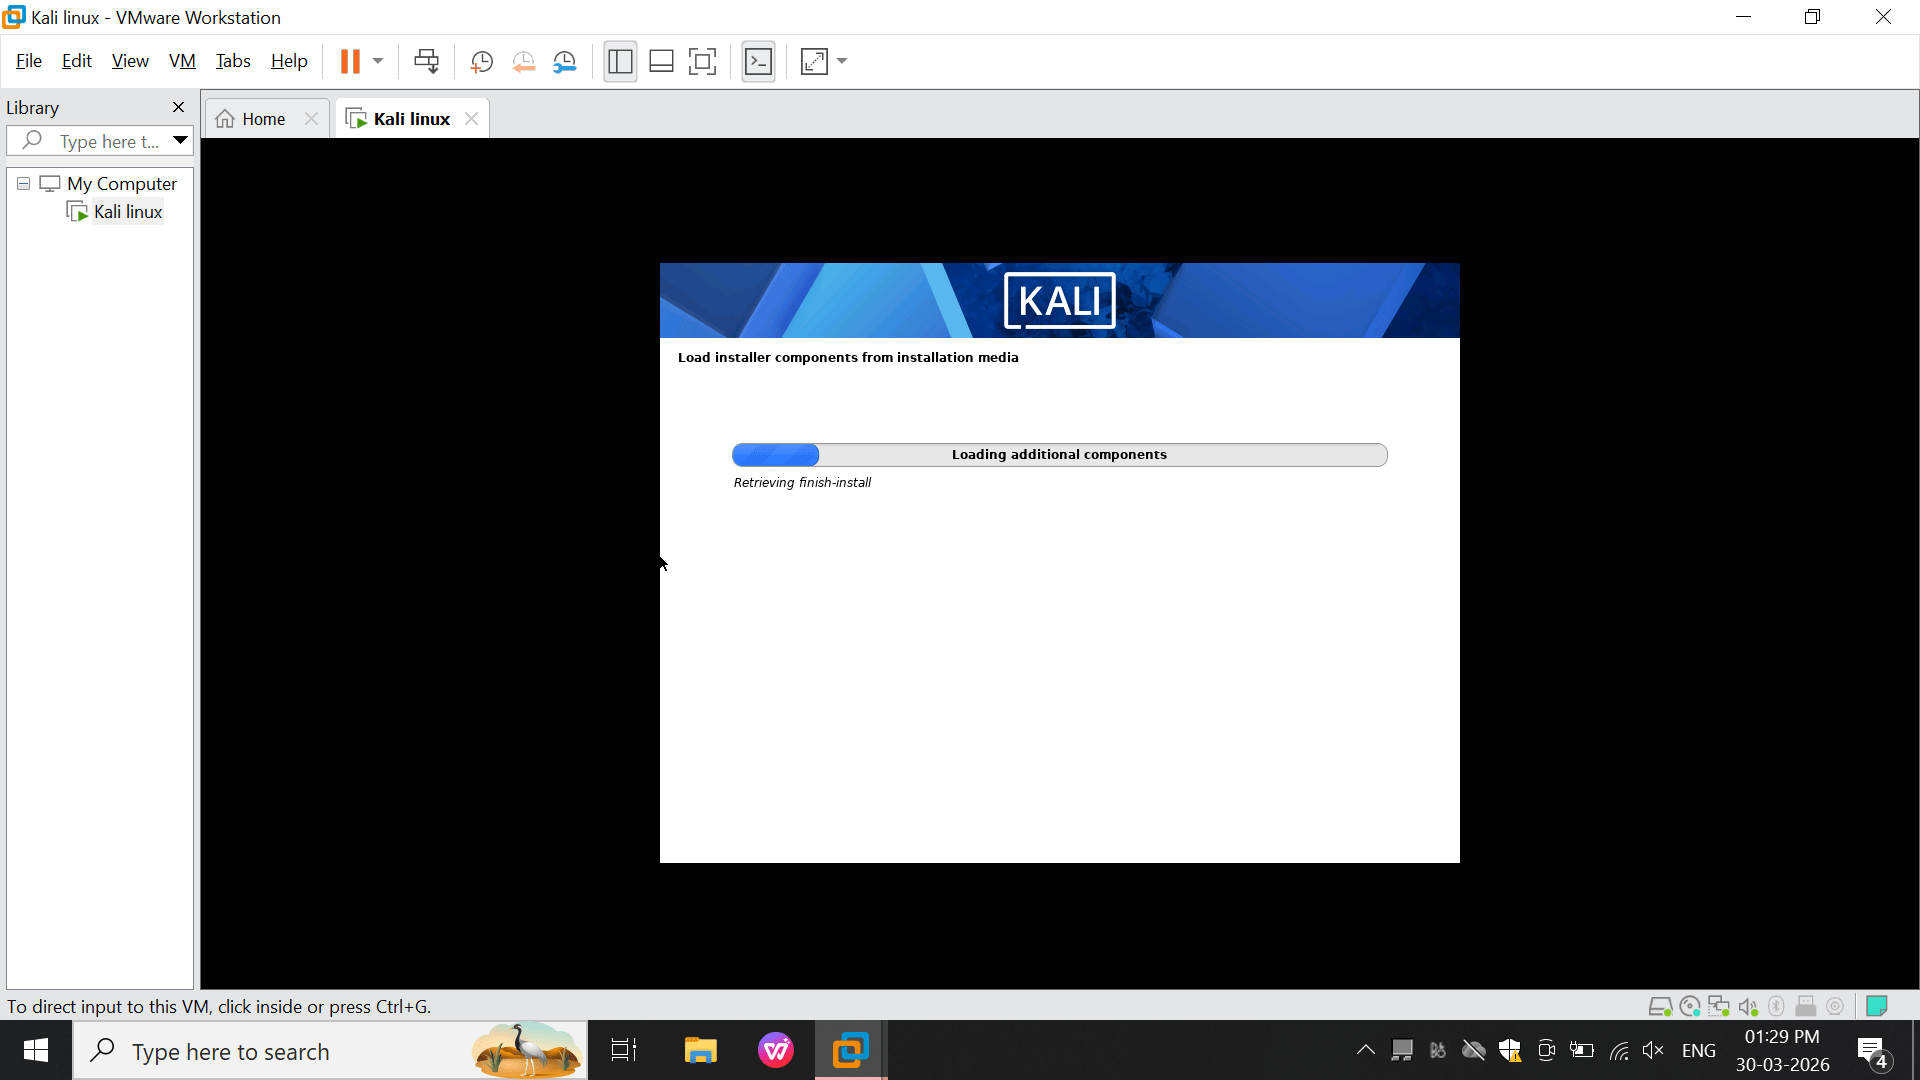
7
Loading Installation Components
System loads required files from ISO
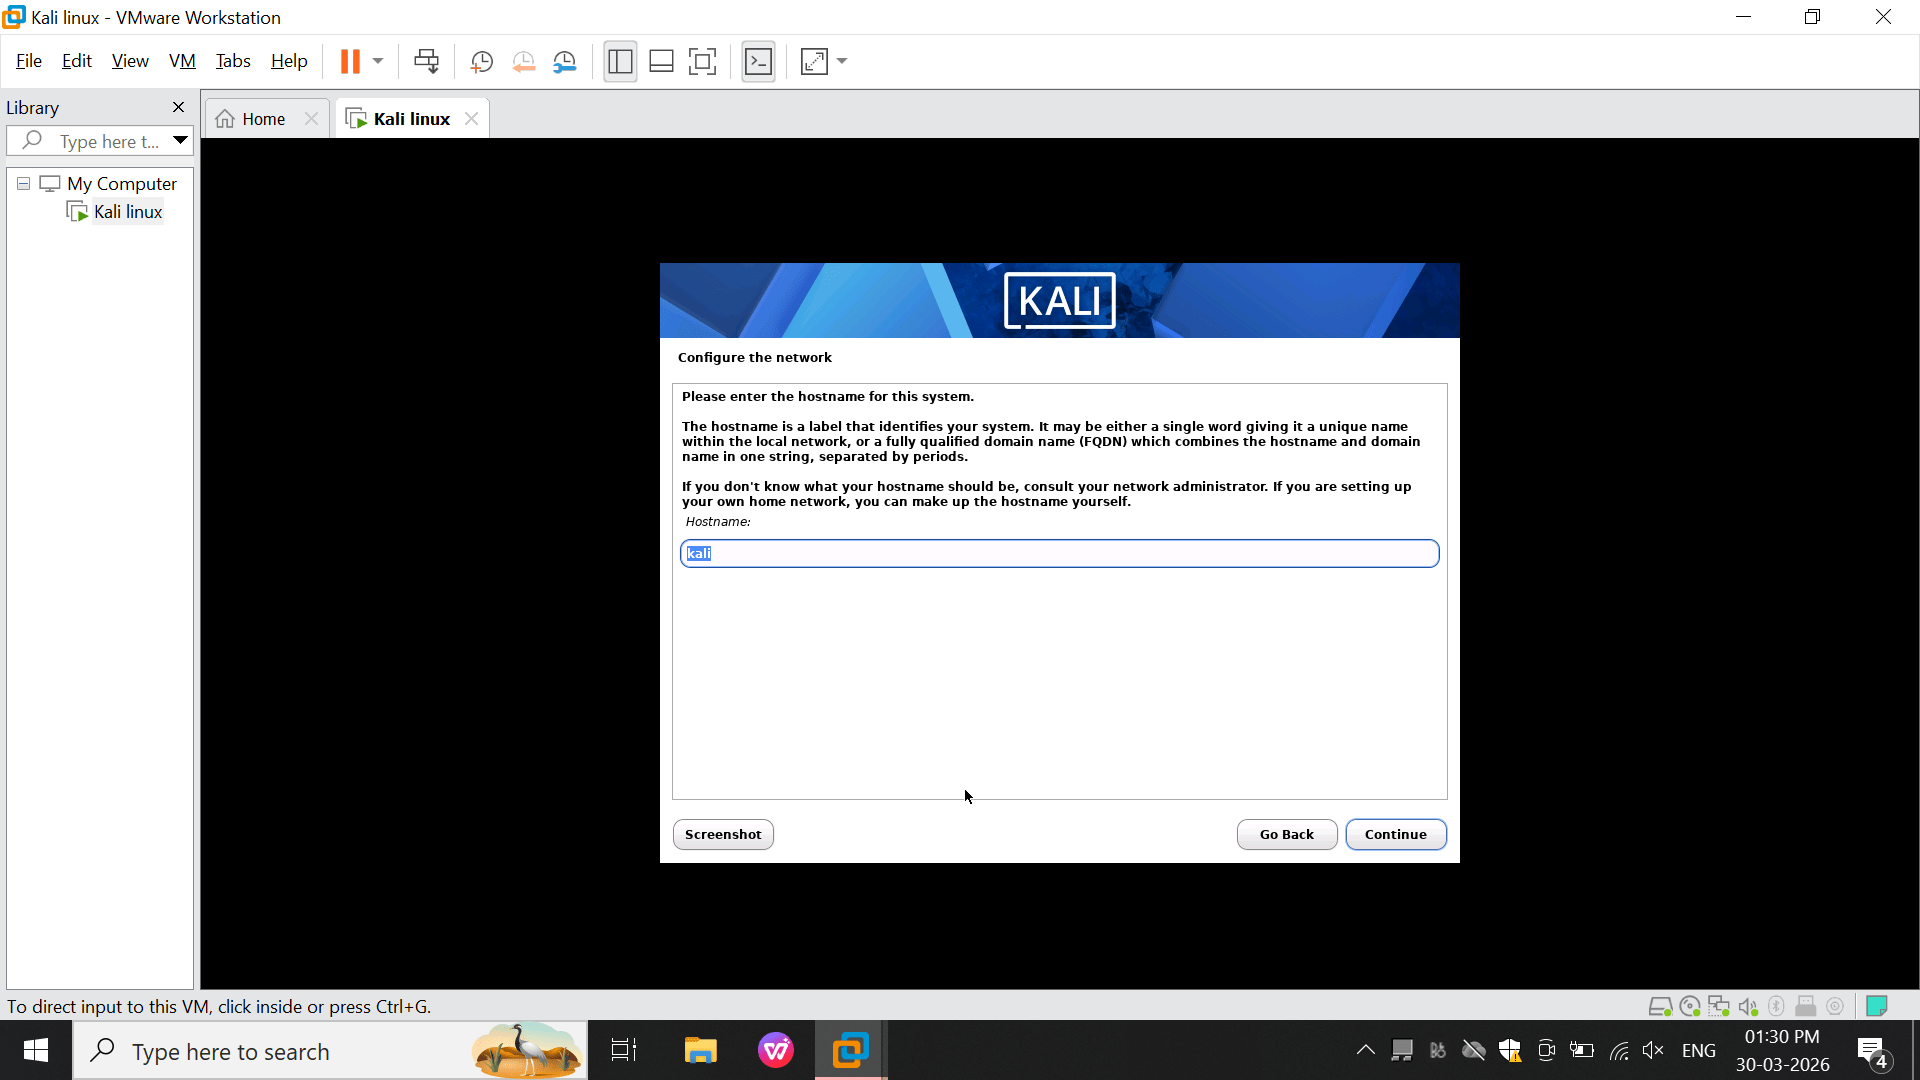
8
Configure Network (Hostname)
Enter hostname (e.g., kali)
9
Configure Network (Domain Name)
You can:
Leave blank (for personal use)
OR enter domain (e.g., lab.local)
10
Set User Full Name
Enter full name (e.g., Kali Linux or your name)
11
Set Username
Enter username (e.g., kali)
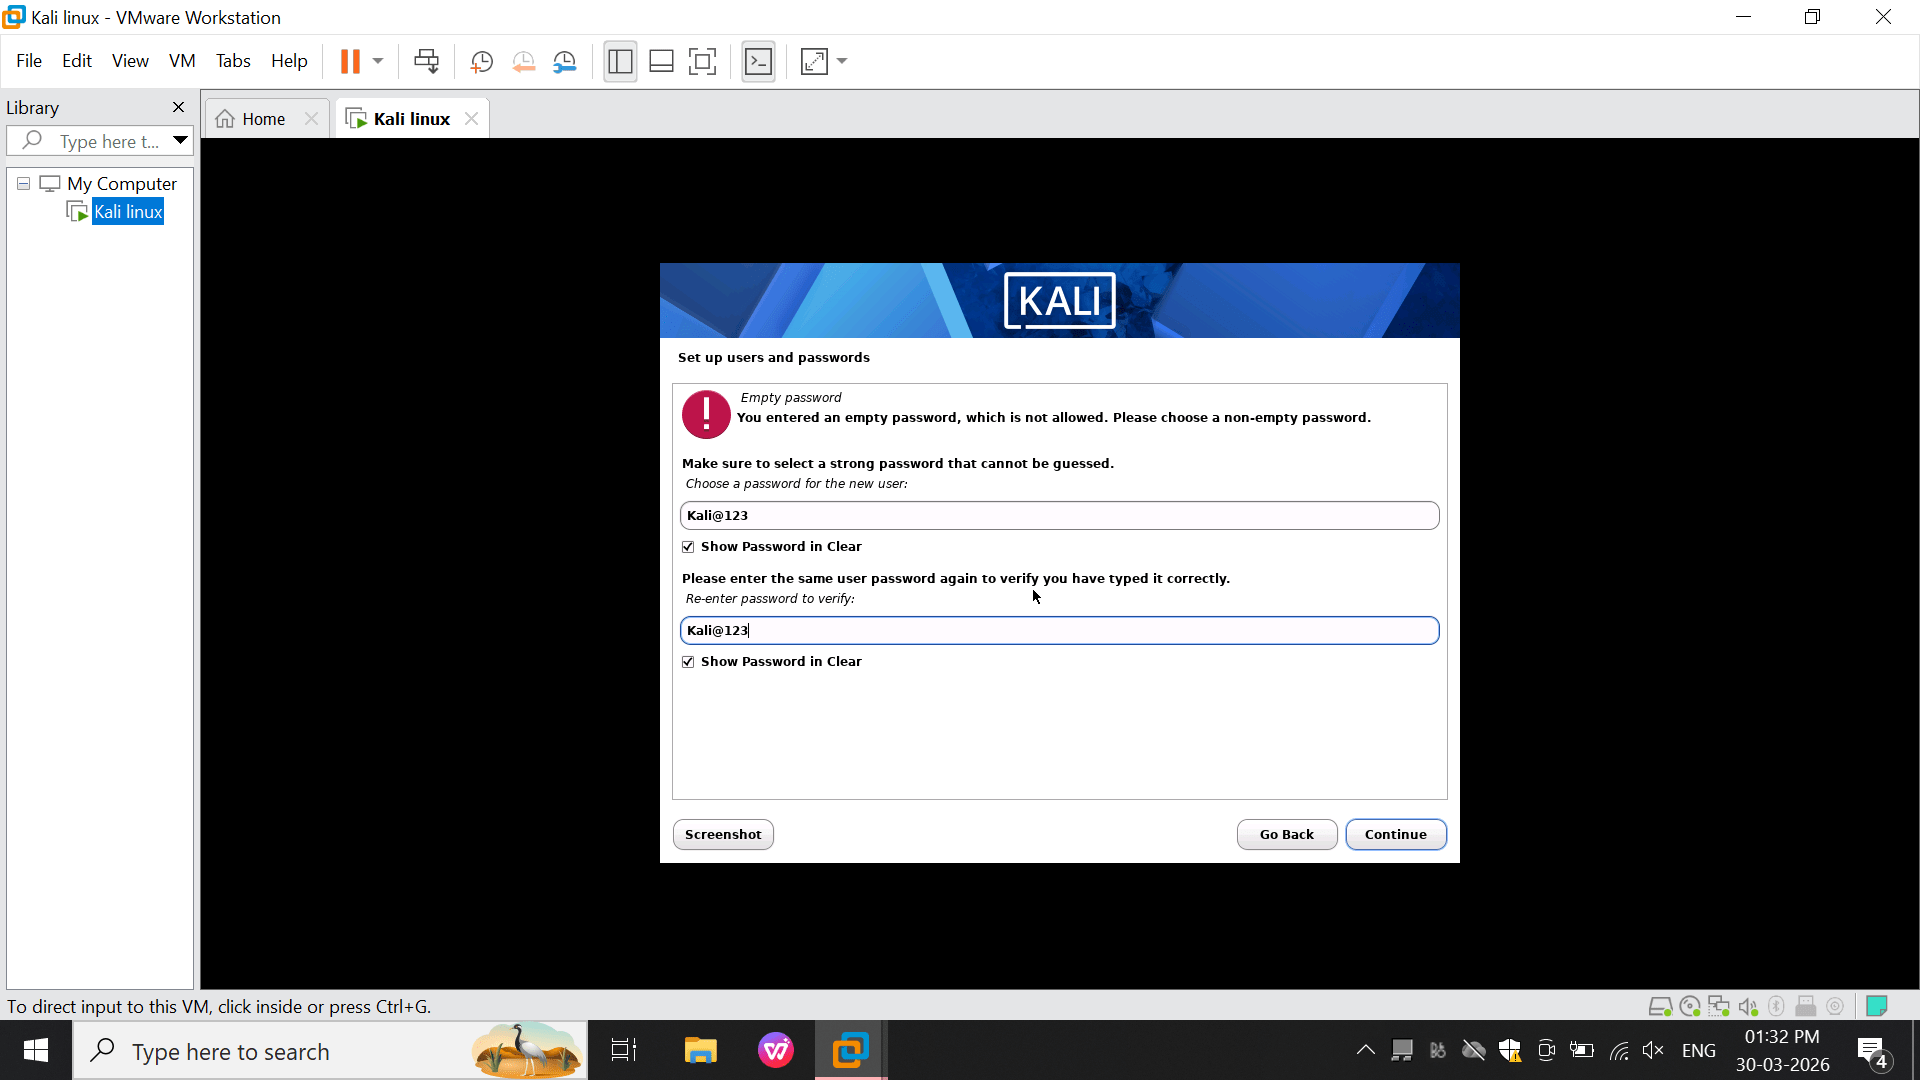
12
Set User Password
You first entered a password (kali@123)
13
Starting Disk Partitioning
System shows: Starting up the partitioner
2
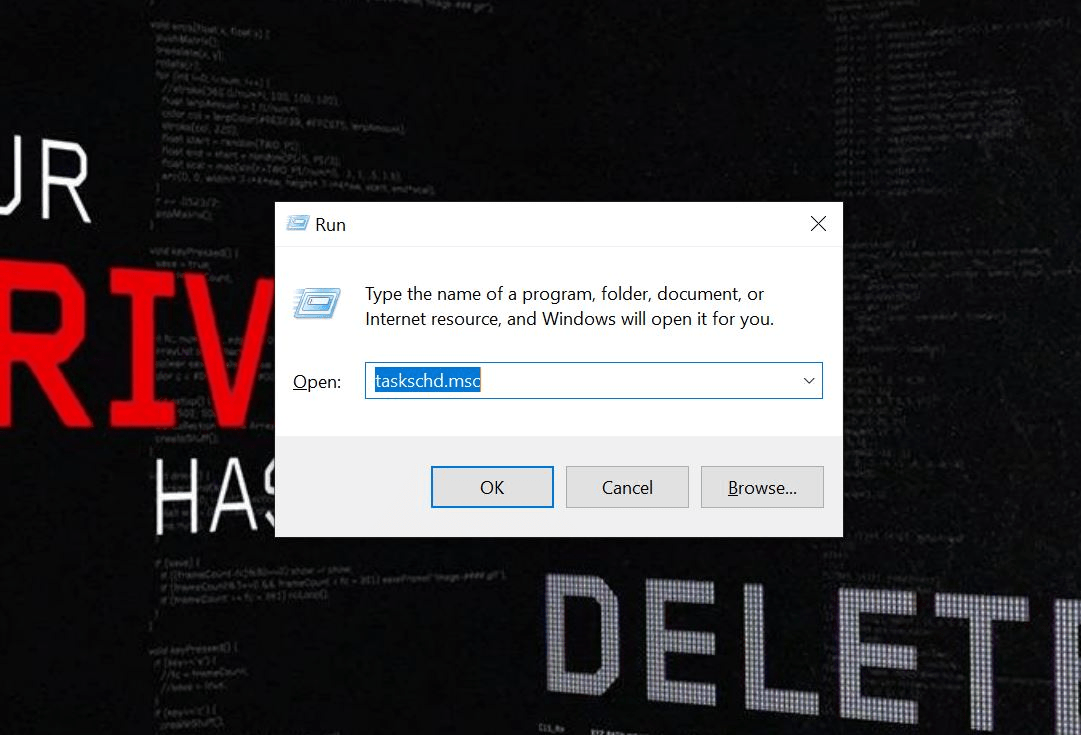
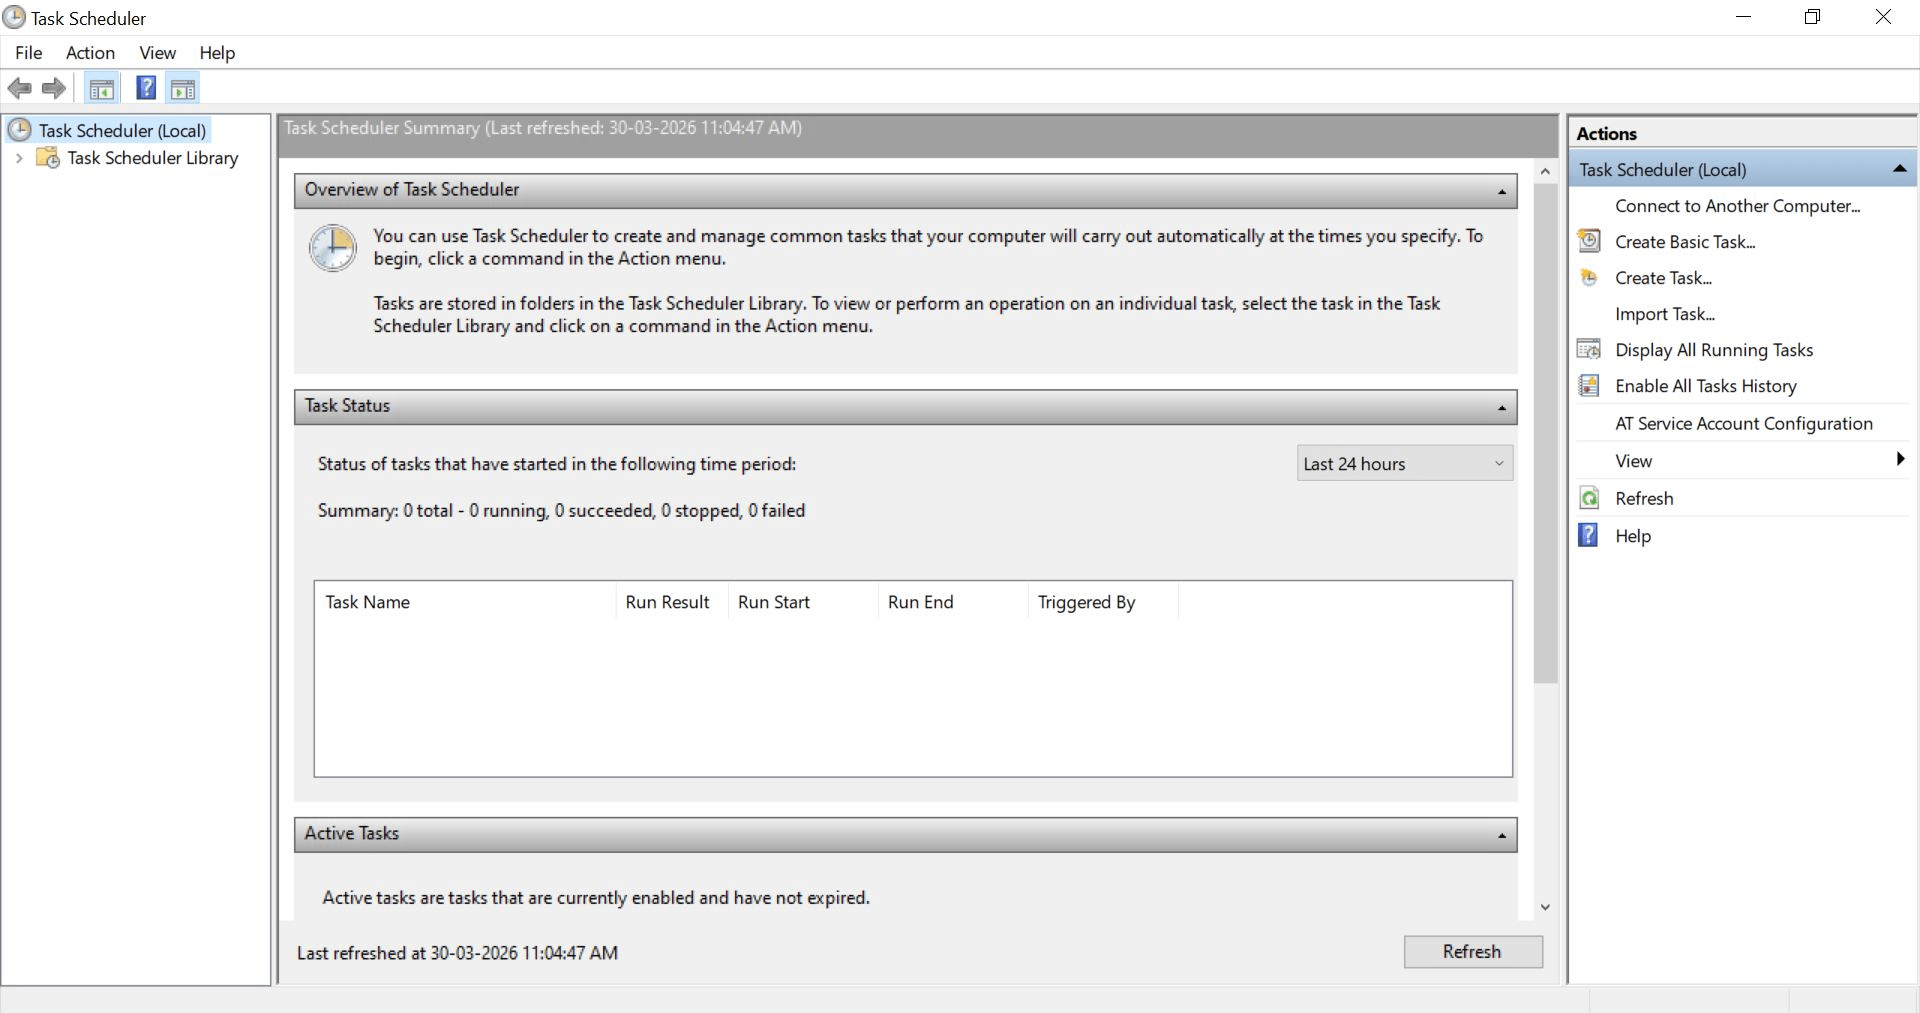
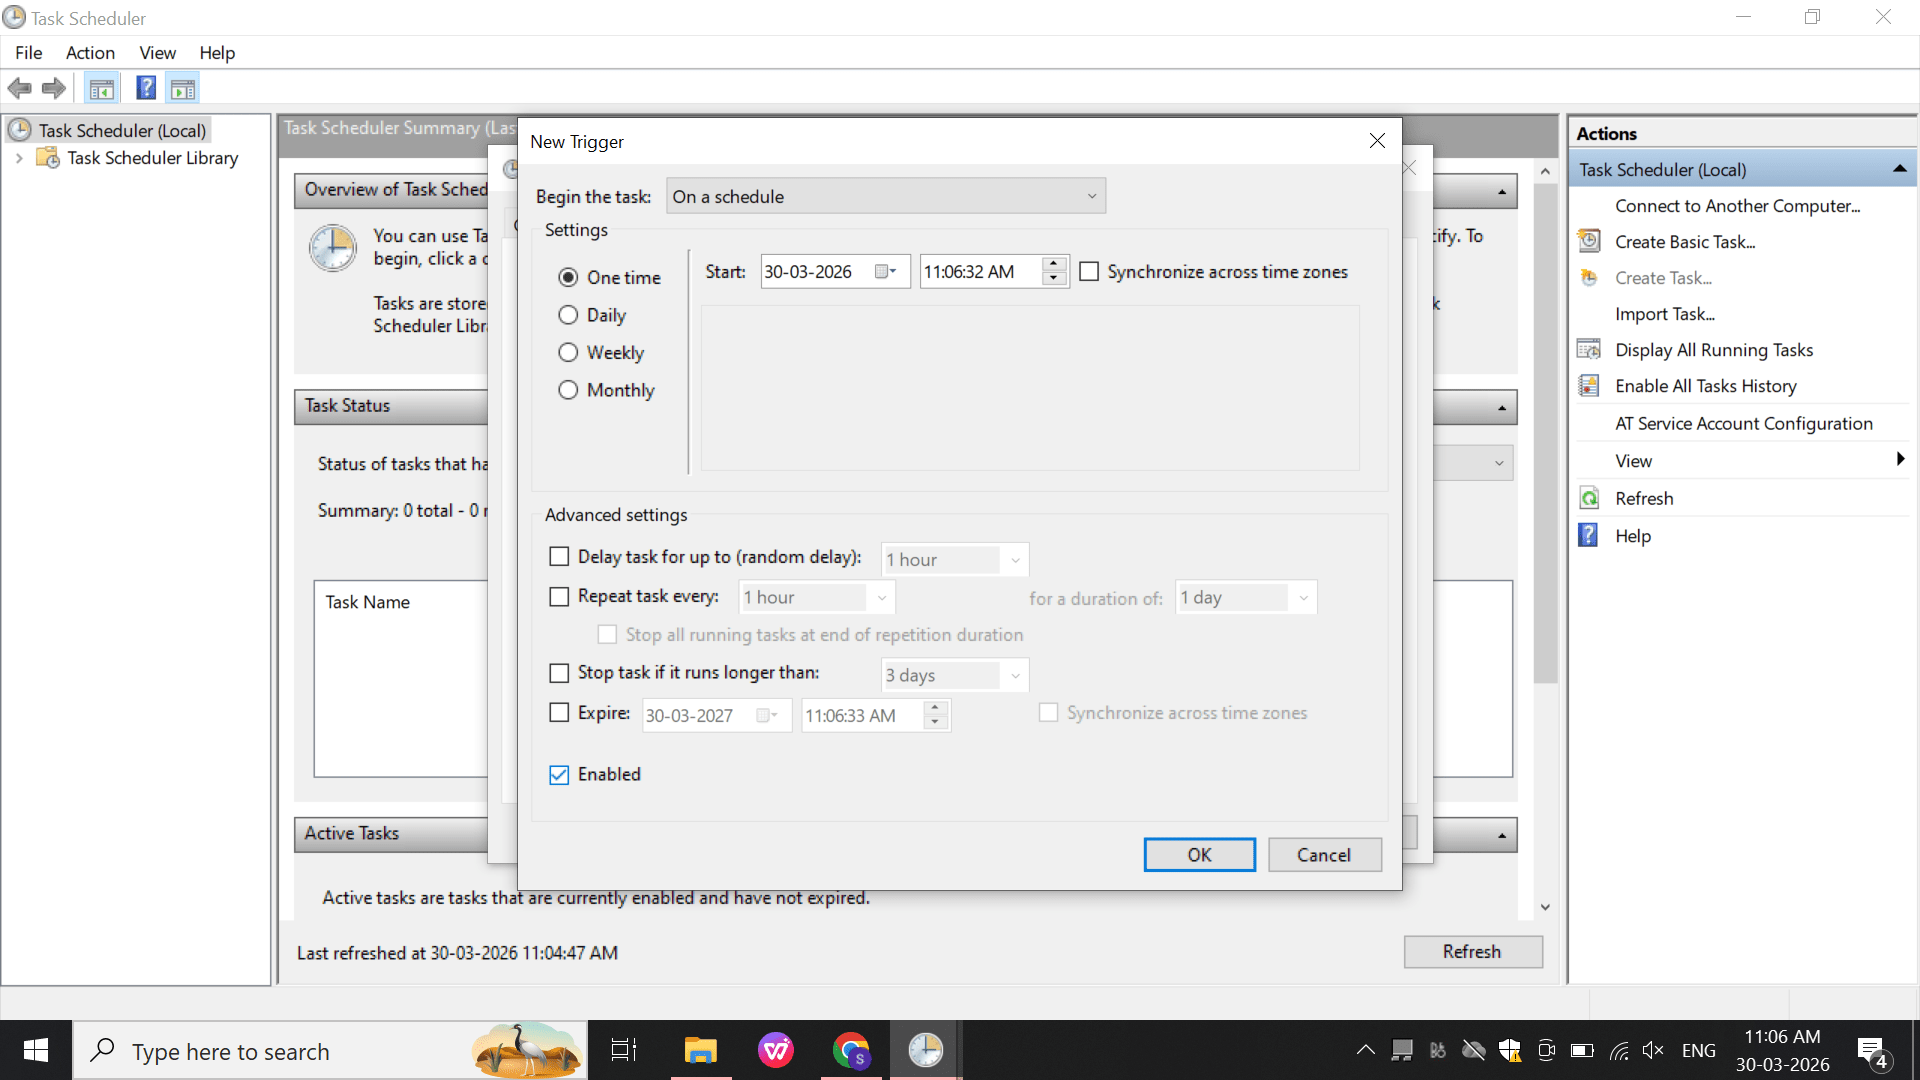
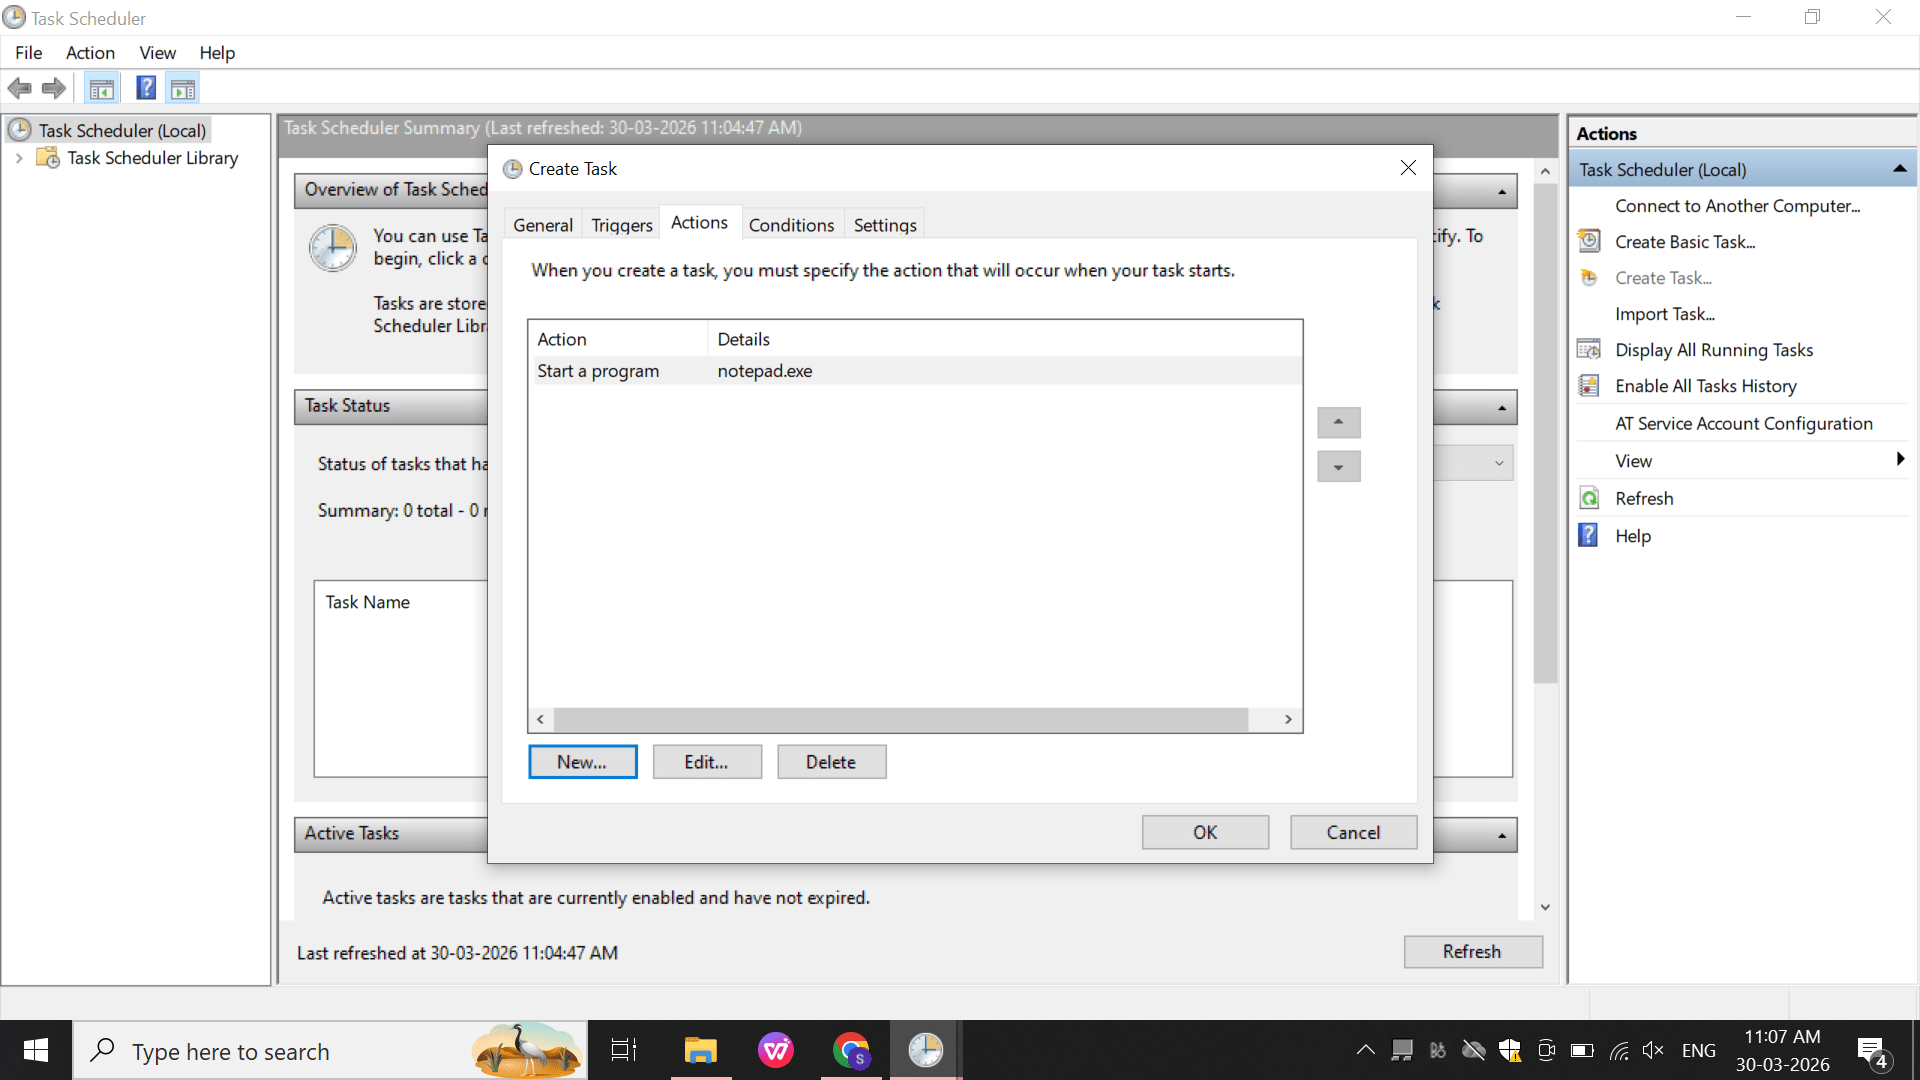
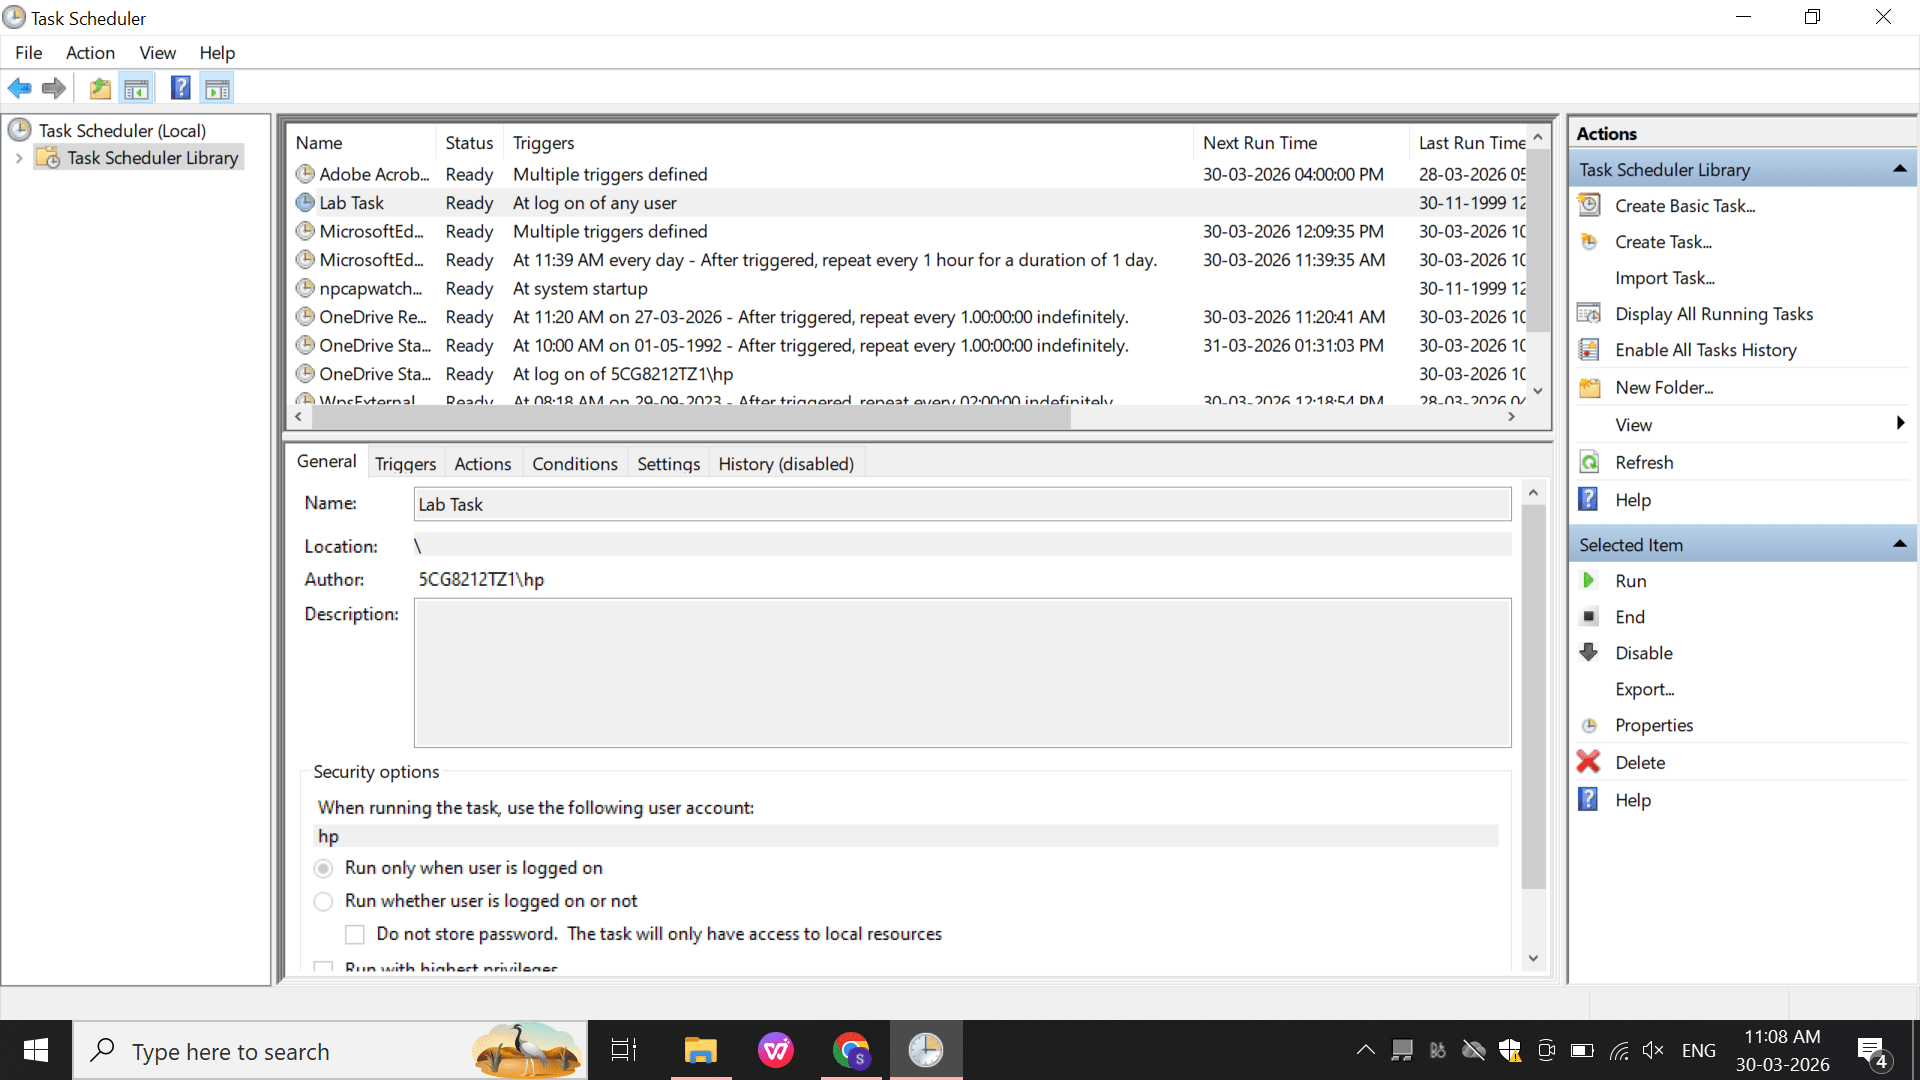
Task Scheduler (Scheduled Tasks)
Perform:
Open: taskschd.msc
a
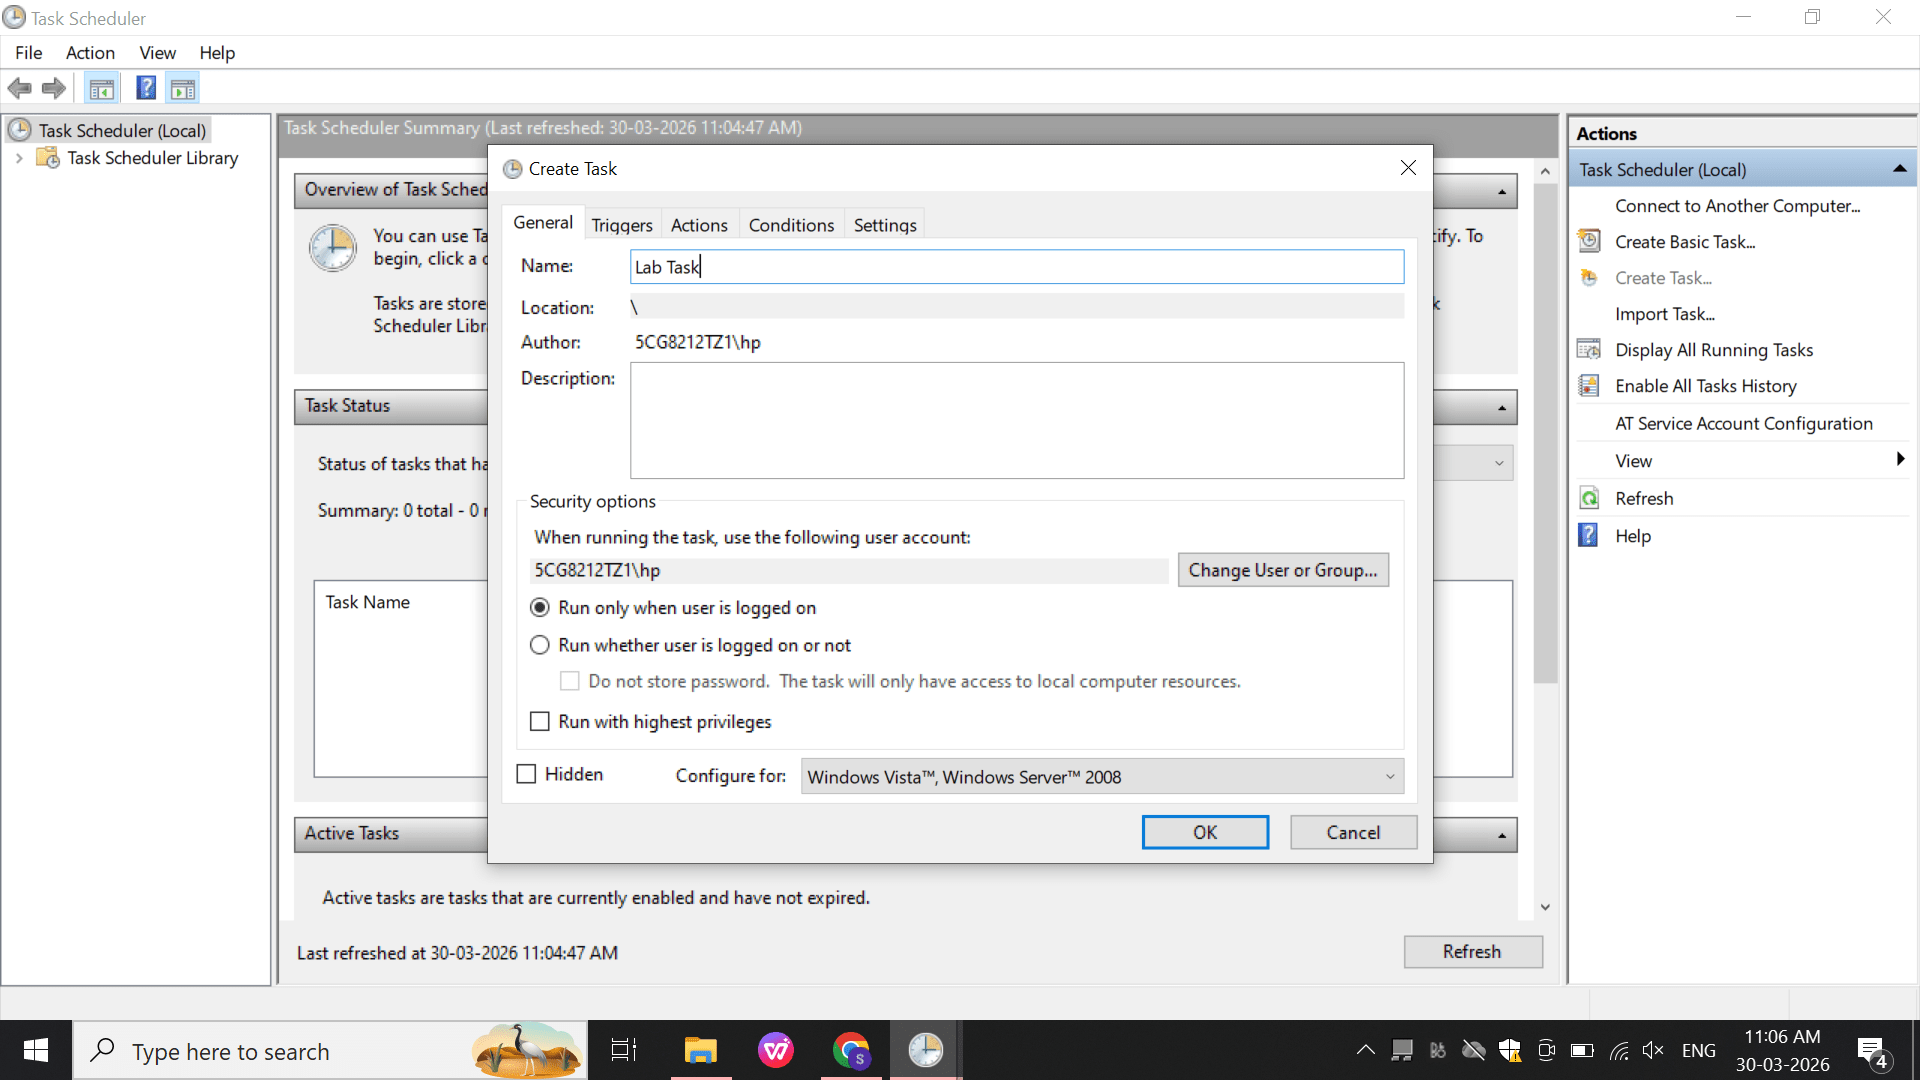
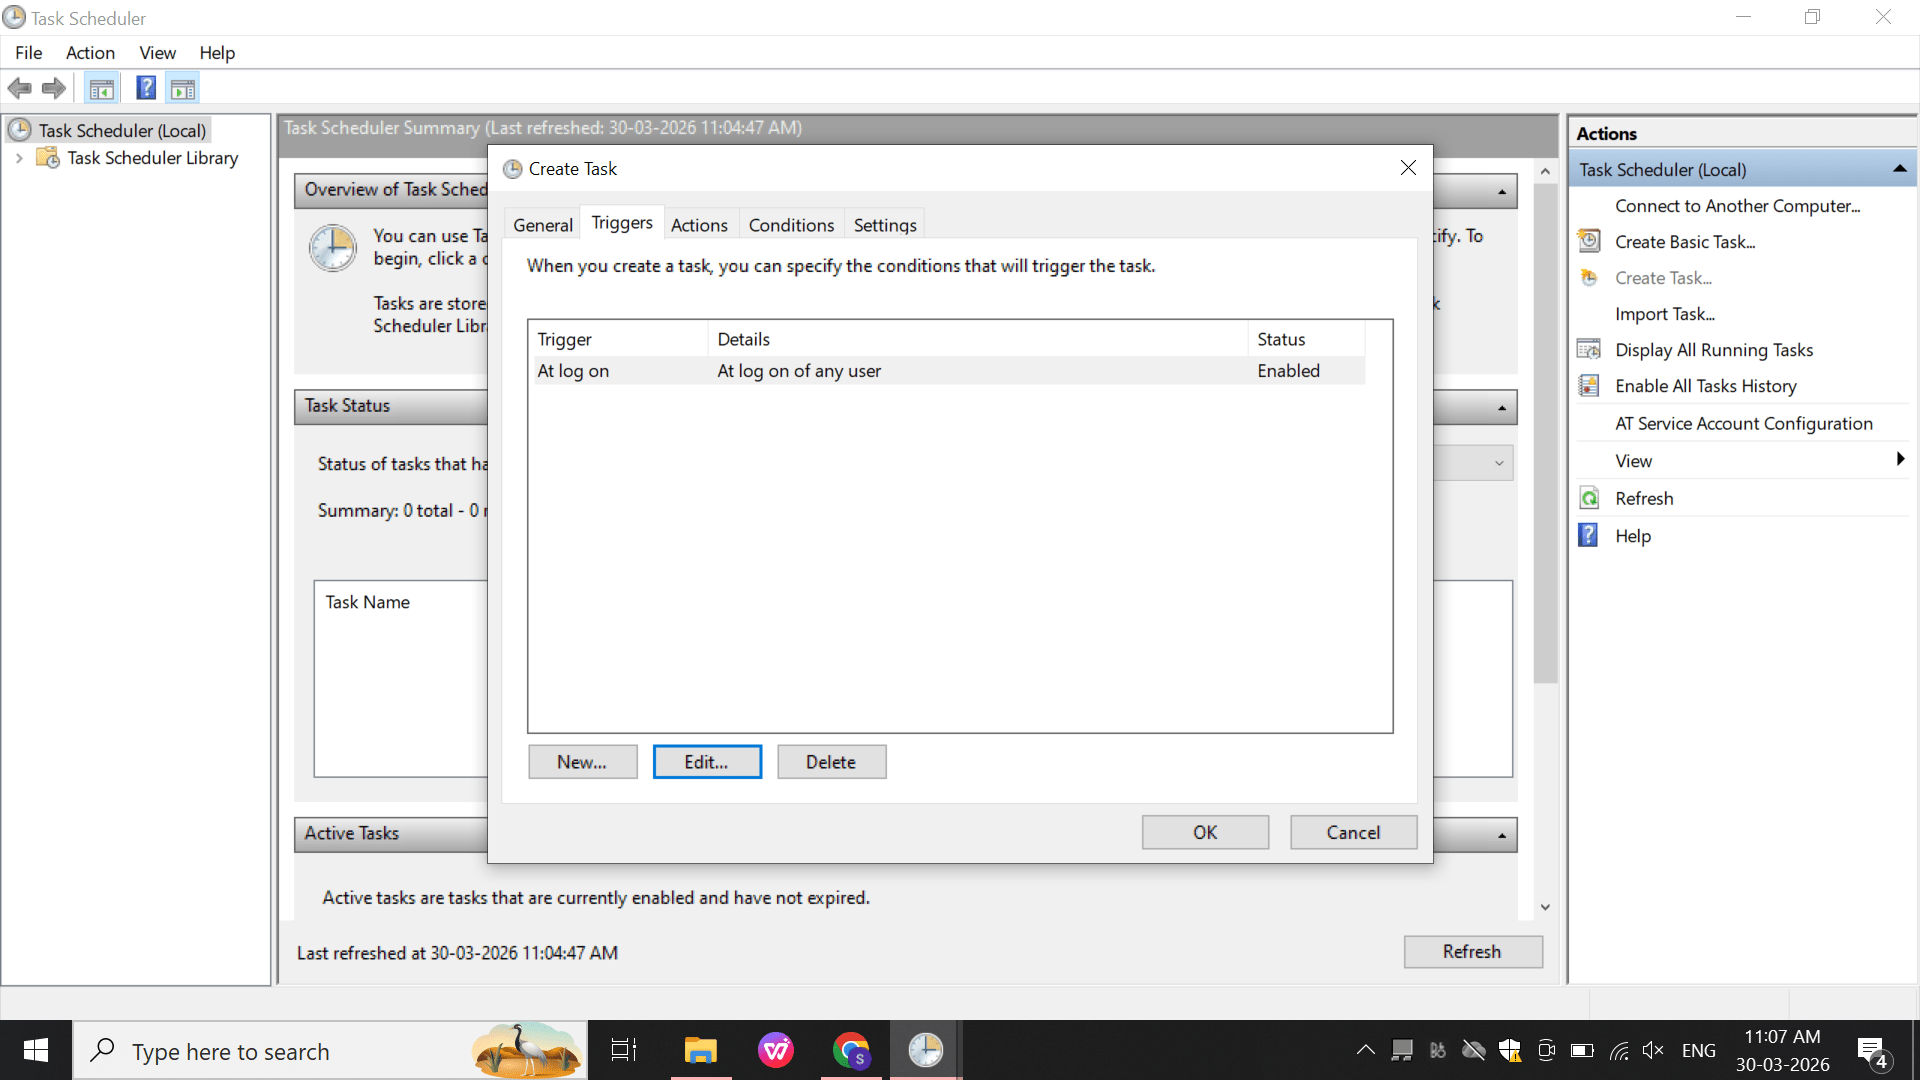
Create a basic task:
b
Name: LabTask
c
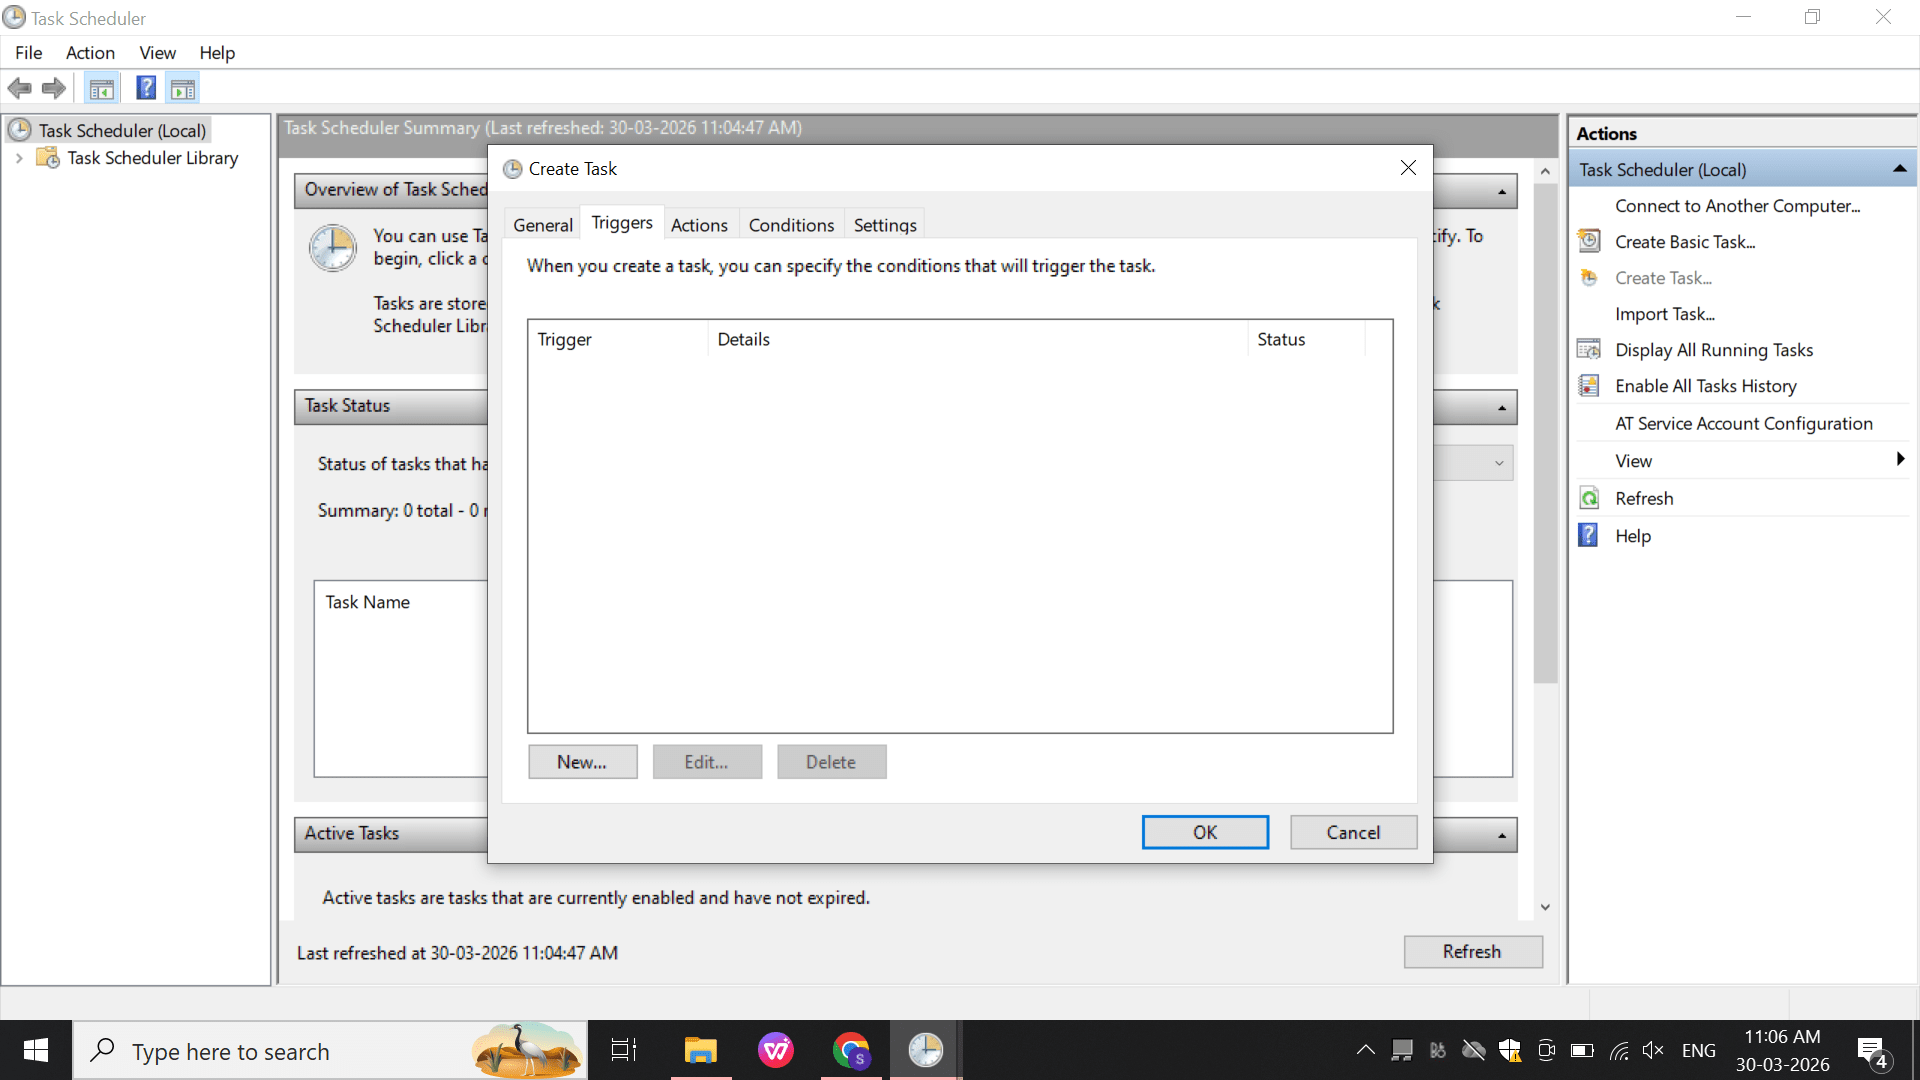
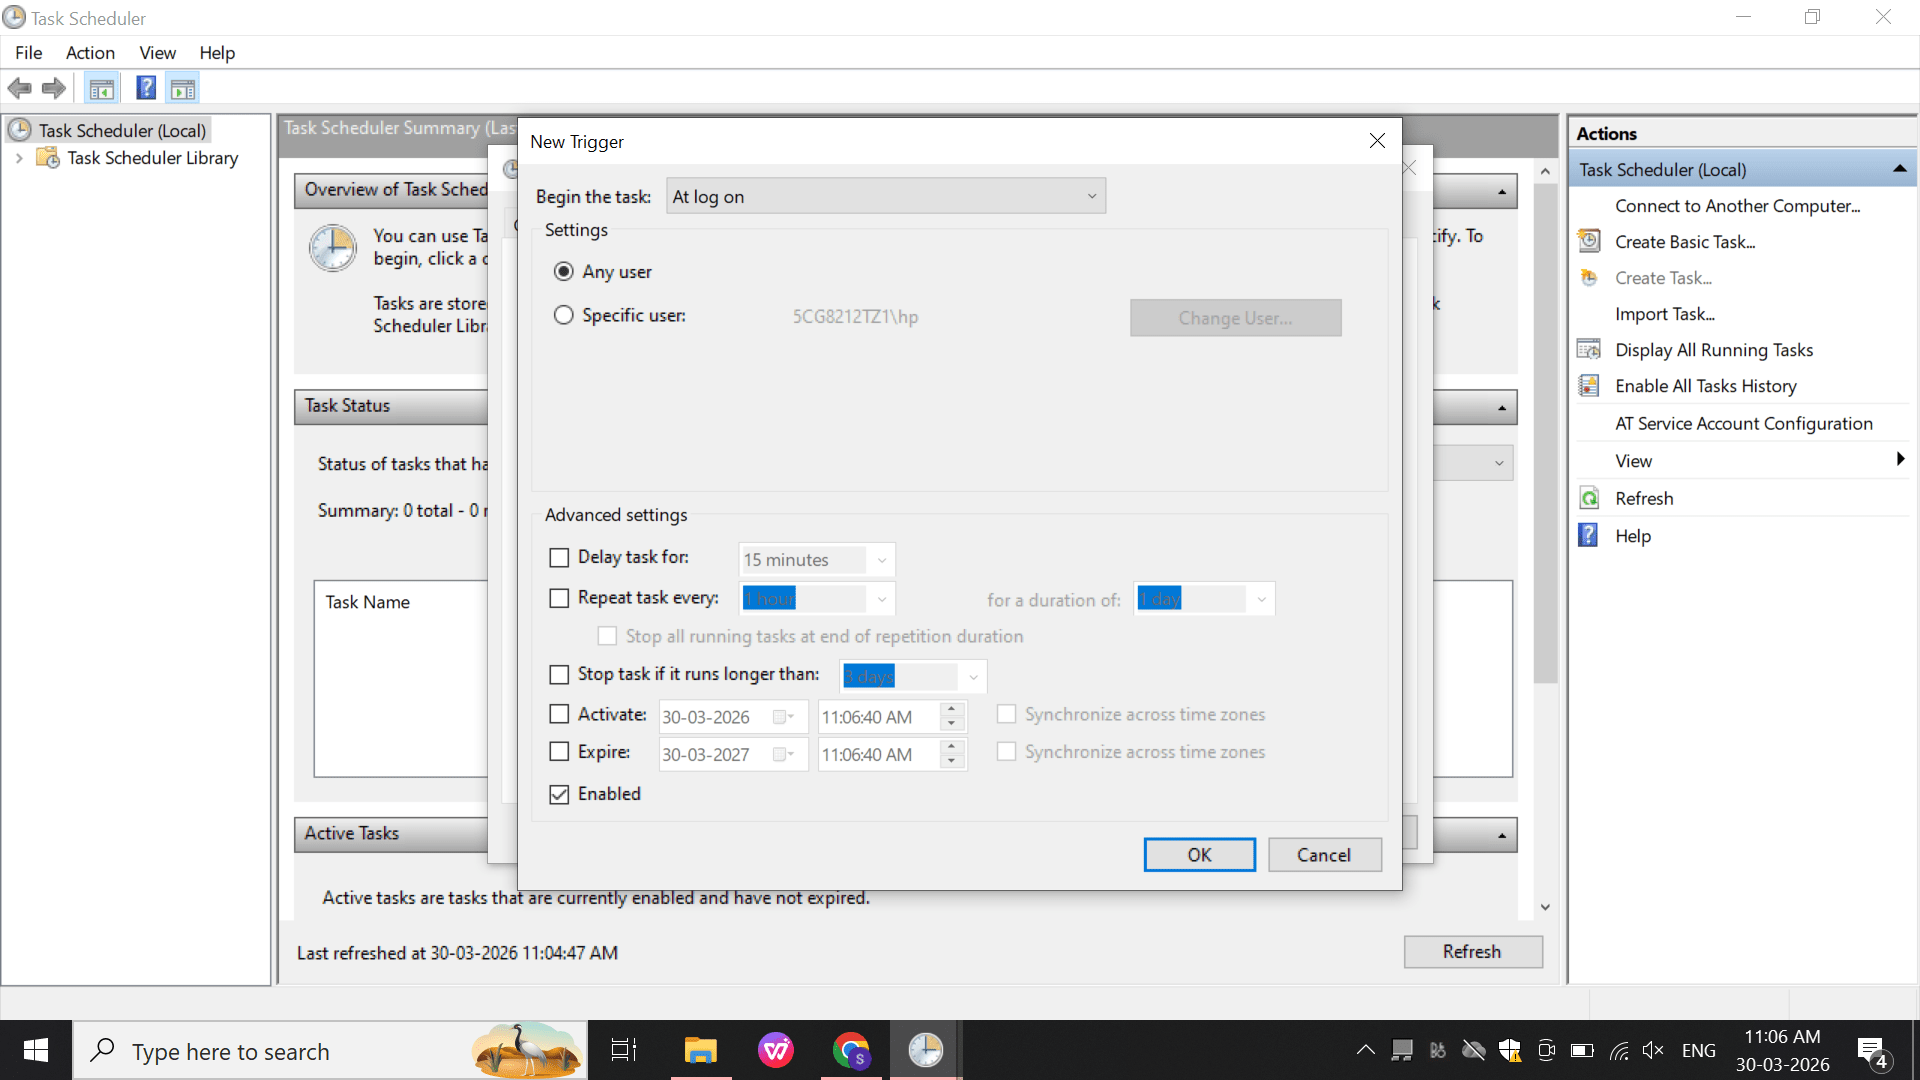
Trigger: At Logon
d
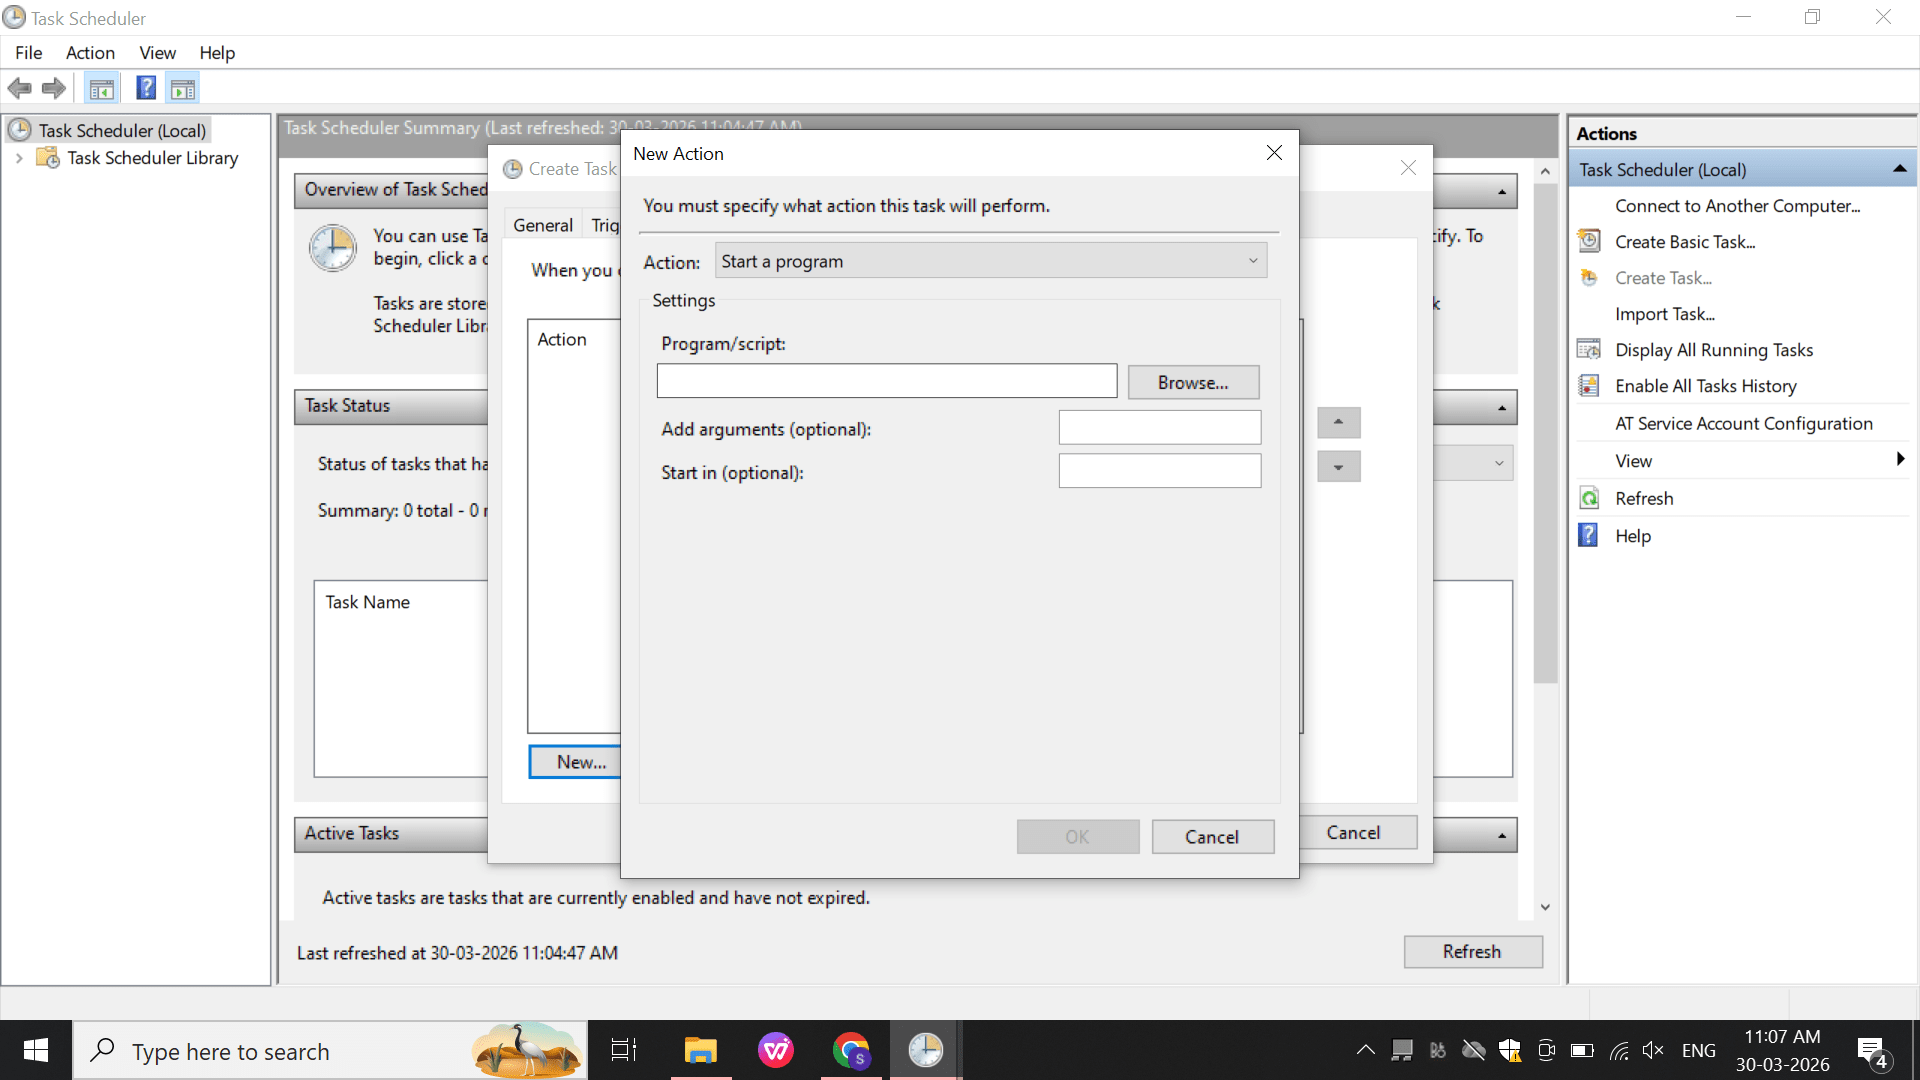
Action: Start Program
e
Click OK to save the action.
3
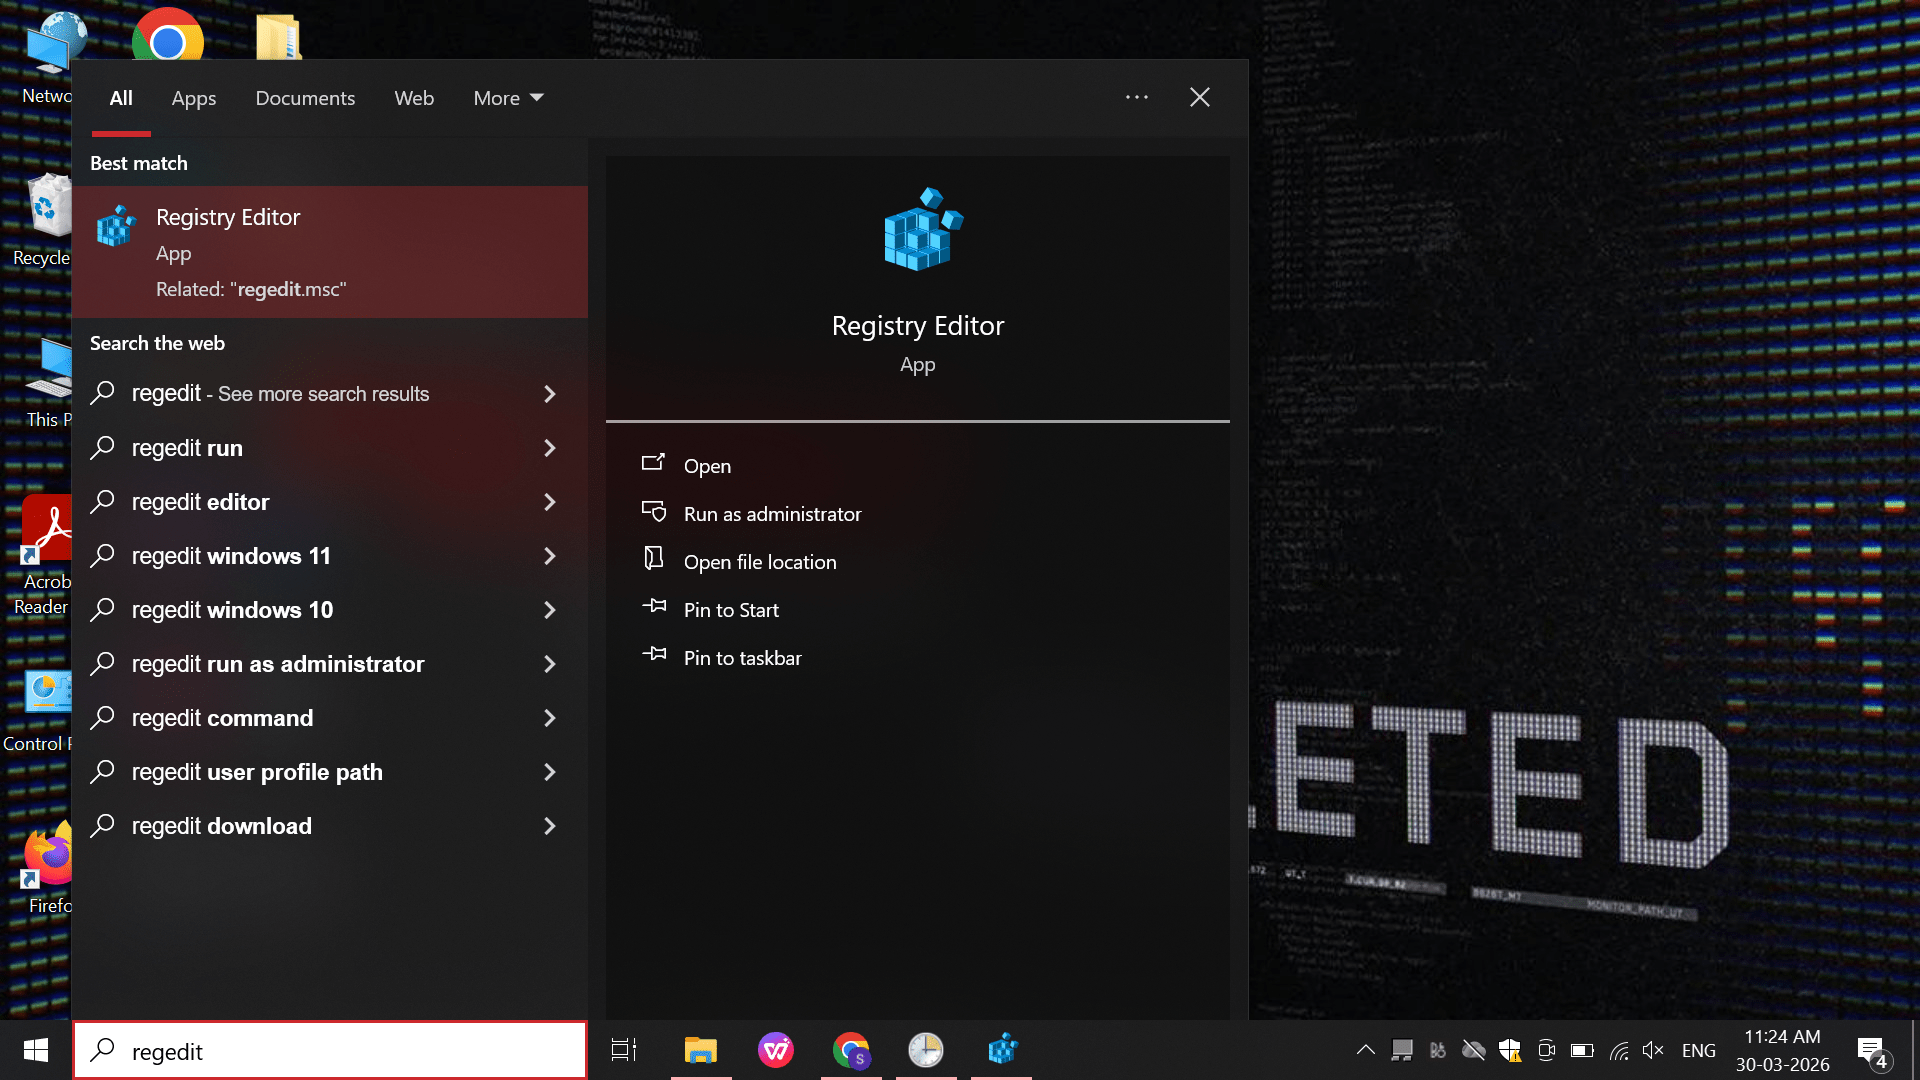
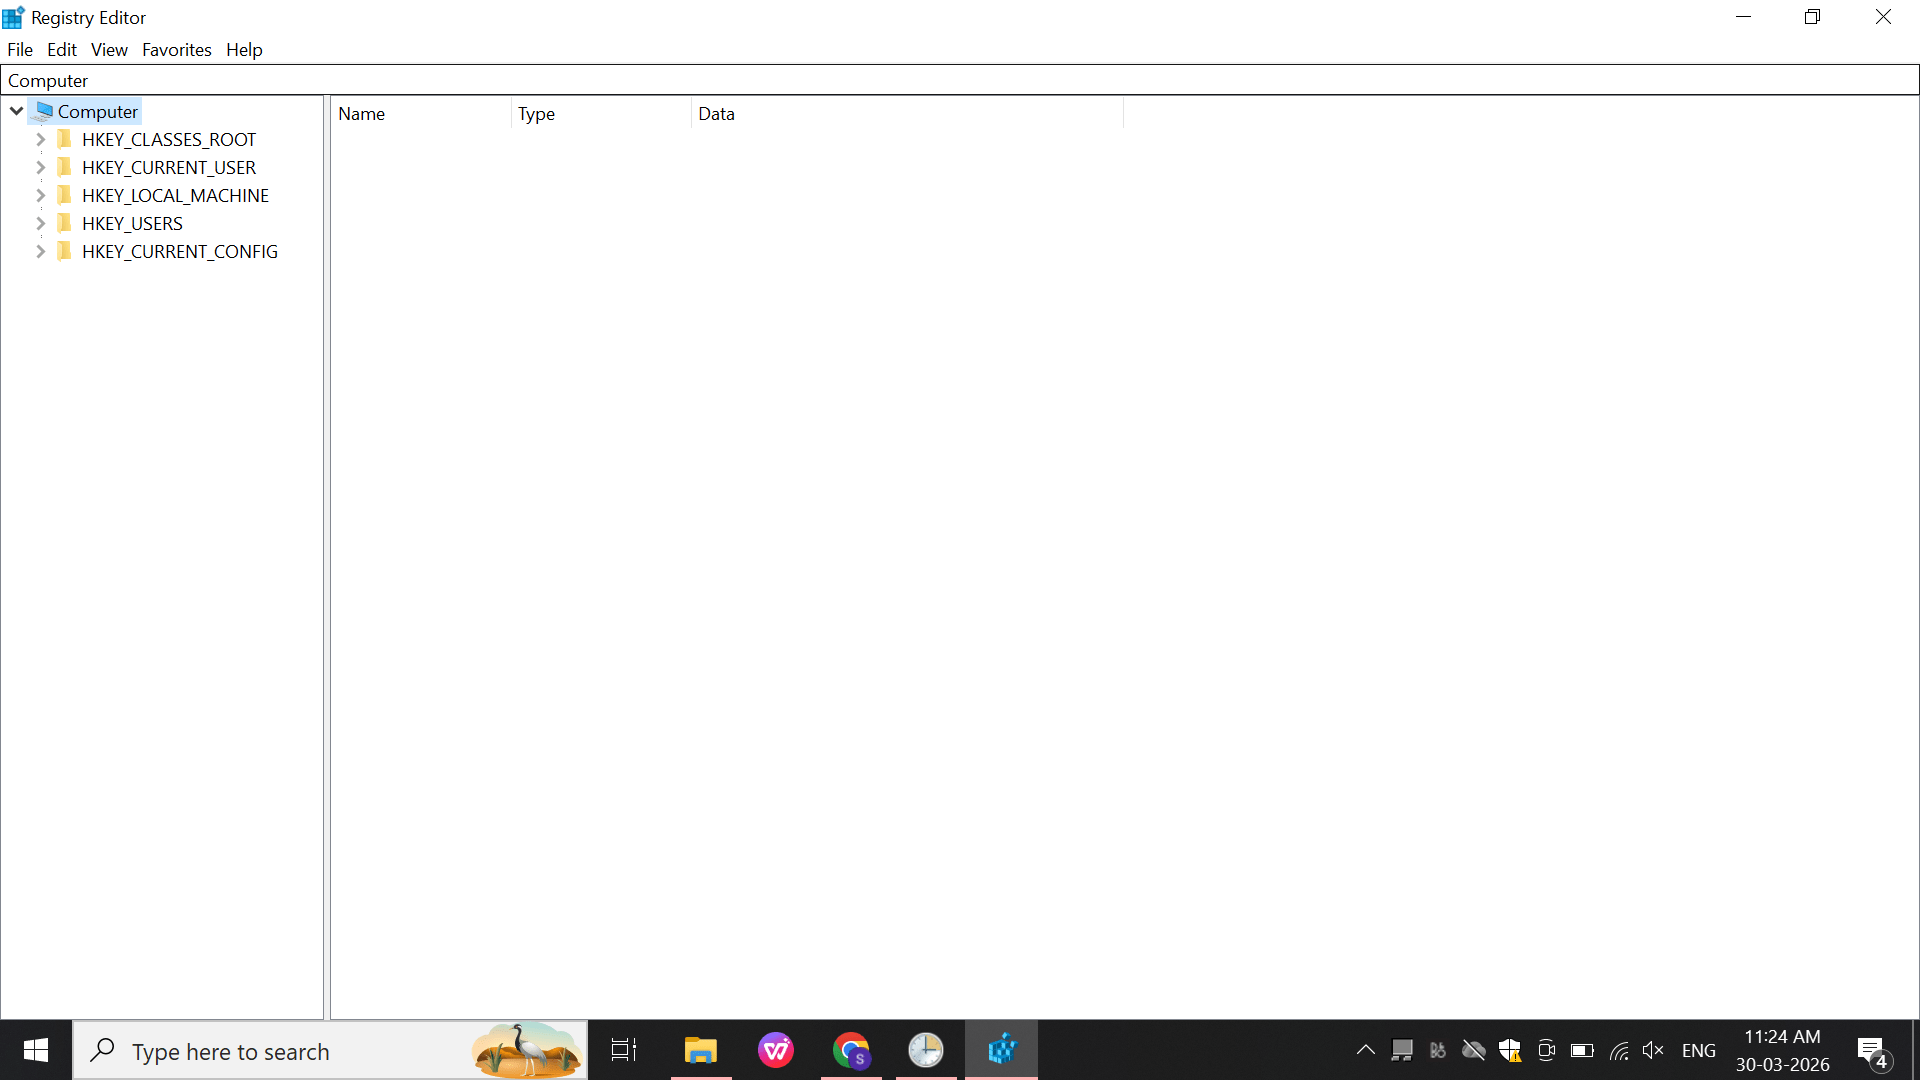
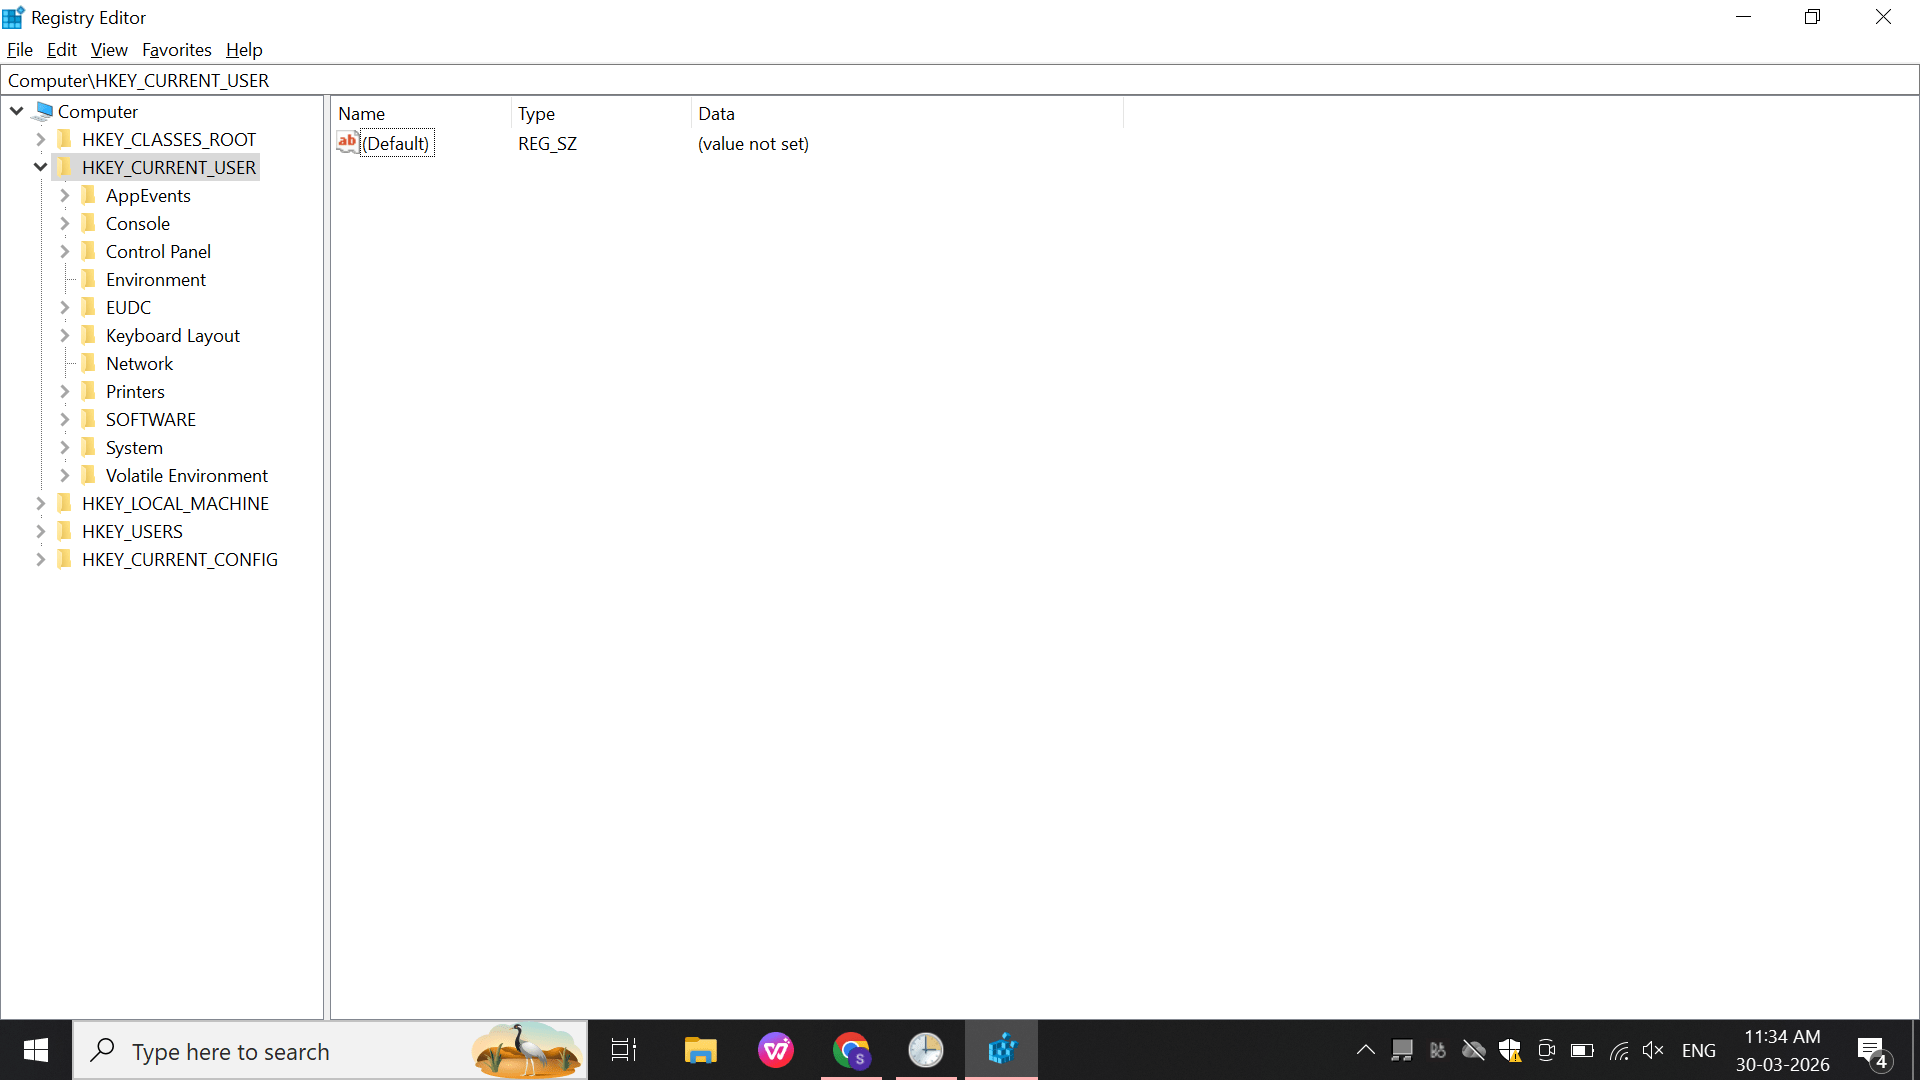
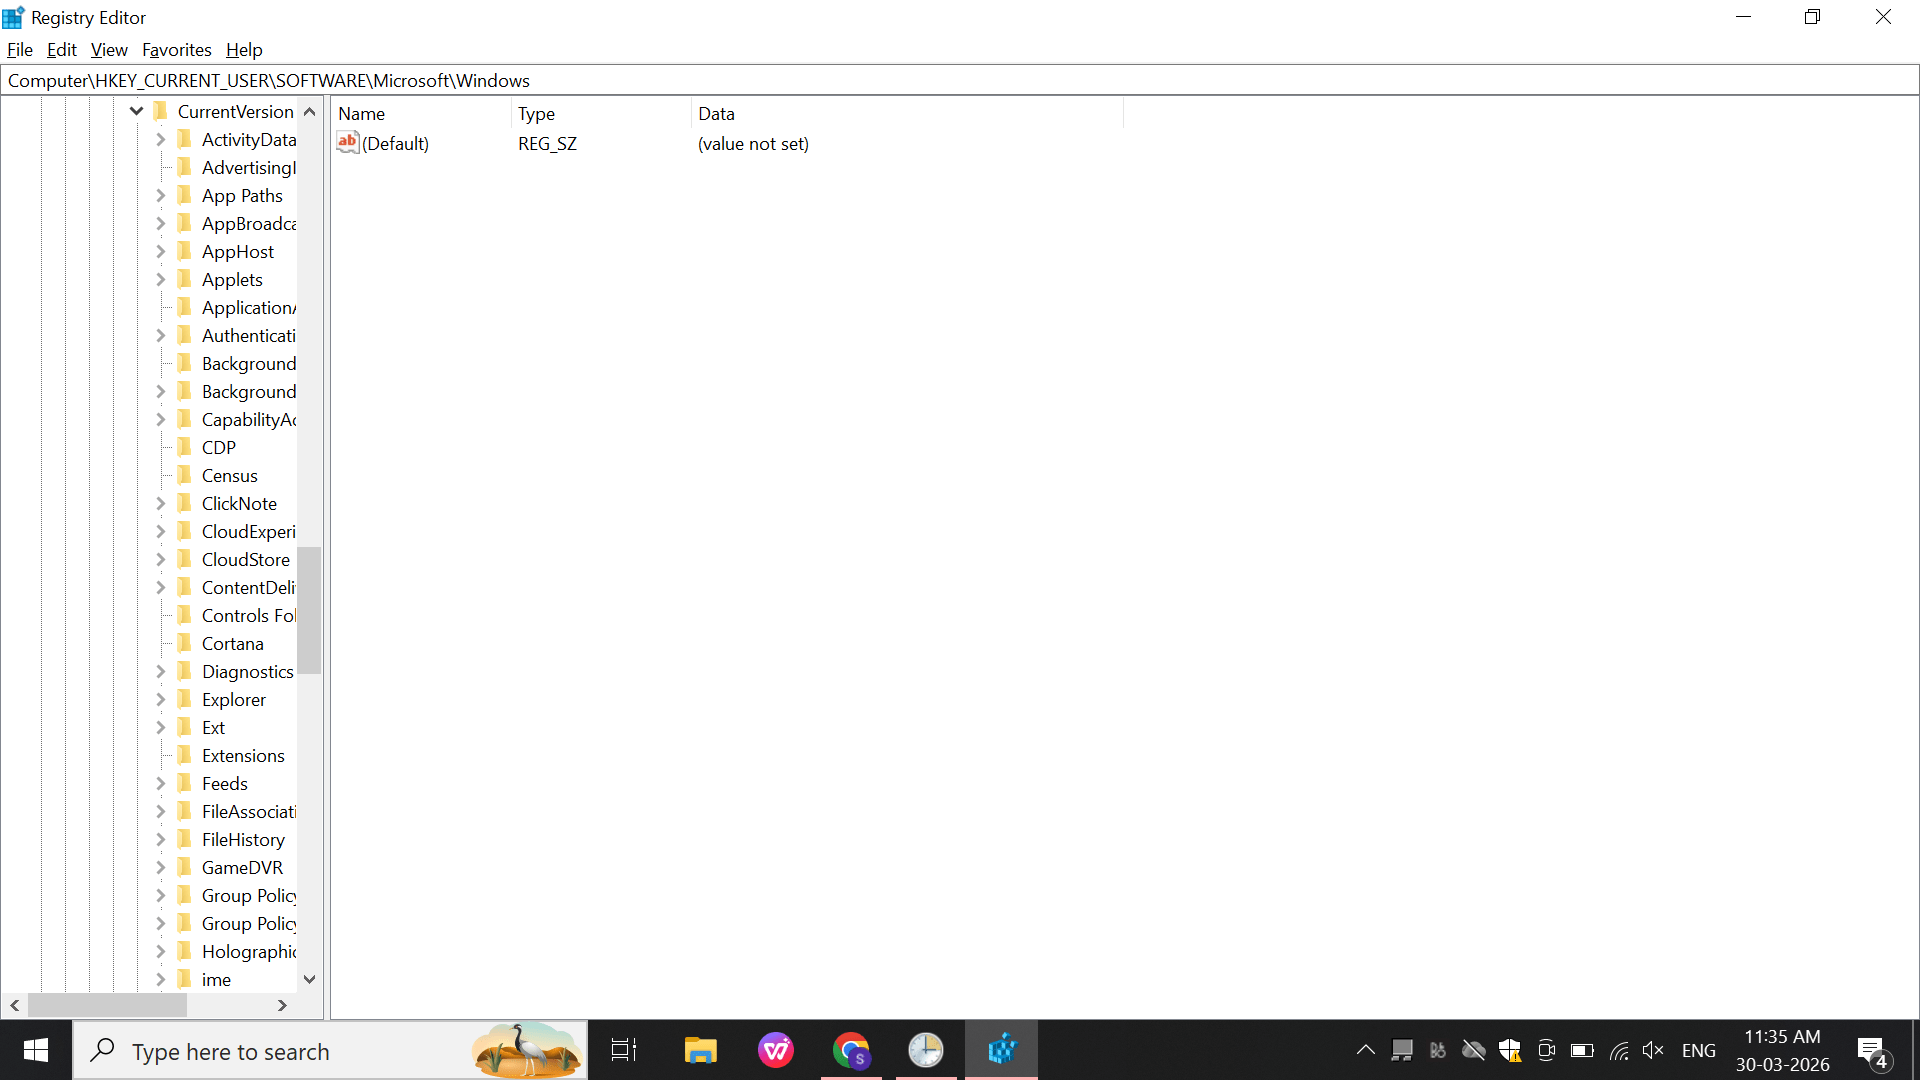
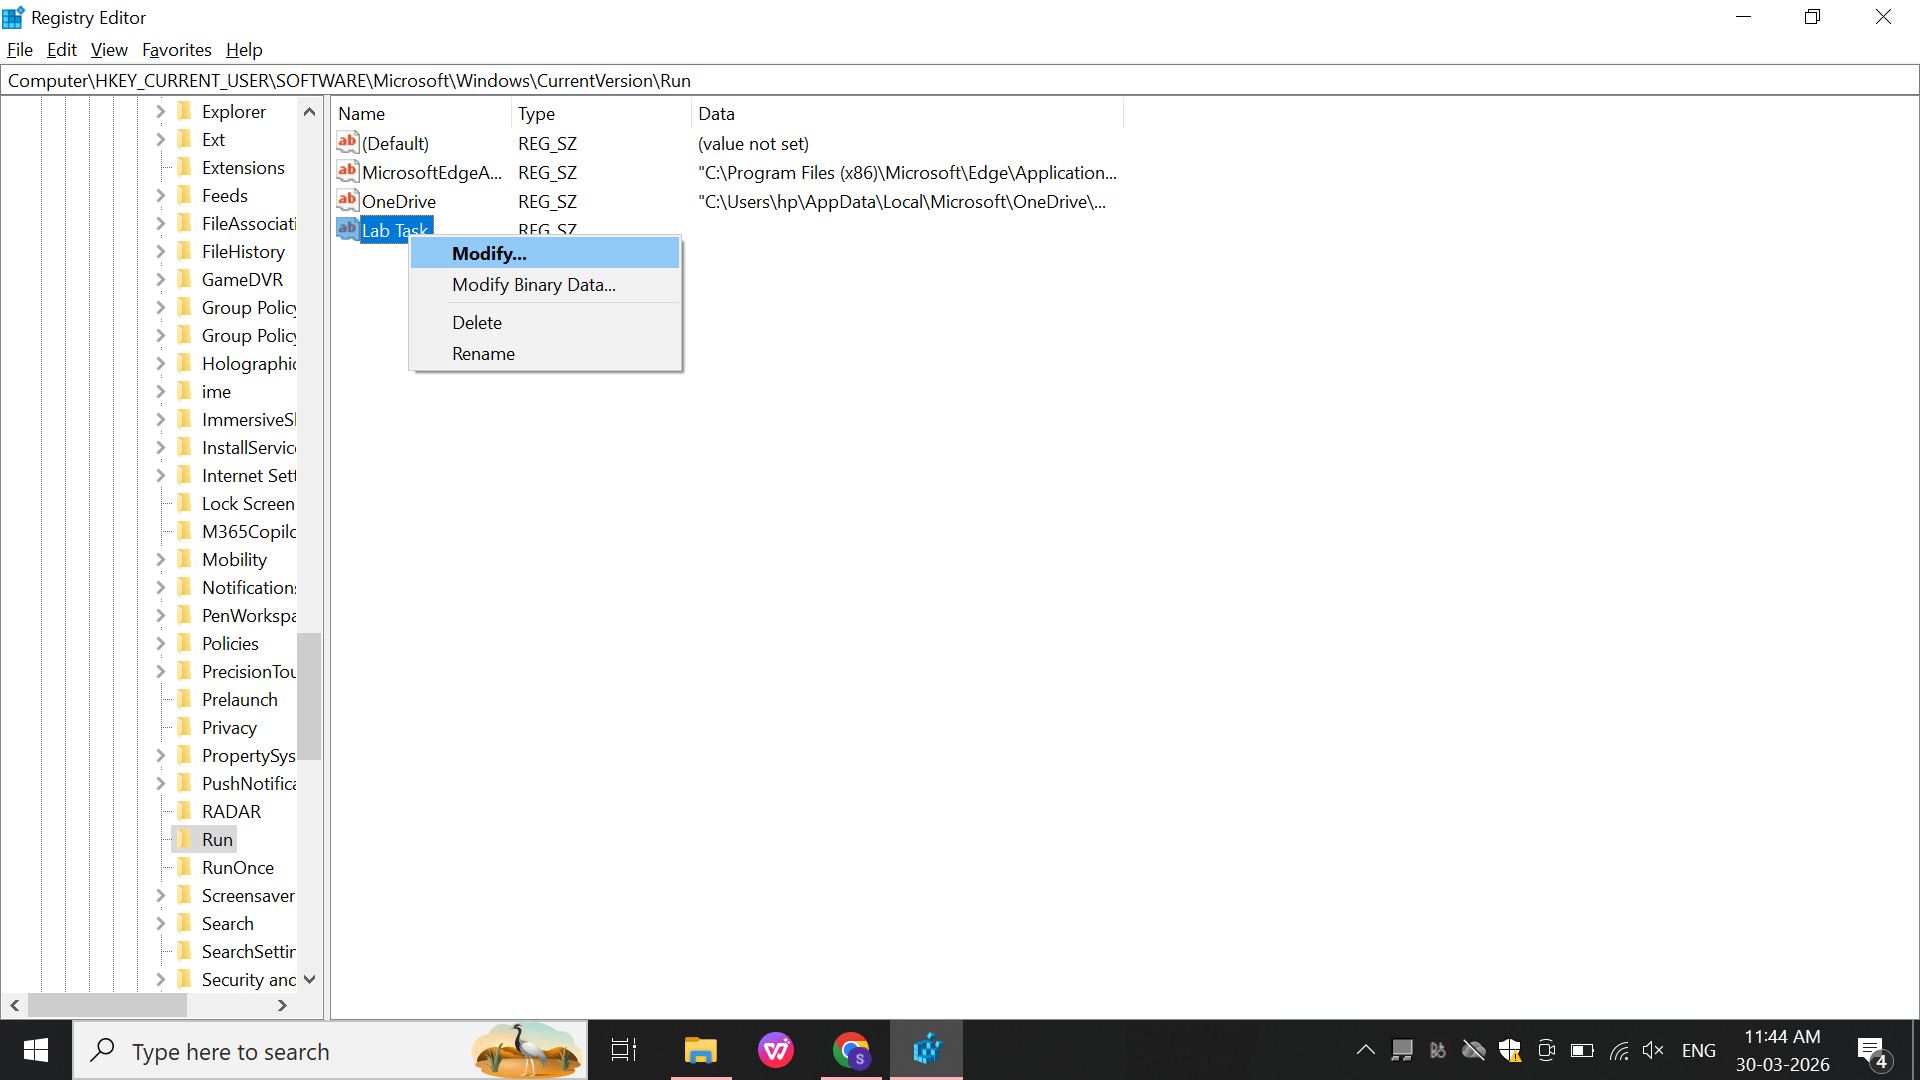
Windows Registry (Persistence Check)
Perform:
Open: regedit
a
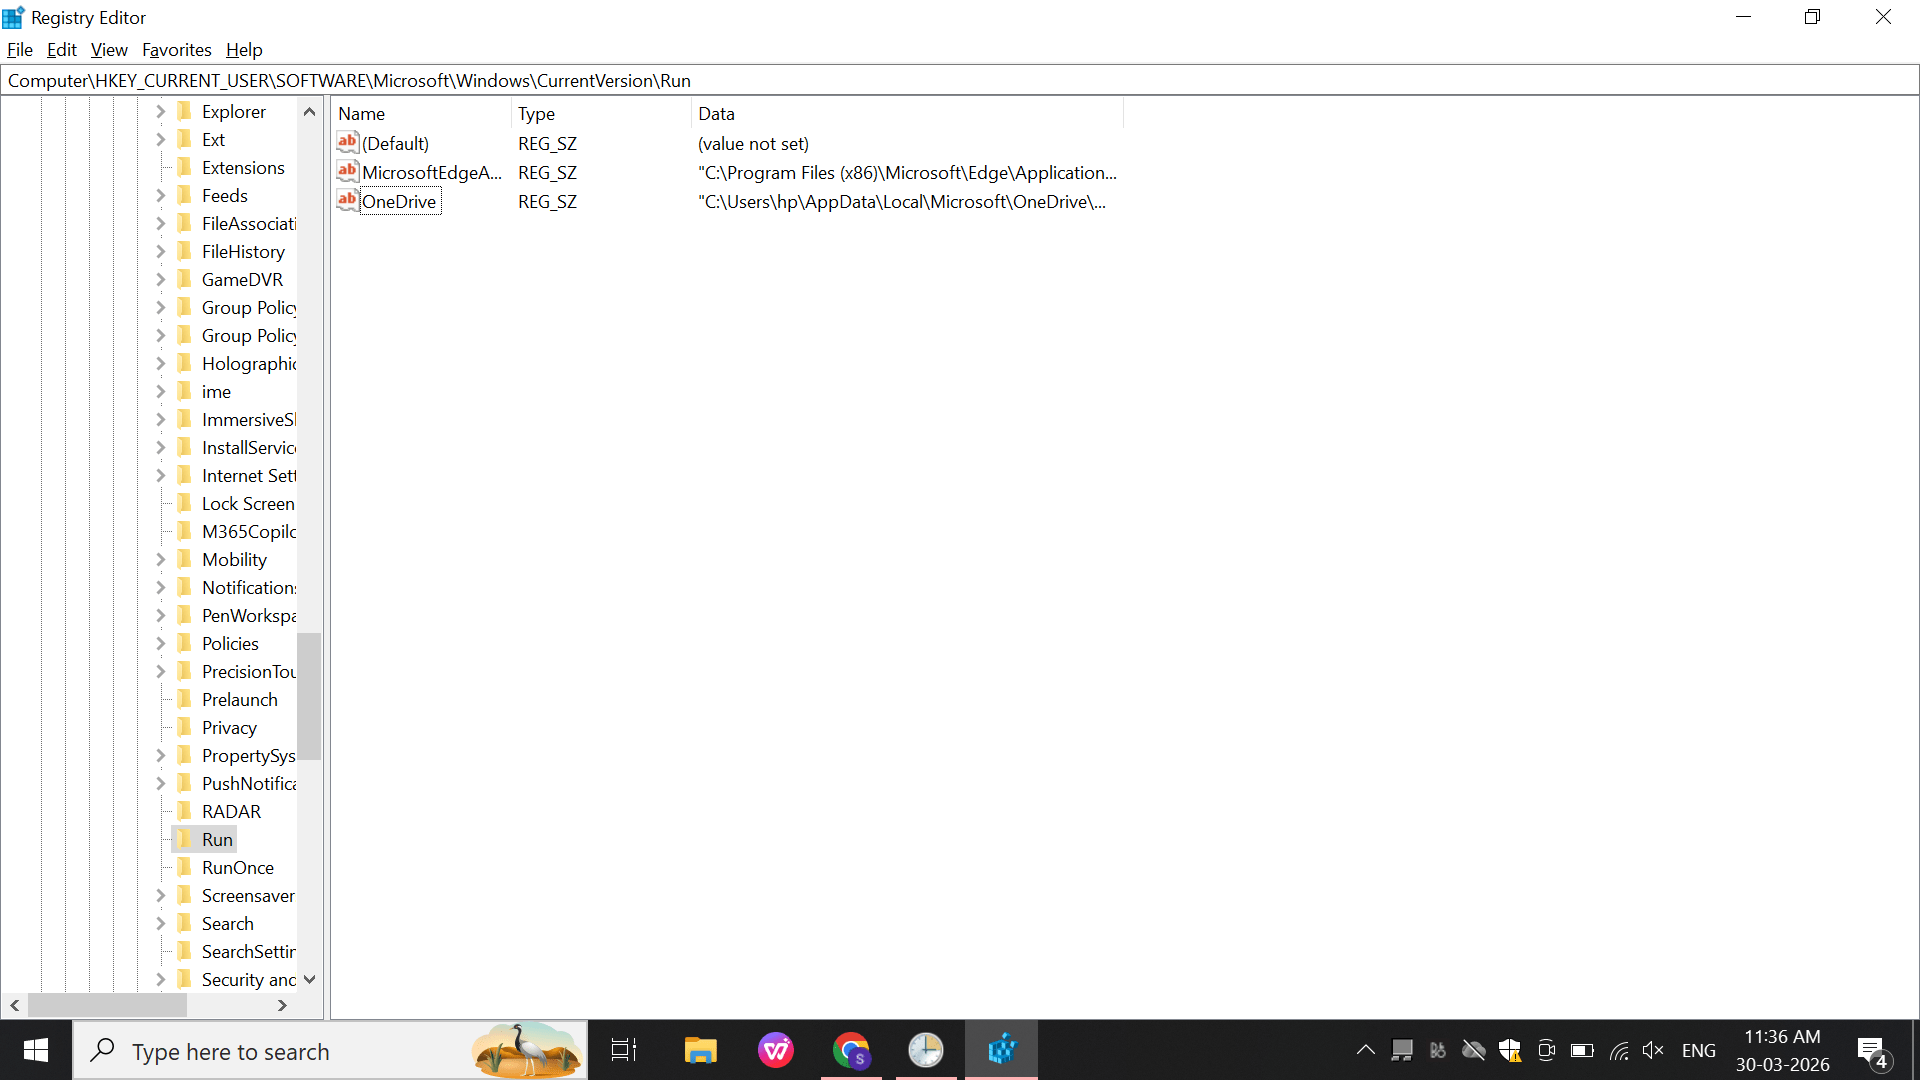
Navigate: HKEY_CURRENT_USER\Software\Microsoft\Windows\CurrentVersion\Run
b
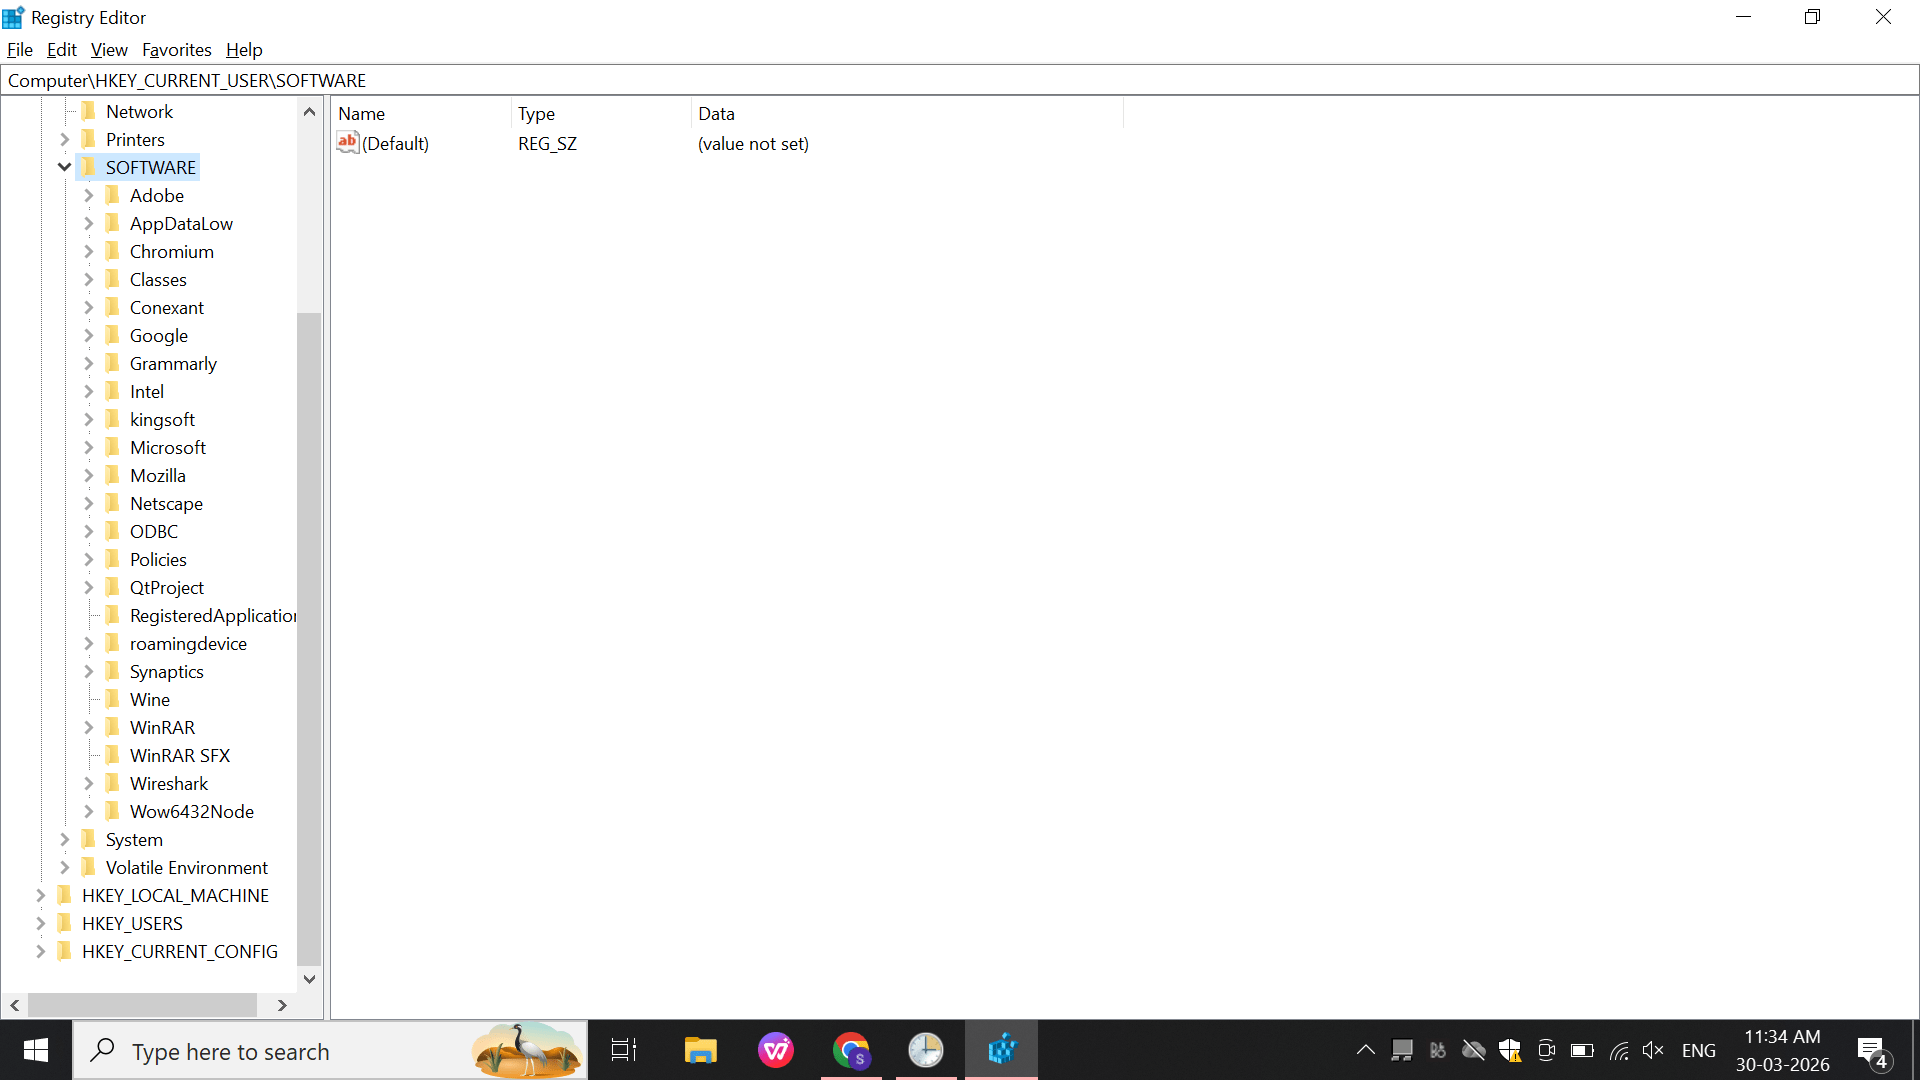
Navigate to the Software folder.
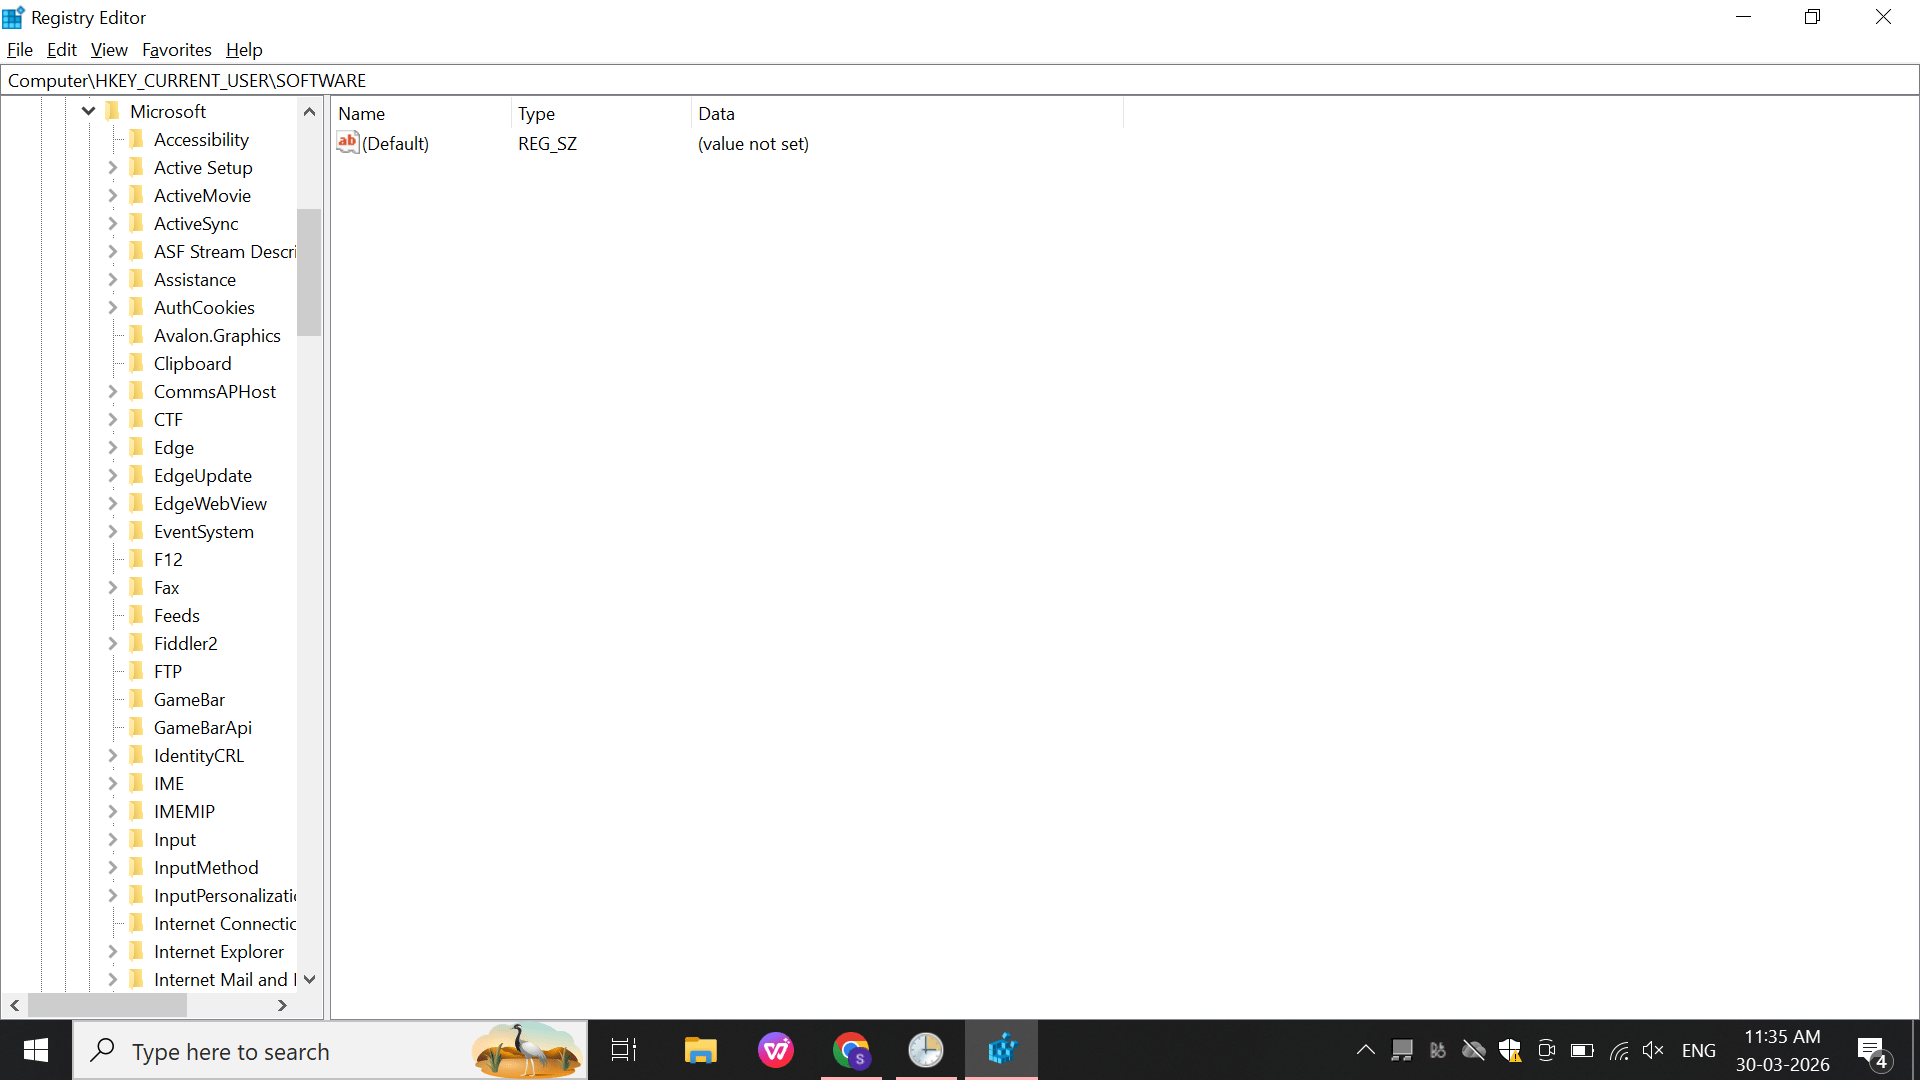
Open Microsoft\Windows
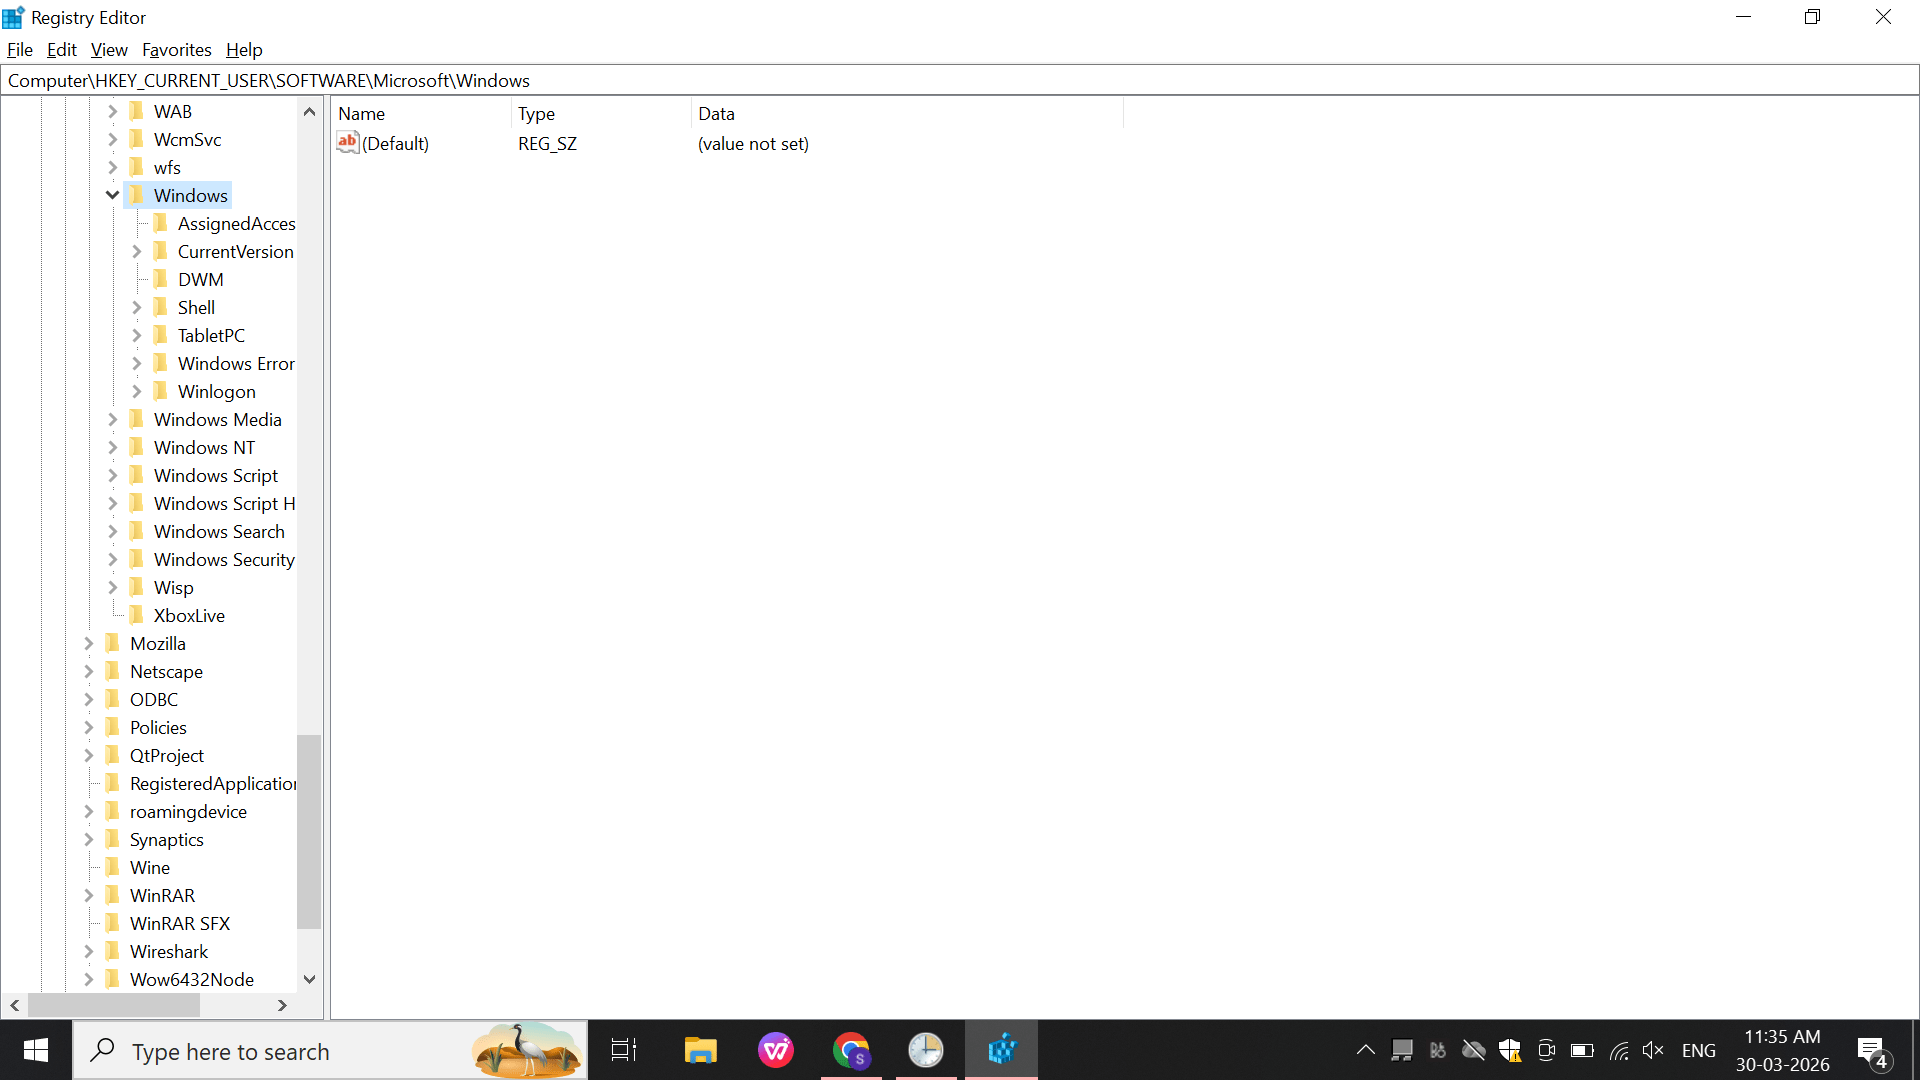
Open Windows\CurrentVersion.
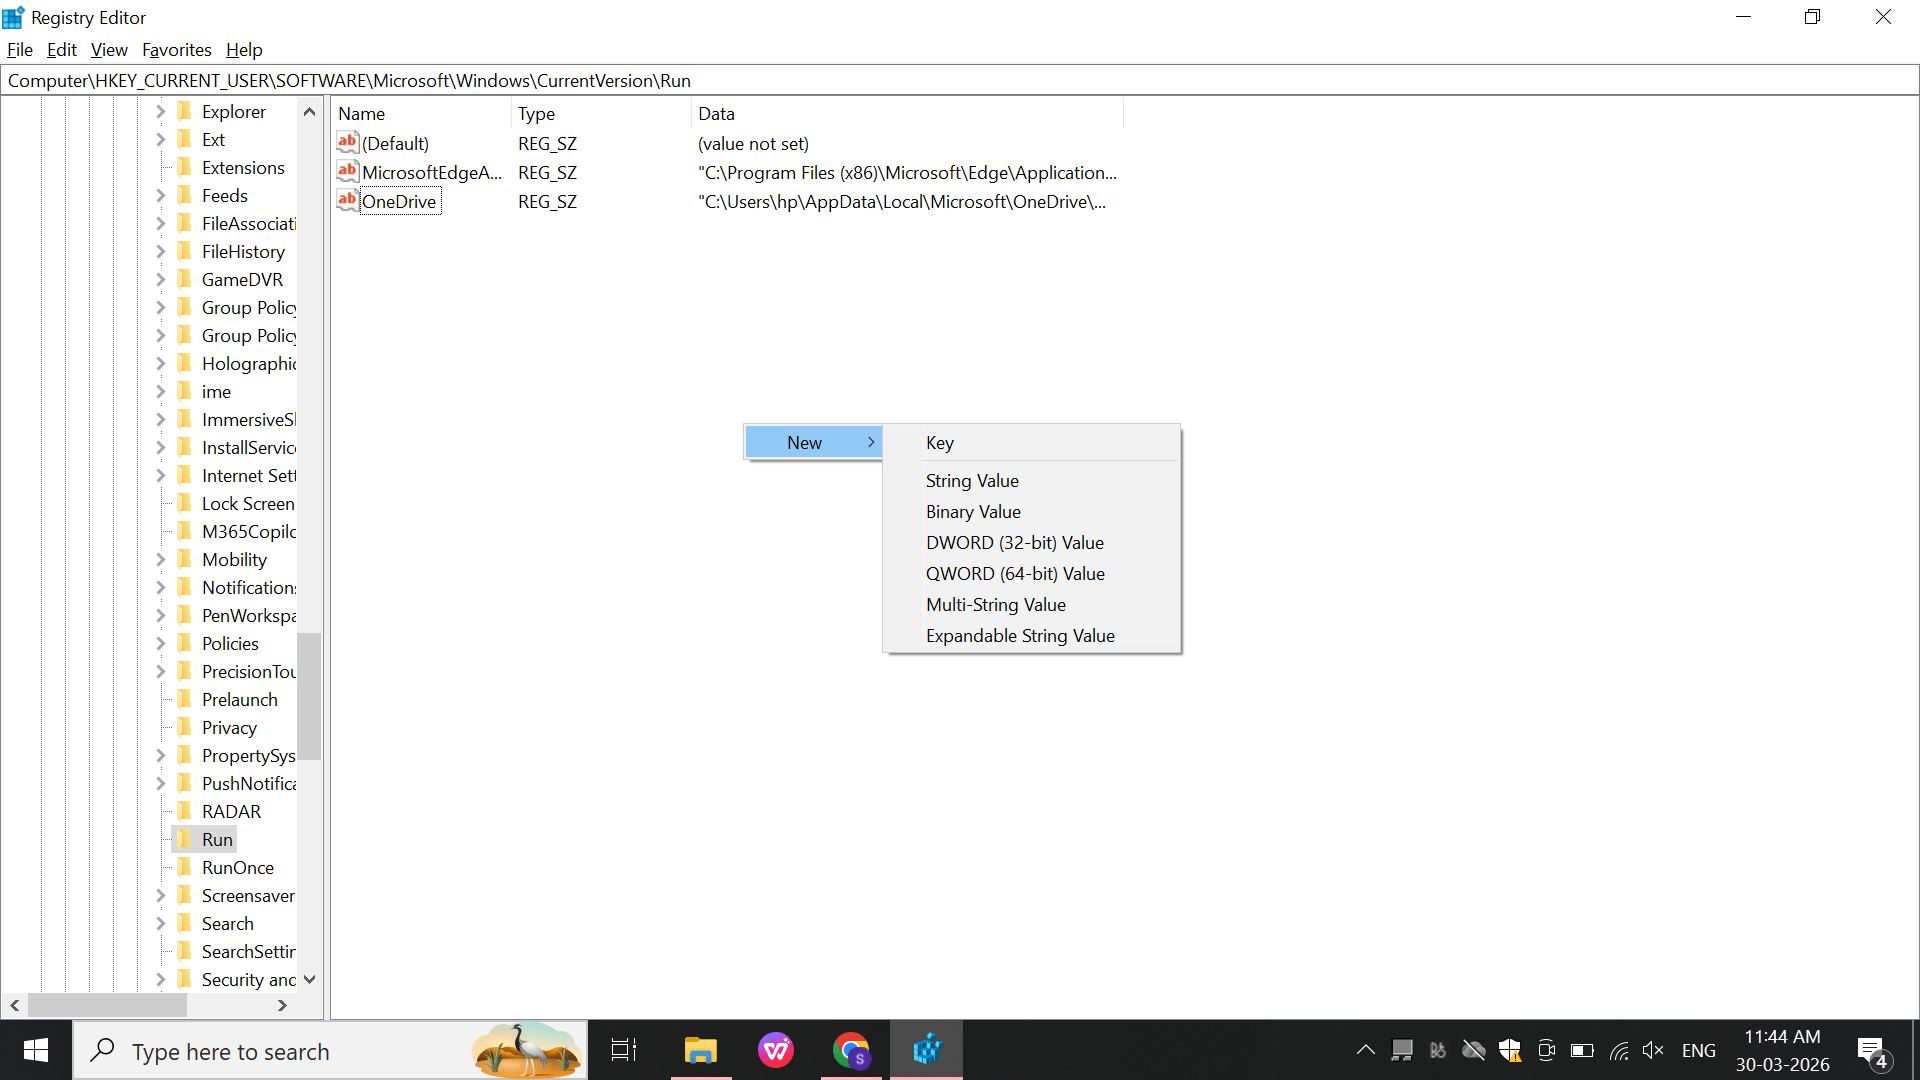
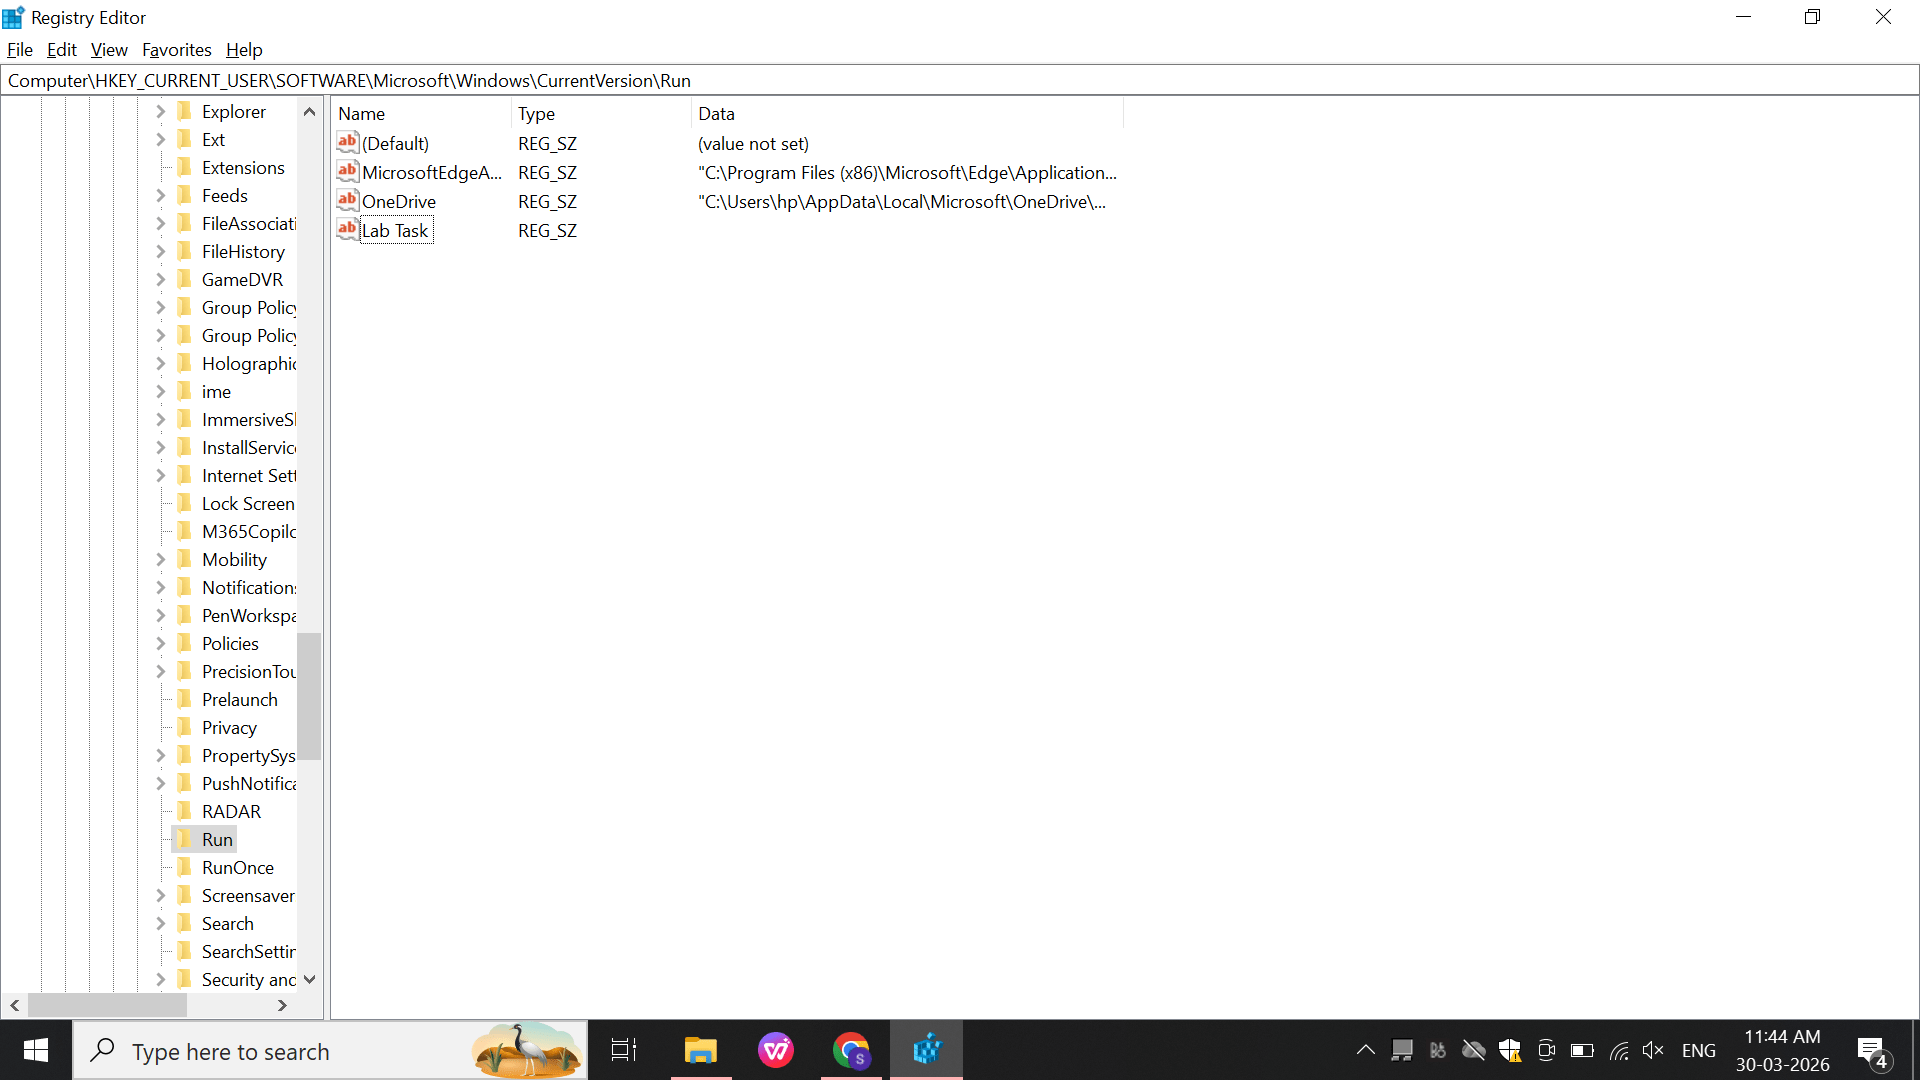
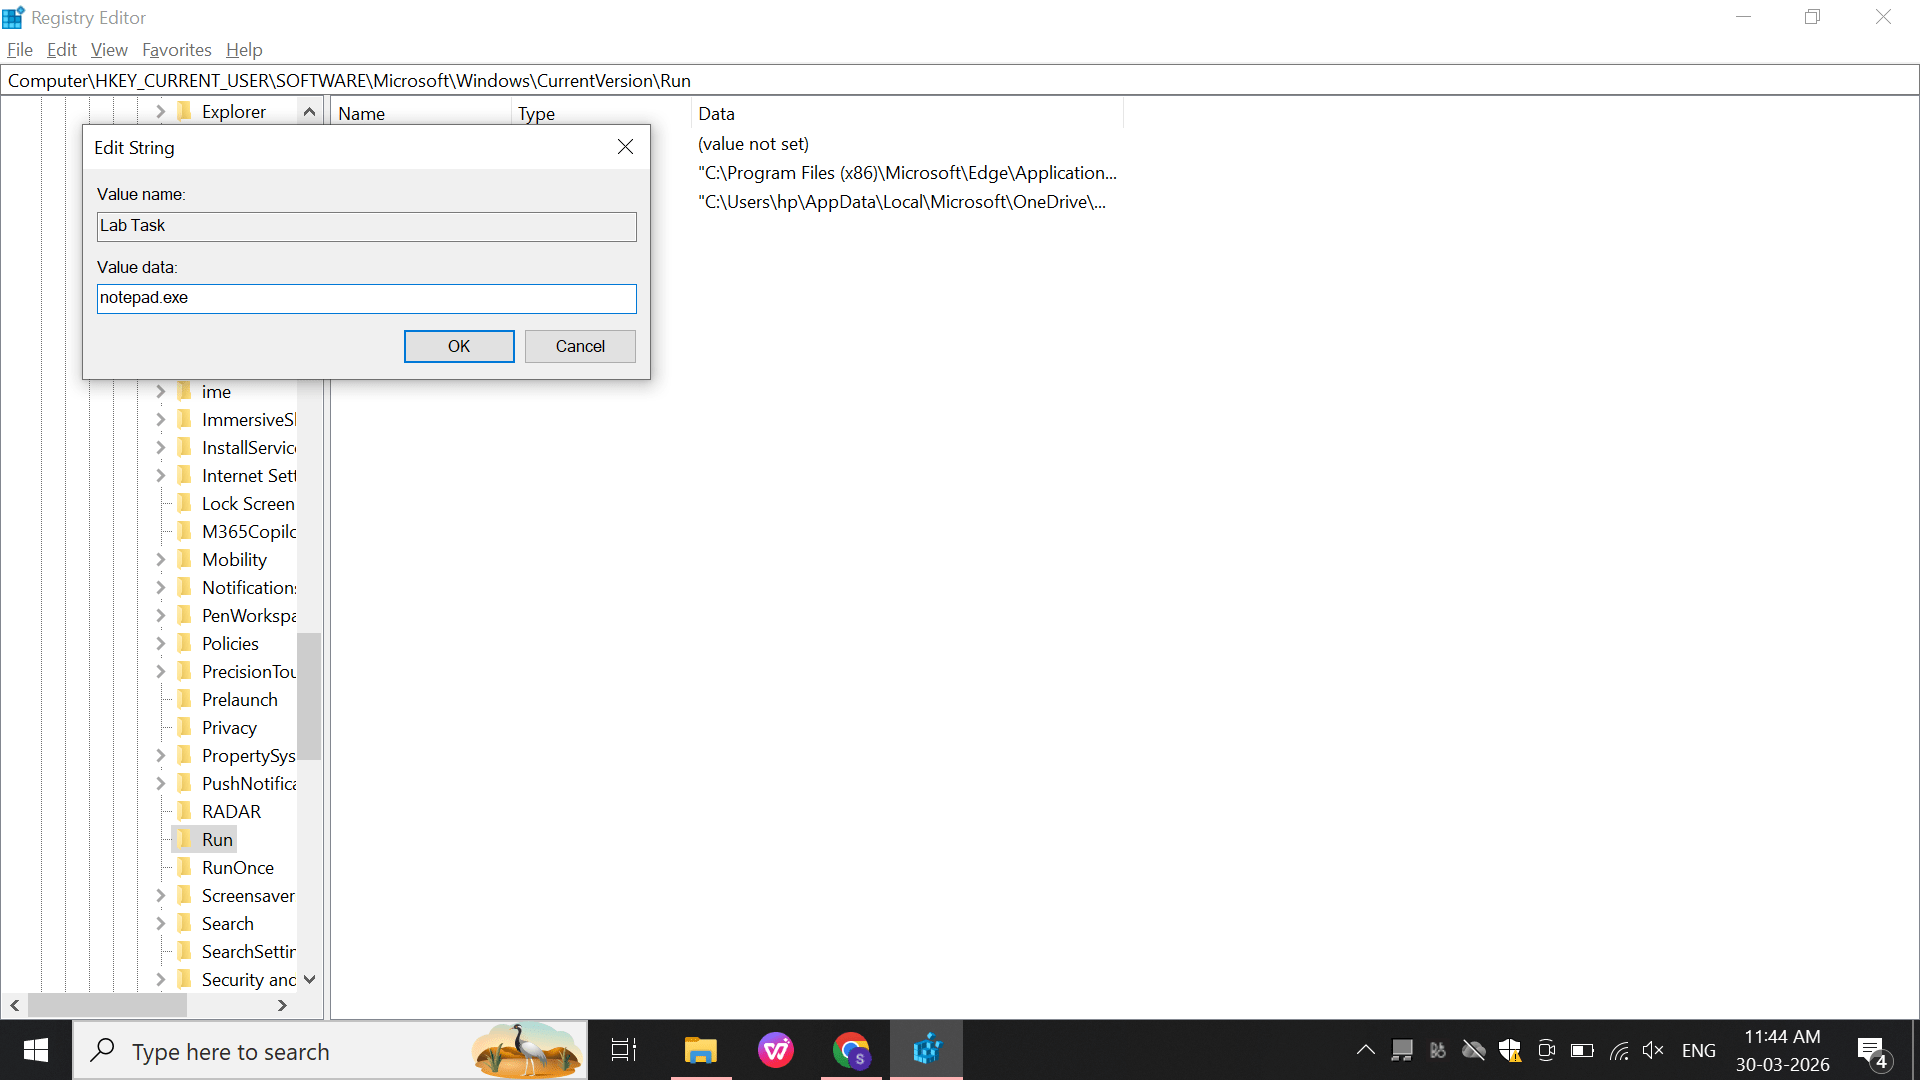
Create:
Name: TestRun
Value: notepad.exe
c
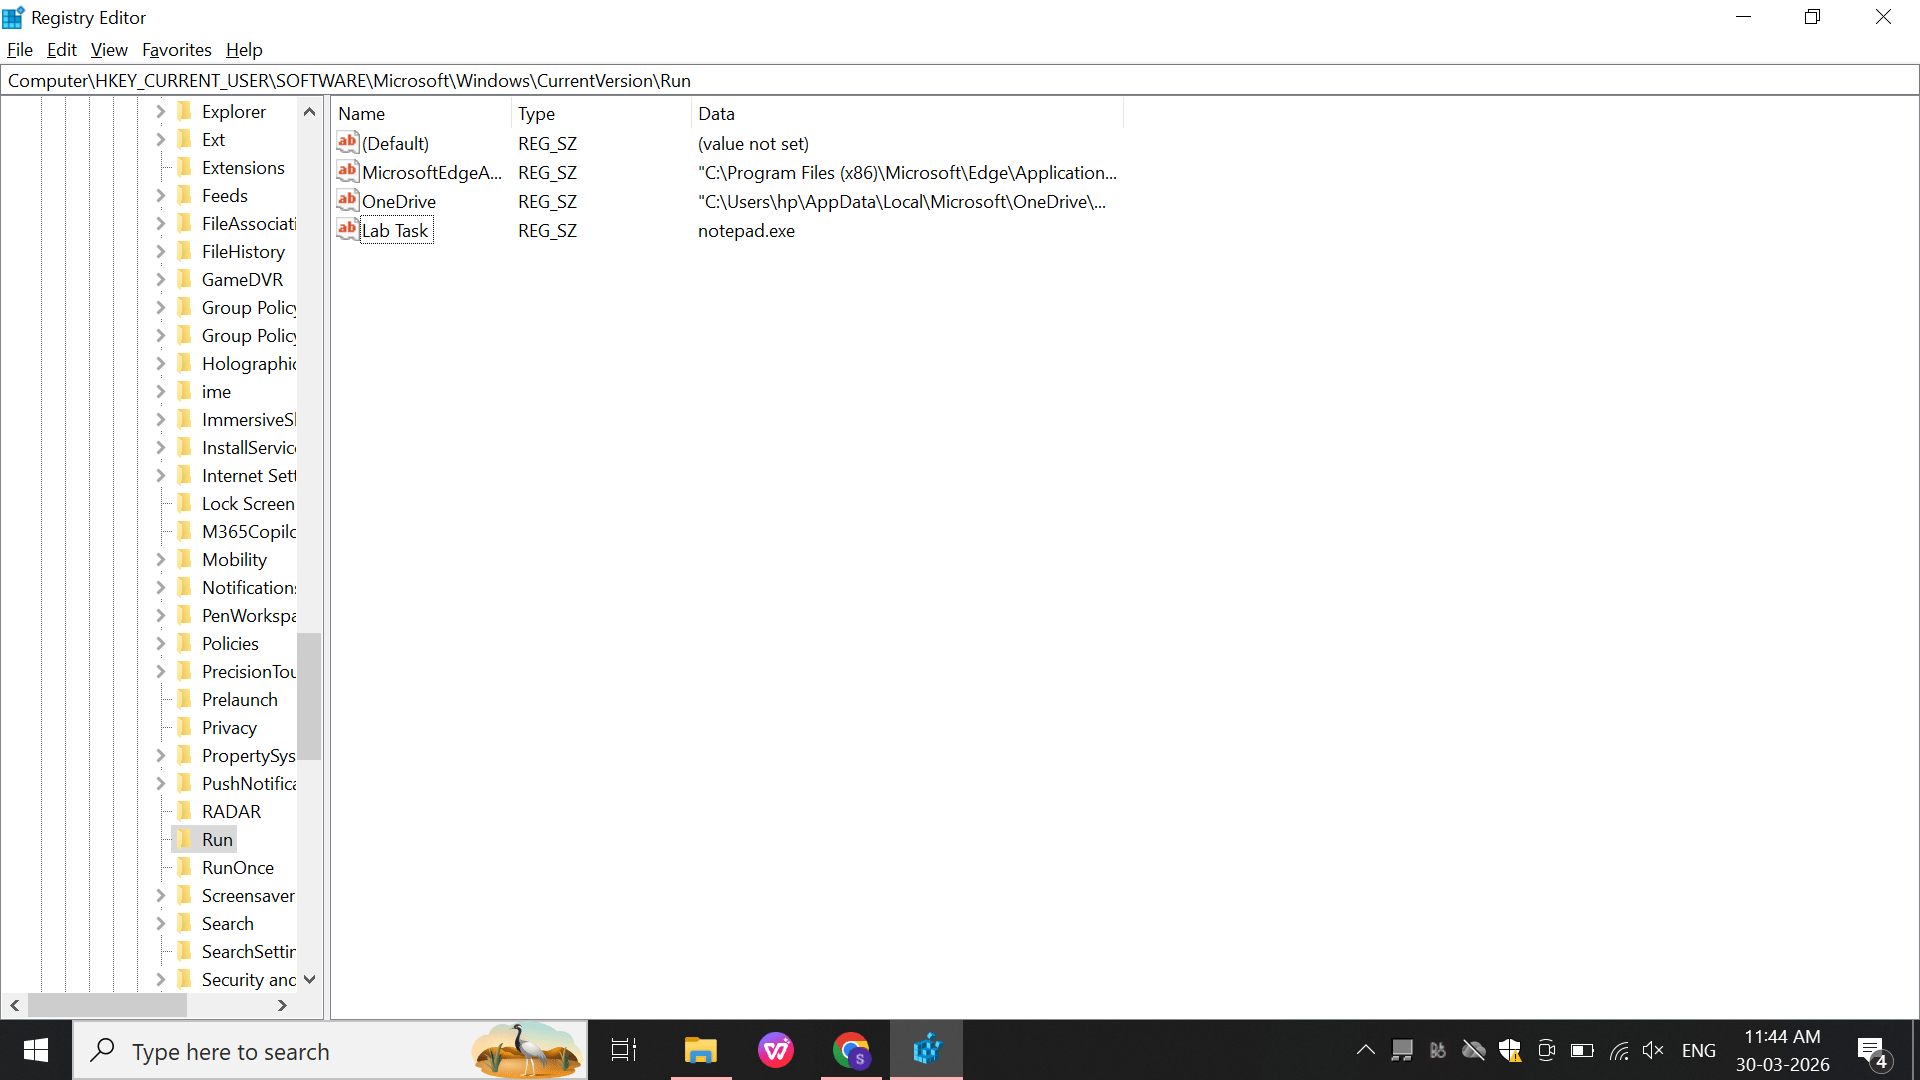
Select the Run registry key.
→ String Value.Result:
Startup persistence mechanism created
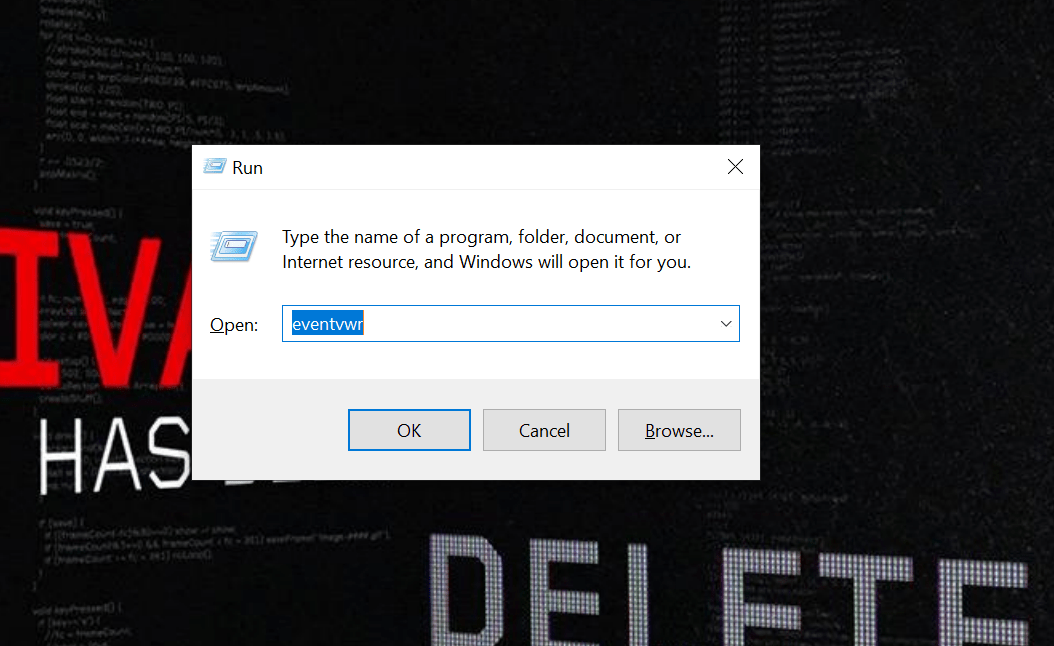
4
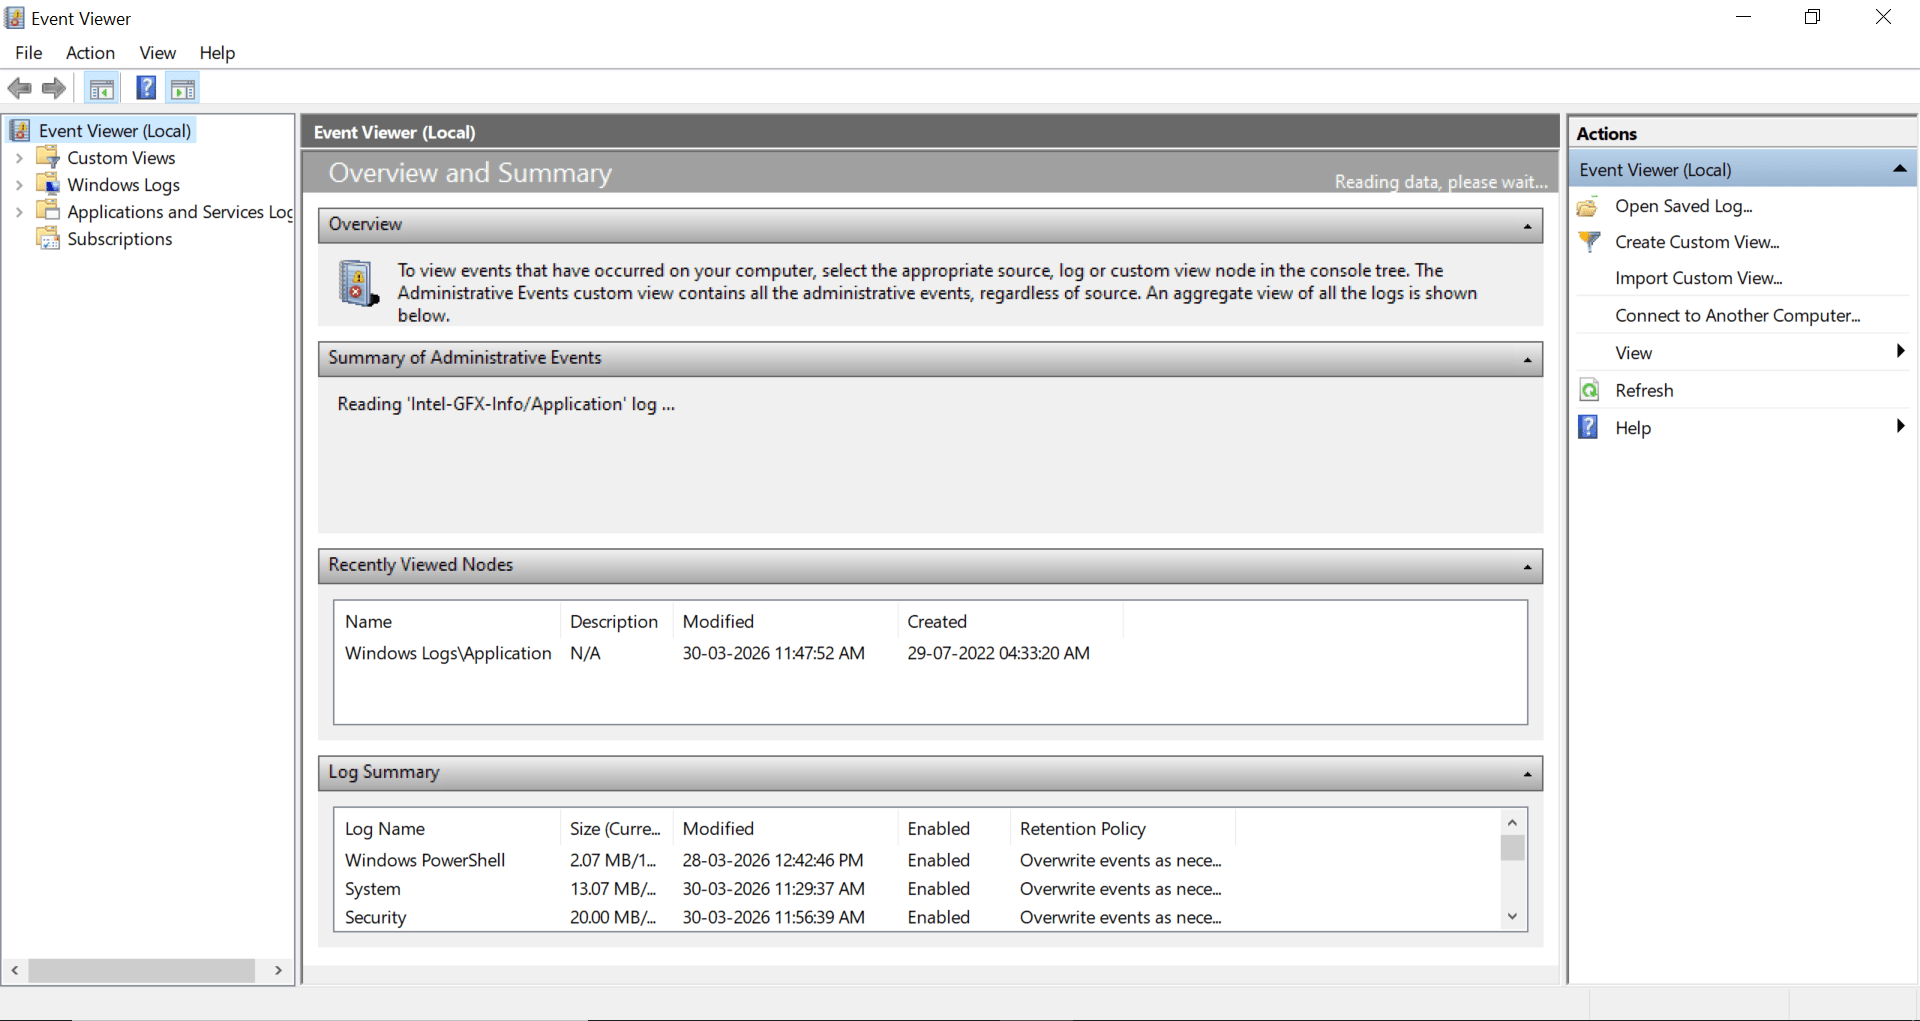
Event Logs (Event Viewer Analysis)
Perform:
Open: eventvwr
a
Navigate: Windows logs
b
This is the Windows Event Viewer showing logs under Windows Logs → Application.
It displays events like Information, Warning, and Error with details such as date, source, and Event ID.
The bottom pane shows detailed information for a selected event (Event ID 16384 – Security-SPP service).
Now go to Application
Great job!
You have successfully completed your lab on Advanced Windows Tasks and System Security Monitoring.
In this lab, you have: Managed and controlled Windows background services, Automated tasks using Task Scheduler, Created and analyzed Registry persistence mechanisms, Investigated Event Viewer logs, and monitored important Windows security operations.
You are now ready to move to the next stage of Windows administration and security management.
Checkpoint
Next-Lab Preparation
Topic : Linux & Kali Linux Environment
1) Introduction to Kali Linux and Installation using VirtualBox/VMware
2) Understanding the Kali Linux environment
3) Linux file system structure
By Content ITV


